Your RV is a home on wheels, whether for several days at a time or all year round. Like a home, the water systems can leak, such as the fresh water tank or the water heater. An RV is also more susceptible to particular leaks, such as in the roof, since it is mobile and has a more lightweight design than your home.
An RV leak can cause water damage, leading to costly repairs. The best method for reducing costs is identifying common leaks early and providing an effective fix.
The Importance of Regular RV Inspections and Repairs
Your RV is a significant investment. Inspections and repairs keep it in good condition so you can enjoy more adventures on the road. Here are a few reasons inspections and repairs matter:
- Early detection: When you inspect your RV regularly, you can catch issues like leaks before they cause extensive damage to your interior.
- Better longevity: The more you care for your camper, the longer it will last because you can catch and repair minor problems before they cause bigger ones.
- Higher value: A well-maintained RV has a higher value, which is helpful if you plan to sell and replace it.
- Peace of mind: When you inspect and repair your RV, you know you are doing everything possible to care for it. Documentation of these repairs can support your RV insurance claims, so you know you are covered.
10 Types of RV Leaks
Your RV will likely leak for two reasons: damaged and deteriorating seals or plumbing issues. Over time, seals may become damaged or cracked, allowing water to leak inside your RV. Plumbing issues could include everything from cracked pipes to faulty connections.
1. Roof Leaks
Most RV roofs are slightly curved to allow rain and moisture to fall off the sides. However, the various vents and openings on the roof make it susceptible to leaks. Seals may also become worn, damaged or cracked over time, leading to your RV leaking water inside.
2. Window Leaks
Faulty or worn seals or improper installation can allow water to seep in through windows during bad weather, especially when the wind blows rain into the sides of your rig.
3. Door Frame Leaks
Like windows, door frames can leak when the seals are broken or faulty.
4. Plumbing Leaks
Plumbing leaks can come from inside your camper and may occur due to corrosion, wear or loose connections. Proper preparation for RV storage can reduce the chances of holes or cracks.
5. Water Heater Leaks
Your water heater is another system that may leak due to faulty valves, connections, tank corrosion or a lack of proper maintenance.
6. Freshwater Tank Leaks
The seams and fittings in a freshwater tank may deteriorate, especially when over-pressurized.
7. Wastewater Tank Leaks
Cracks in the tank or loose fittings can lead to unpleasant wastewater leaks.
8. Slide-Out Seal Leaks
Over time, the seals around slide-outs may break or become misaligned, allowing water to seep into the cracks.
9. Air Conditioner Leaks
An air conditioner may cause leaks if the mounting gasket is damaged or the condensation drainage is blocked. Water dripping from the air conditioning unit outside the RV is normal during operation. The water should follow a specific path down the channels on the roof that lead it down to either the forward or aft corner of the rig. However, if you see water dripping inside or leaking in another area outside, that could signify an issue with the system.
10. Storage Compartment Leaks
Poor sealing or damage to the storage compartments may allow water into these areas of your camper. Plumbing leaks can show up in the storage compartment as well.

Signs of Water Damage in an RV
Sometimes, water damage presents apparent signs, but you may not notice it immediately in other cases. Here are a few things to look out for:
- Mold and mildew growth
- Visible water stains or rust
- Puddles or wet spots
- Unpleasant smells
- Flaking paint or aluminum
- Squeaky, soft or misshapen walls or floors
- Warped or buckled wood cabinets or trim
- Condensation on windows or inside cabinets
Effects of Water Damage in a Camper
Water damage or condensation in your RV can cause various harmful effects. The most common ones include:
- Delamination, or separation, of the side walls
- Peeling paint
- Warped cabinets
- Stained upholstery
- Damaged flooring
- Rotting wood
- Electrical issues like short circuits
- Growth of mold and mildew
These effects impact your RV’s appearance and function. They may also lower resale value.
How to Identify Leaks in an RV
Before you begin the process of camper leak repair, you need to find the source. Follow these steps to identify the leak’s origin point:
- Inspect the roof, walls, ceilings and doors to find any areas with worn or cracked seals and caulking.
- Check the walls and floors for any soft spots.
- Check under the cabinets and sinks to look for water or damage.
- Look at any visible plumbing pipes and fittings for corrosion, dripping or wet spots.
- Run water through the faucets and check for dripping water at the connections.
- Examine wastewater and freshwater systems for cracks or leaks in the tanks, connections and hoses.
- Smell for musty odors to find where they originate.
Tools for Detecting Leaks
Supplement your visual inspection with several tools, including:
- Garden hose: This technique is one of the best ways to find a leak in an RV roof. Spray particular areas while someone else stands inside the camper to see where water gets in.
- Flashlight: A flashlight illuminates the space for more effective inspection in cramped, dark areas like cabinets and plumbing fixtures.
- Water pressure gauge: This device connects to hoses to check for abnormal pressure drops that may indicate a leak. Additionally, if you suspect a freshwater leak, turn on the water pump and listen for the pump to stop when all openings are closed. If the pump keeps running or runs and stops continuously, you likely have a leak. This method will also help identify plumbing leaks with the campground’s water hookups.
- Ultrasonic leak detection: Detect irregular wear patterns in pipes using ultrasonic waves.
Professional Inspection vs. DIY Inspection
If your camper is leaking, you may try to find it yourself or seek professional help. Sometimes, a simple visual inspection reveals a problem, such as a damaged roof seal. In other cases, the problem might hide in the plumbing, and an expert can find the issue without causing further damage.
Repairing Water Damage in an RV
The process of repairing water damage takes several steps. Here is how to fix water damage in a camper:
- Reseal: Find the source of the leak and seal from the exterior. Use silicone caulk on the sides and self-leveling sealant on the roof.
- Remove: Take out the damaged area and other components. During this stage, take pictures so you know how everything fits together.
- Dry: Use dehumidifiers and fans to dry the area. Then put on protective gear and treat for mold. After this step, seal with a mold inhibitor.
- Rebuild: Fix rotten or damaged framing, move electrical wires to the correct positions and add insulation.
- Replace: Put new plywood over the floors and cover it with moisture-resistant vinyl or laminate. Use RV paneling to patch wall holes and joint compound or drywall tape to smooth the seams.
As you assess the camper, you may wonder how much water damage it takes to total an RV. The answer depends on the individual, but if repairs cost 60 to 70% of the trailer’s value, you might look at buying a new trailer. Before you start the job, consider the cost of materials and labor. Also, explore the coverage your RV insurance offers.
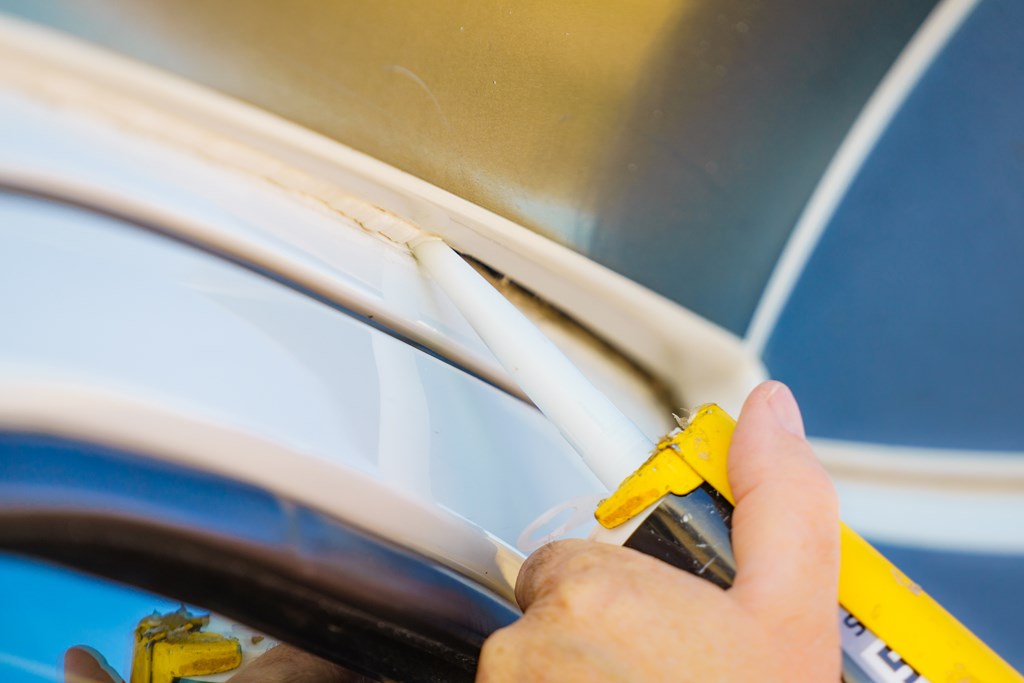
Using Sealants for Leak Prevention
RV water leak repair can be extensive, but you can often avoid water damage with leak prevention. Assess your RV seals at least once a year and reseal anything that is cracked or worn. You can follow this process:
- Wash: Clean your RV to reveal hidden damage and make resealing easier.
- Scrape: Remove the old sealant with a plastic scraper at a flat or 45-degree angle.
- Prepare: Use mineral spirits, isopropyl alcohol or acetone to prepare the surface for the new sealant. Only use acetone on fiberglass surfaces as it can damage rubber.
- Seal: Put RV-grade sealant over all the parts you need to cover. The roof will require self-leveling sealant. Apply a bead of sealant, then use your finger or a caulking tool to smooth it down. Tape around the area to create cleaner lines.
- Finish: Peel off the tape when you finish resealing, and let the sealant cure for 24 hours. Then, walk around the camper one final time to check your work.
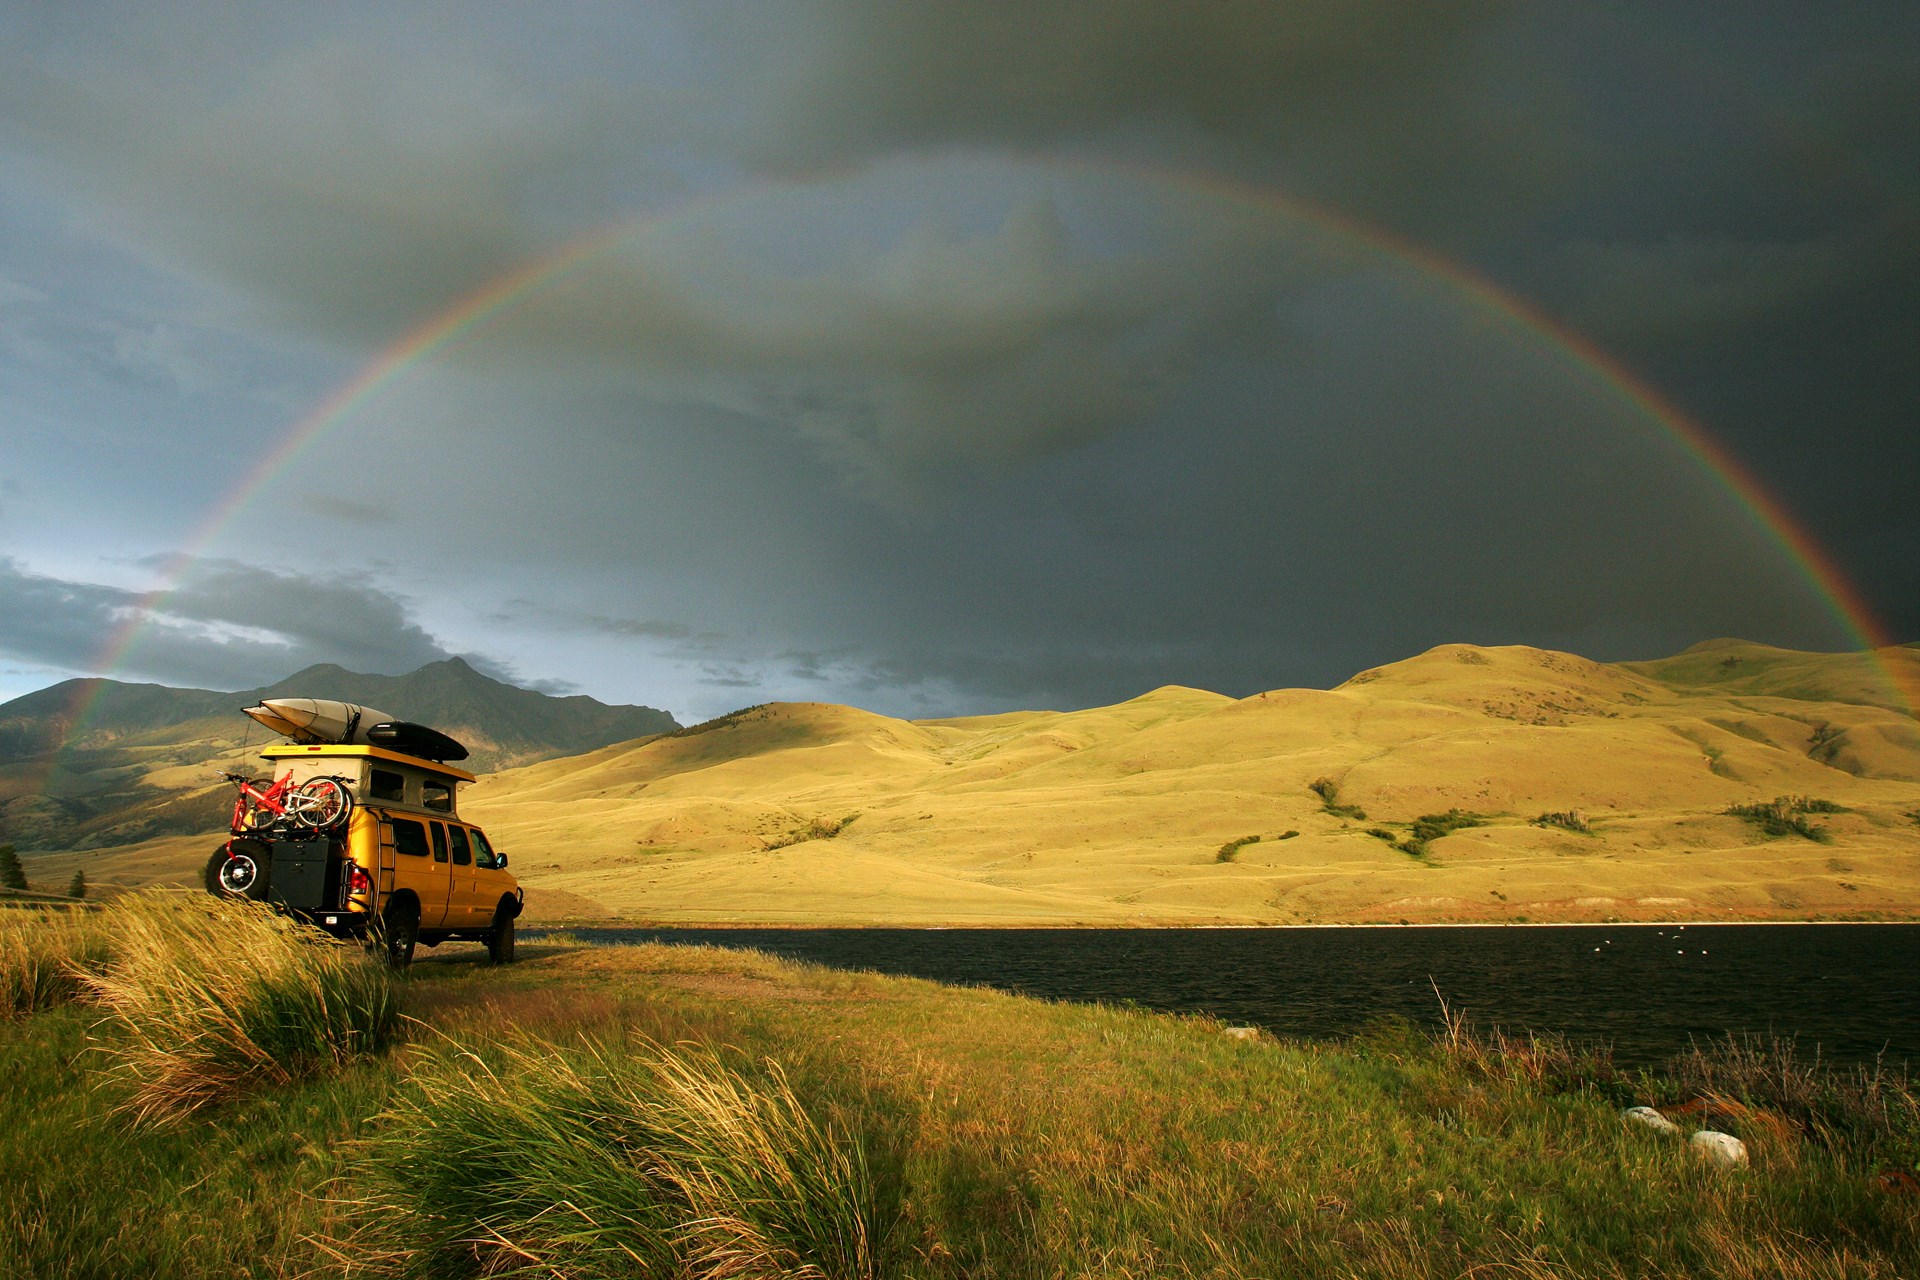
Impact of Weather on RV Leaks
Weather can reveal existing leaks or cause RV damage that creates leaks. In rain and heavy downpours, rain may seep into seams on the roof and around windows and doors. When combined with wind, rain can do more damage to your RV.
Snow, ice and heat can also all produce structural damage that leads to leaks by causing materials to expand and contract. Freezing can make water lines or pipes burst.
Preventive Maintenance Tips
The best way to avoid camper water damage is to catch and repair leaks early. Use the following maintenance tips to keep your rig in top shape:
- Inspect the roof.
- Check seals and caulking.
- Maintain drainage systems.
- Monitor the water heater and freshwater tank.
- Examine plumbing connections.
- Test slide-out seals.
- Check windows and door frames.
- Winterize your RV to prevent freezing.
- Store your RV in a covered area to protect it from the elements.
- Check your air conditioning unit.
A yearly inspection allows you to monitor any areas that could leak, from your plumbing system to your roof. Beyond preventing leaks, you can keep other systems in good condition by following a routine maintenance schedule, from checking your oil to monitoring your chassis.
Why Trust Kampgrounds of America?
KOA has extensive experience in the camping industry, with over 500 campgrounds throughout the United States and Canada. KOA began in 1962 and provides knowledge of the camping industry in every detail, from RV repairs to trip planning.
Each campground has friendly folks in yellow shirts eager to make your camping experience the best it can be. The dedication of individual team members also stretches to KOA as a whole. You can expect KOA and its team to support you in every interaction.
Enjoy a Successful RV Trip
With your leaks repaired and the damage restored, you are ready to head out on your next adventure in your RV. KOA welcomes you with RV Sites and excellent amenities. Check out site details and find a KOA to begin trip planning.
About the Author: Kampgrounds of America
Kampgrounds of America is the largest system of open-to-the-public campgrounds in the world, with over 500 locations across the United States and Canada. Founded in Billings, MT in 1962, KOA’s family of campground brands – KOA Journey, KOA Holiday and KOA Resort – today serve more than a million camping families each year. KOA is dedicated to “connecting people to the outdoors and each other” by providing people with a variety of camping experiences and the information they need to make the most of their camping trip. Read more of their camping and travel resources by visiting KOA.com/blog.