While some people have it down to a science, tent camping can be quite intimidating if you’re new to it. Get a tent with lousy instructions, for example, and putting it together can be as much fun as assembling IKEA furniture. Even if you are able to pitch your tent without having any major hiccups, there are still lots of little do’s and don’ts that can make or break your trip. For example, did you know you don’t have to use the cheap plastic stakes that come with your tent? You can buy heavy duty aluminum stakes on Amazon for as little as $10. Whether it’s your first time camping in a tent or you just want to know what you might not know, here are 11 game-changing tent camping tips.
Need Help Tent Camping? Try These Tent Camping Tips
1. Pack the Right Type
Tents aren’t one-size-fits-all, and there are dozens of styles to choose from. Before you shop for a tent, ask yourself what kind of tent camping you plan on doing. Will you be backpacking or needing to carry it far distances? Is it important to you that you’re able to stand up in it? What seasons will you be camping in? Will you need a footprint or a rainfly? And speaking of rain, make sure you know the difference between water-resistant and waterproof. Spoiler alert: waterproof completely blocks out moisture while water-resistant is more of a deterrent.
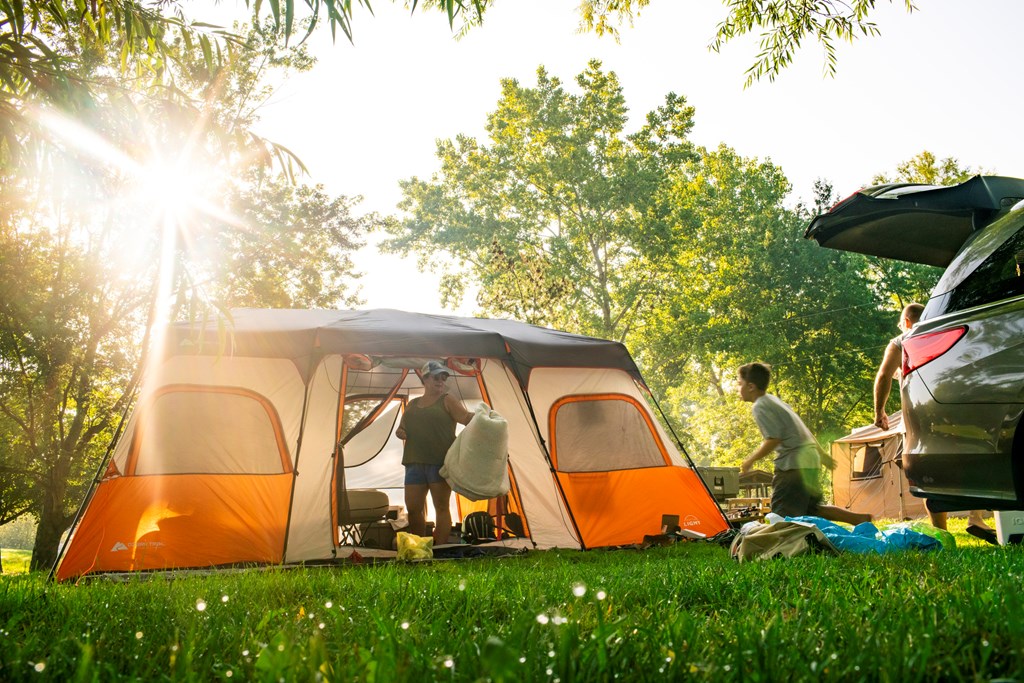
2. Unless You’re Backpacking, Buy Big
While a tent may be advertised for a certain number of people, if you’re concerned about having enough space, always divide that number by two. For example, a two-person tent is comfortable for one person, a four-person tent is comfortable for two people, etc. Obviously, if you’re backpacking or concerned about weight, you’ll want to stick with a smaller tent. But as a general rule of thumb, buy big. (That said, never buy a footprint that’s larger than your tent. It can collect rainwater that seeps inside.)
3. Treat Your Tent
While tents come ready-to-go (minus the assembly), it can pay off to spray them with an insecticide like Permethrin before each camping season. You can also treat your tent with a durable water repellent spray like Nikwax. In addition to keeping water out, it blocks UV rays and extends the lifespan of your tent. If you want to, you can also apply sealant to the seams to ensure water stays out.
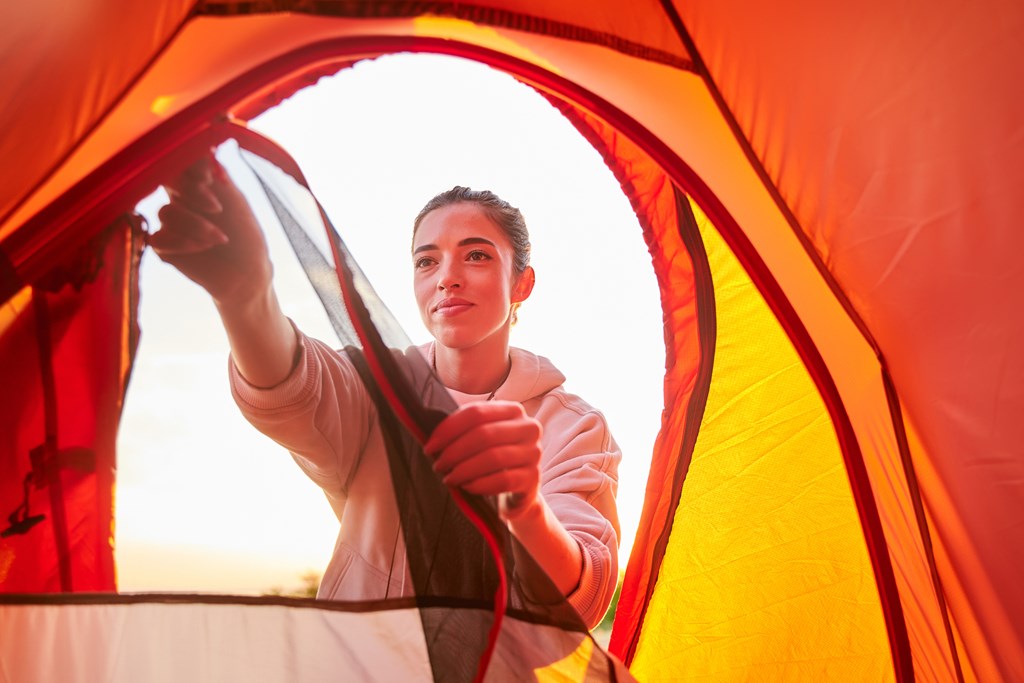
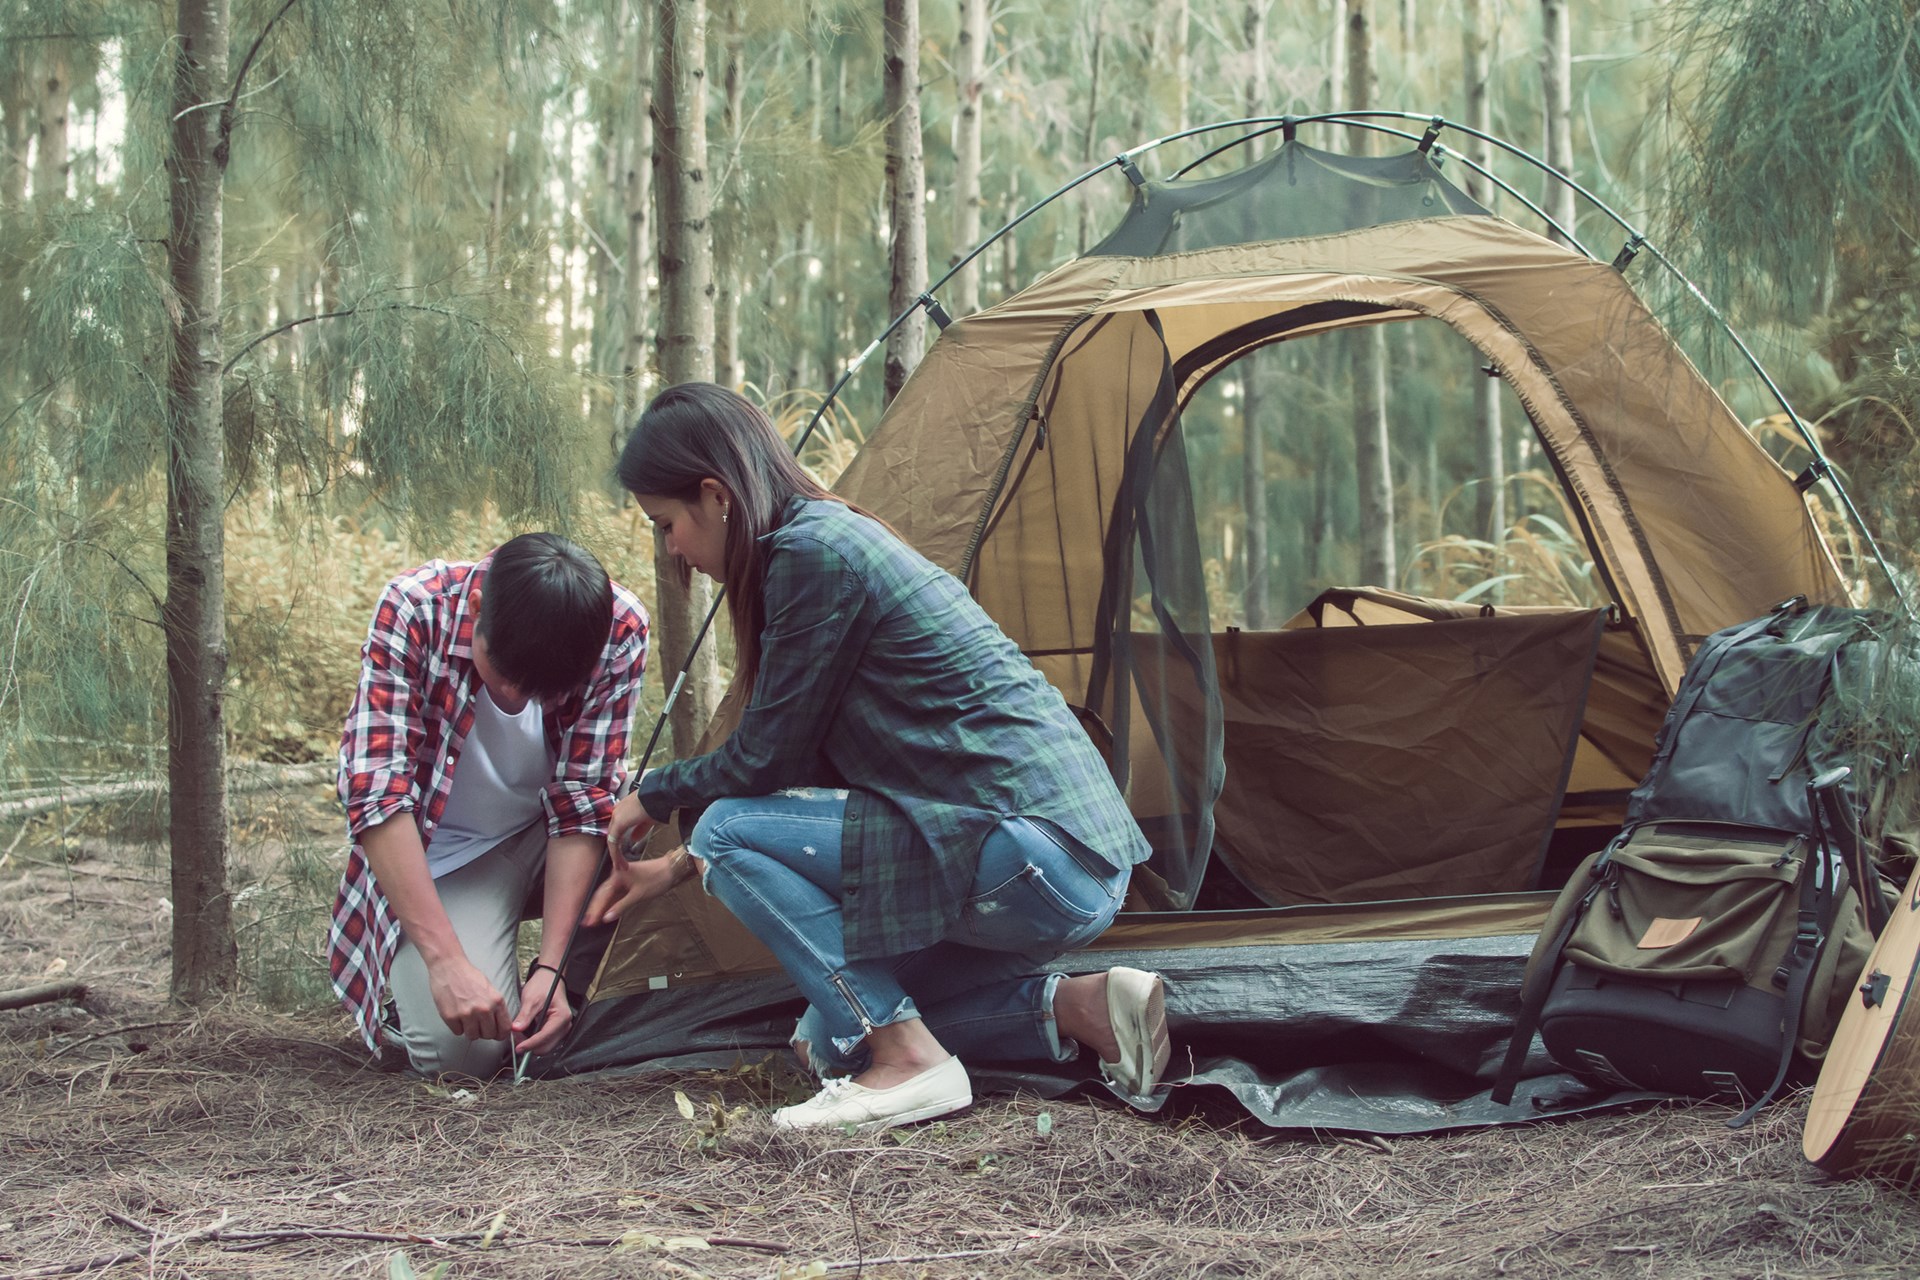
5. Do a Practice Run (or Two) First
Because conditions may not be ideal when you arrive at your campsite, practice setting up your tent at home in your yard or even in your living room. Even if you have a tent that’s simple to set up, there’s usually a slight learning curve, and the practice at home will pay off in the field. Also, before you leave for your trip, make sure you have all of the parts. Few things are worse than arriving at the campground only to find you’re missing a pole.
6. Pitch it in the Perfect Place
You can be a professional tent pitcher with the world’s best tent, but if you pitch it in the wrong spot, you’re doomed. Make sure the ground you’re on is level, or if that’s not possible, that you’re sleeping with your feet downhill, and try to avoid standing water. It’s also best to look for a natural windbreak and pitch your tent in the shade both to stay cool and to prevent sun damage. (That said, there’s a famous saying in Africa that you never want to pitch your tent beneath a tree that an elephant eats from.)
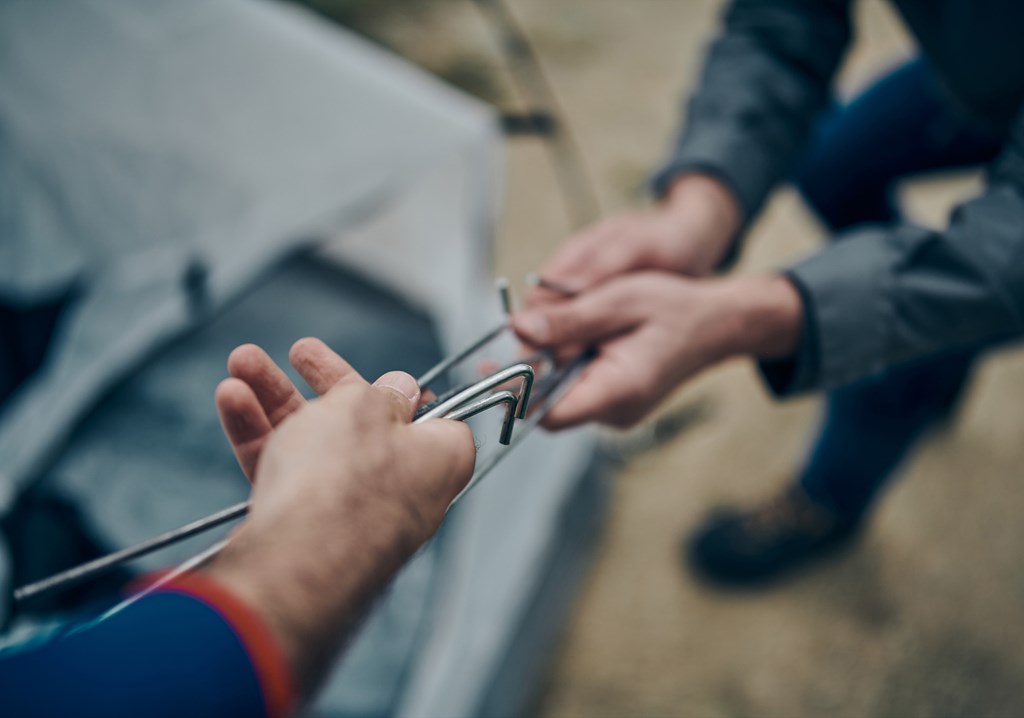
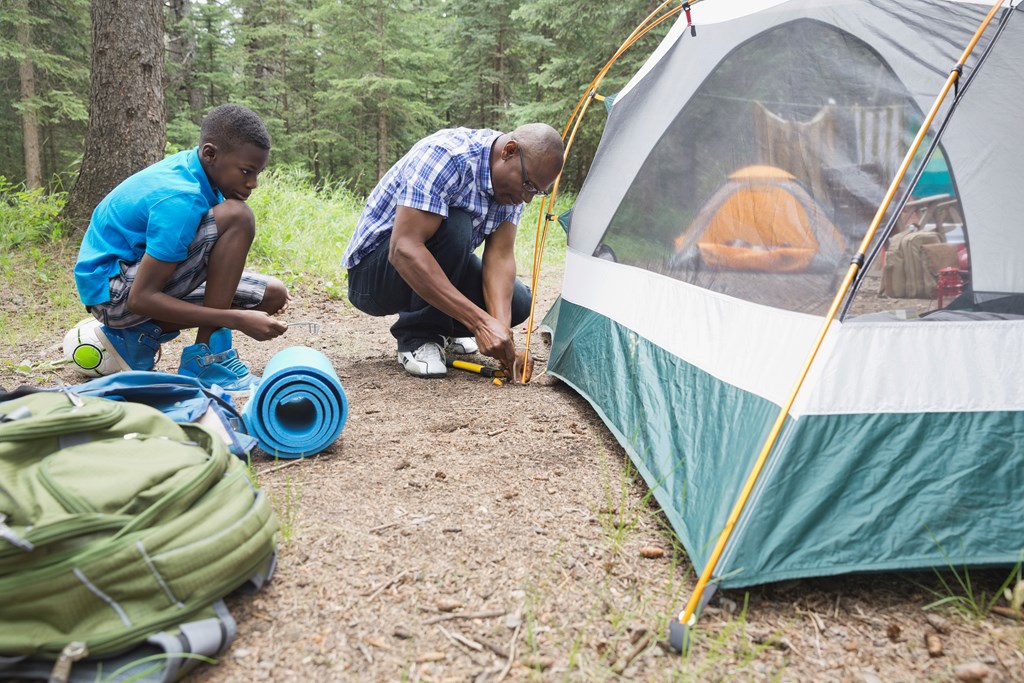
7. Don’t Make Stake Mistakes
Yes, driving stakes into the ground, especially if it’s frozen, can be annoying. But you don’t want to skip this step or do a half-asked job with your hands. Use a hammer if you can. The most common mistake that new tent campers make is not staking their tent securely to the ground. Few things are as embarrassing as having to chase down a tent that’s been picked up by a gust of wind. Should your stakes go straight in or angled? Most sources say vertical; however, if you have guy lines you need to keep taut, a 45-degree angle may work better.
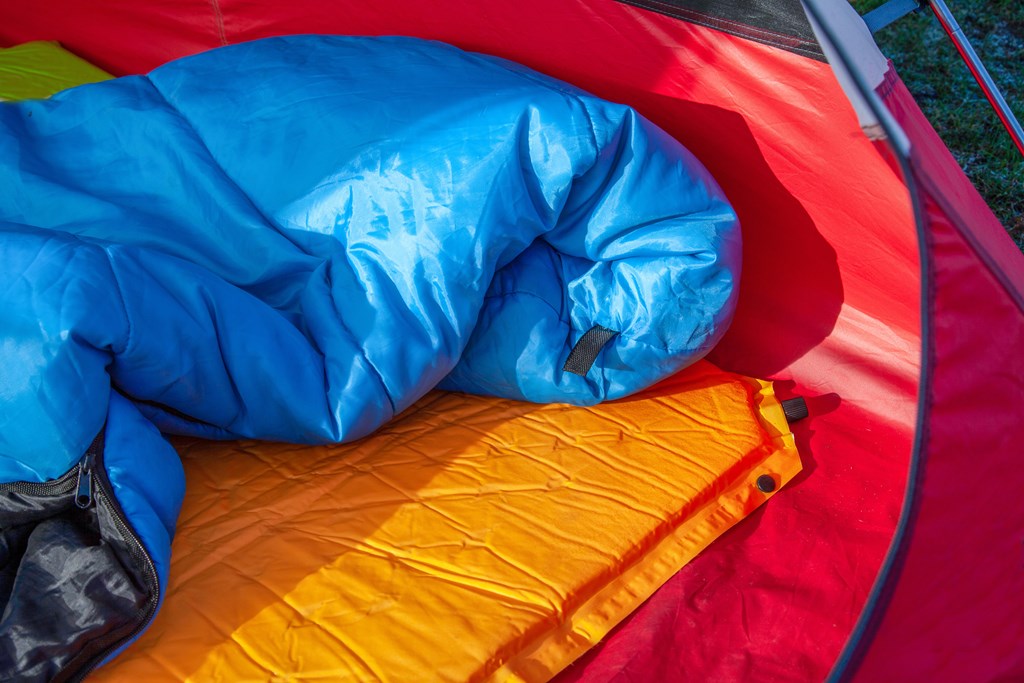
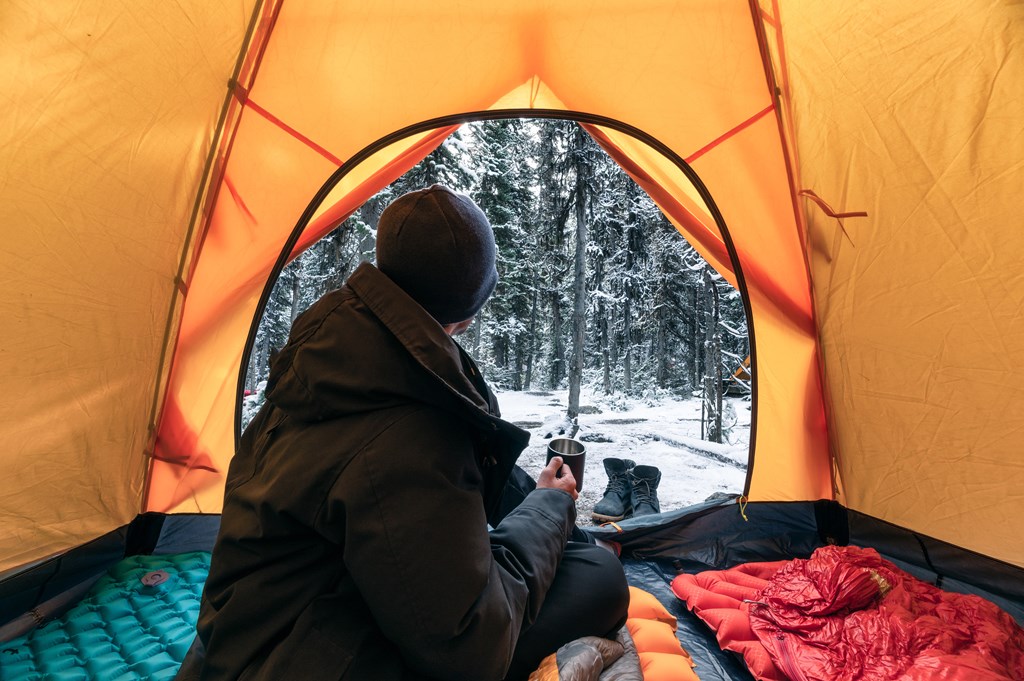
8. Don’t Let Your Sleeping Bag (or Anything You Don’t Want Wet) Touch the Tent Walls
Even if your tent is waterproof or has a rainfly, that doesn’t mean water won’t seep in through mesh windows. Humidity, from your breath and the air outside, can also cause condensation to form on the inside walls of your tent. For that reason, pretend the walls of your tent are hot lava and don’t have anything that you don’t want to get damp against them.
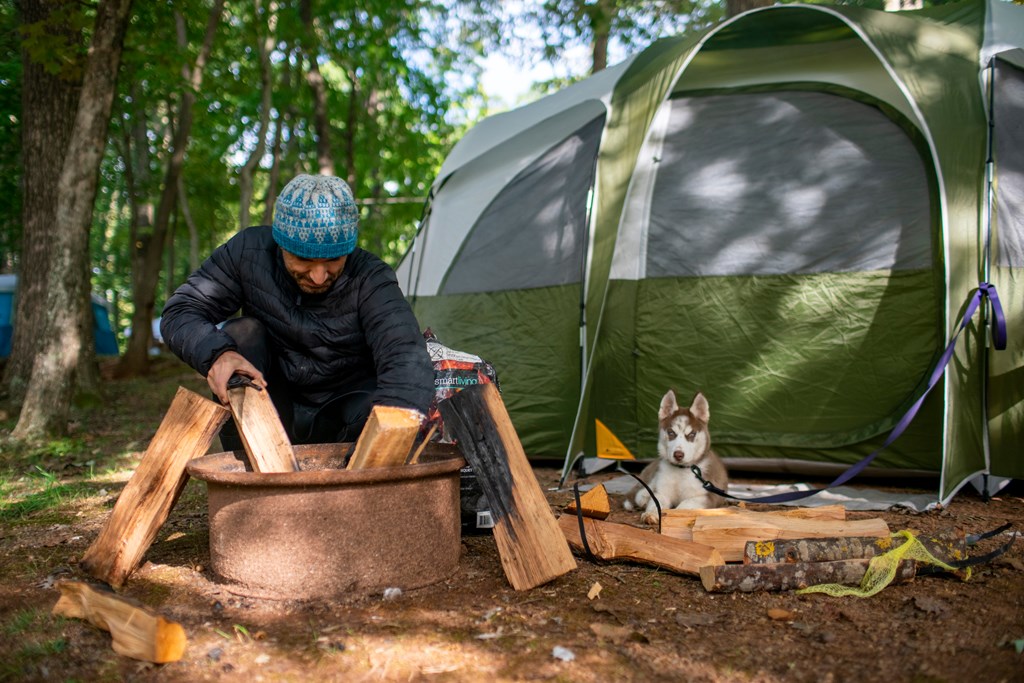
9. Don’t Store Food in Your Tent!
Unless you want to wake up to a bear or a raccoon with bad morning breath, don’t store anything edible in your tent. Instead, store it in your car (not the bed of a pickup) or in the lockers provided at the campground. Similarly, don’t leave food wrappers or dirty dishes laying around your campsite. The National Park Service says even canned food and drinks can attract unwanted animal attention.

10. Pack a Small Broom and a Welcome Mat
What is something many seasoned tent campers have in common? A welcome mat. Not only does this piece of affordable decor make your campsite seem more like home, but it also has a useful function. After all, you’ll need a place to wipe your shoes, so you don’t track dirt into your tent. On that note, it’s also smart to bring a little broom and dustpan, especially if you have kids and/or a dog.
11. Don’t Store it in its Bag
How long your tent lasts depends on how well you store it. “I’ve seen broken-hearted campers who have set up their tents on the first day of camping season only to have the tent material literally disintegrate in their hands from mildew, mold and compression stress,” says Joe Bassett, founder of Valiant Outfitters. He recommends airing out your tent, by hanging it up, for several days as soon as you get home. Even if it’s dry. Then, instead of putting it back in its bag, store it in a large storage bin or a big blue IKEA bag. “The material needs to breathe,” explains Bassett. “Keeping them compressed stresses the material at the creases which creates weak points.”
 Katie Jackson is a writer and media specialist based in Montana’s Big Sky Country. Living and working everywhere from New York to Nicaragua, Katie is no stranger to adventure. When she’s not traveling the world (or writing about it!) she’s busy chasing after a Leonberger named Zeus. Follow Katie’s travels on Instagram @katietalkstravel.