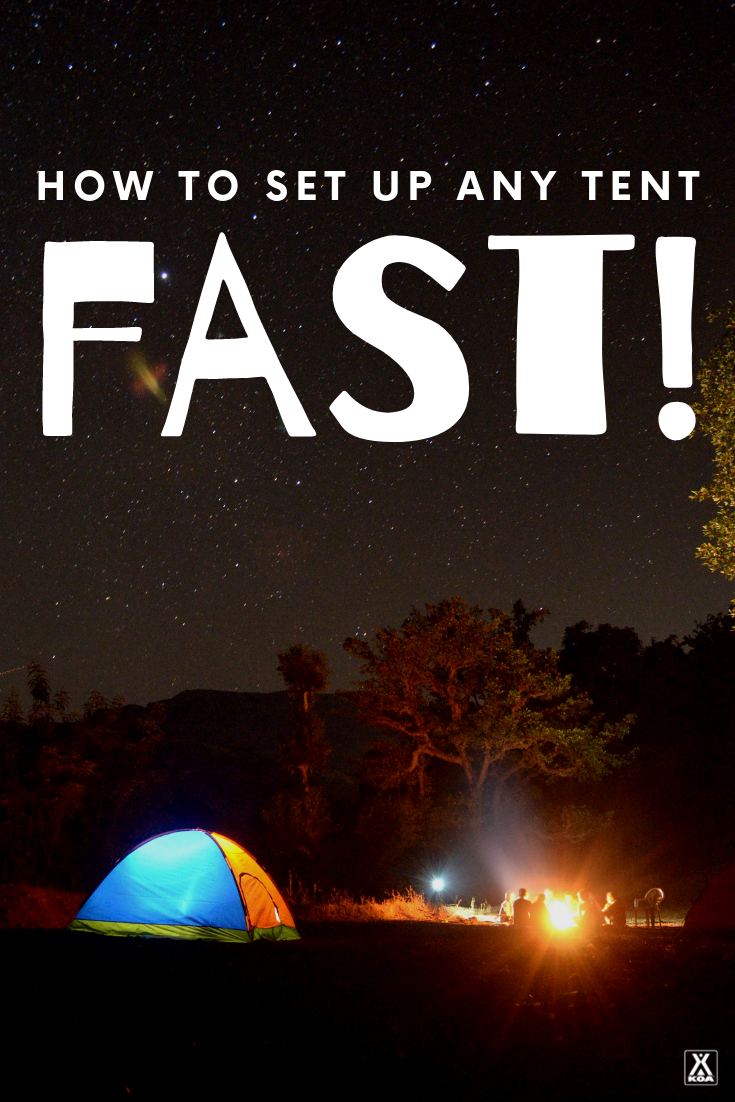
How to Set up Any Tent Fast
Different types of tents
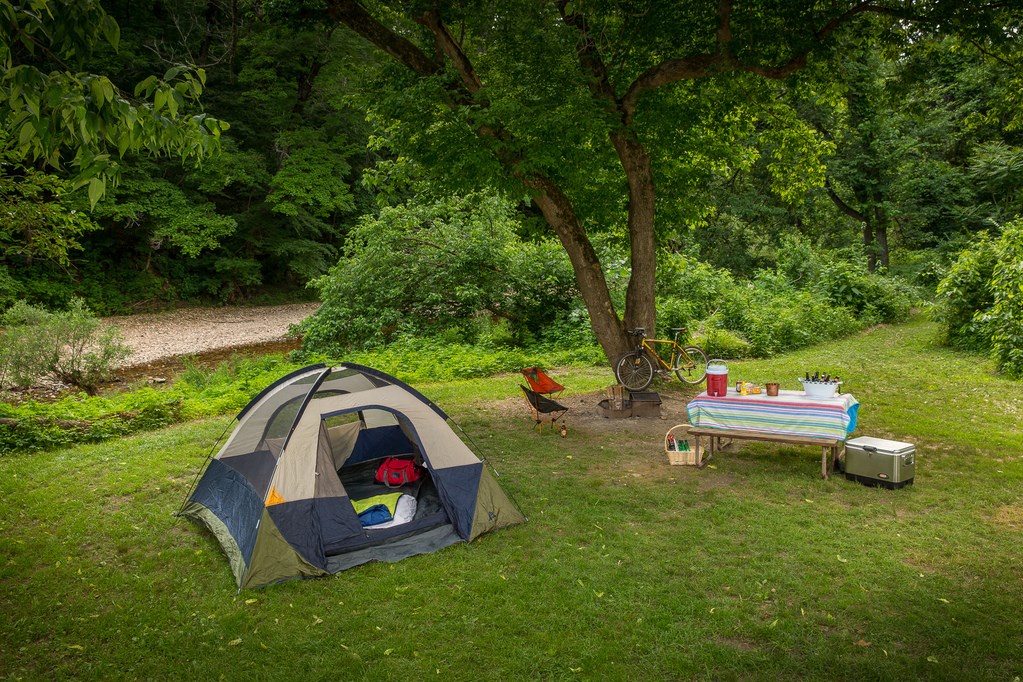
Finding the perfect spot for your tent
How to set up a dome tent
How to set up a tunnel tent
How to set up an A-frame tent
Tips for putting up a tent by yourself
Tips for speedy tent set-up
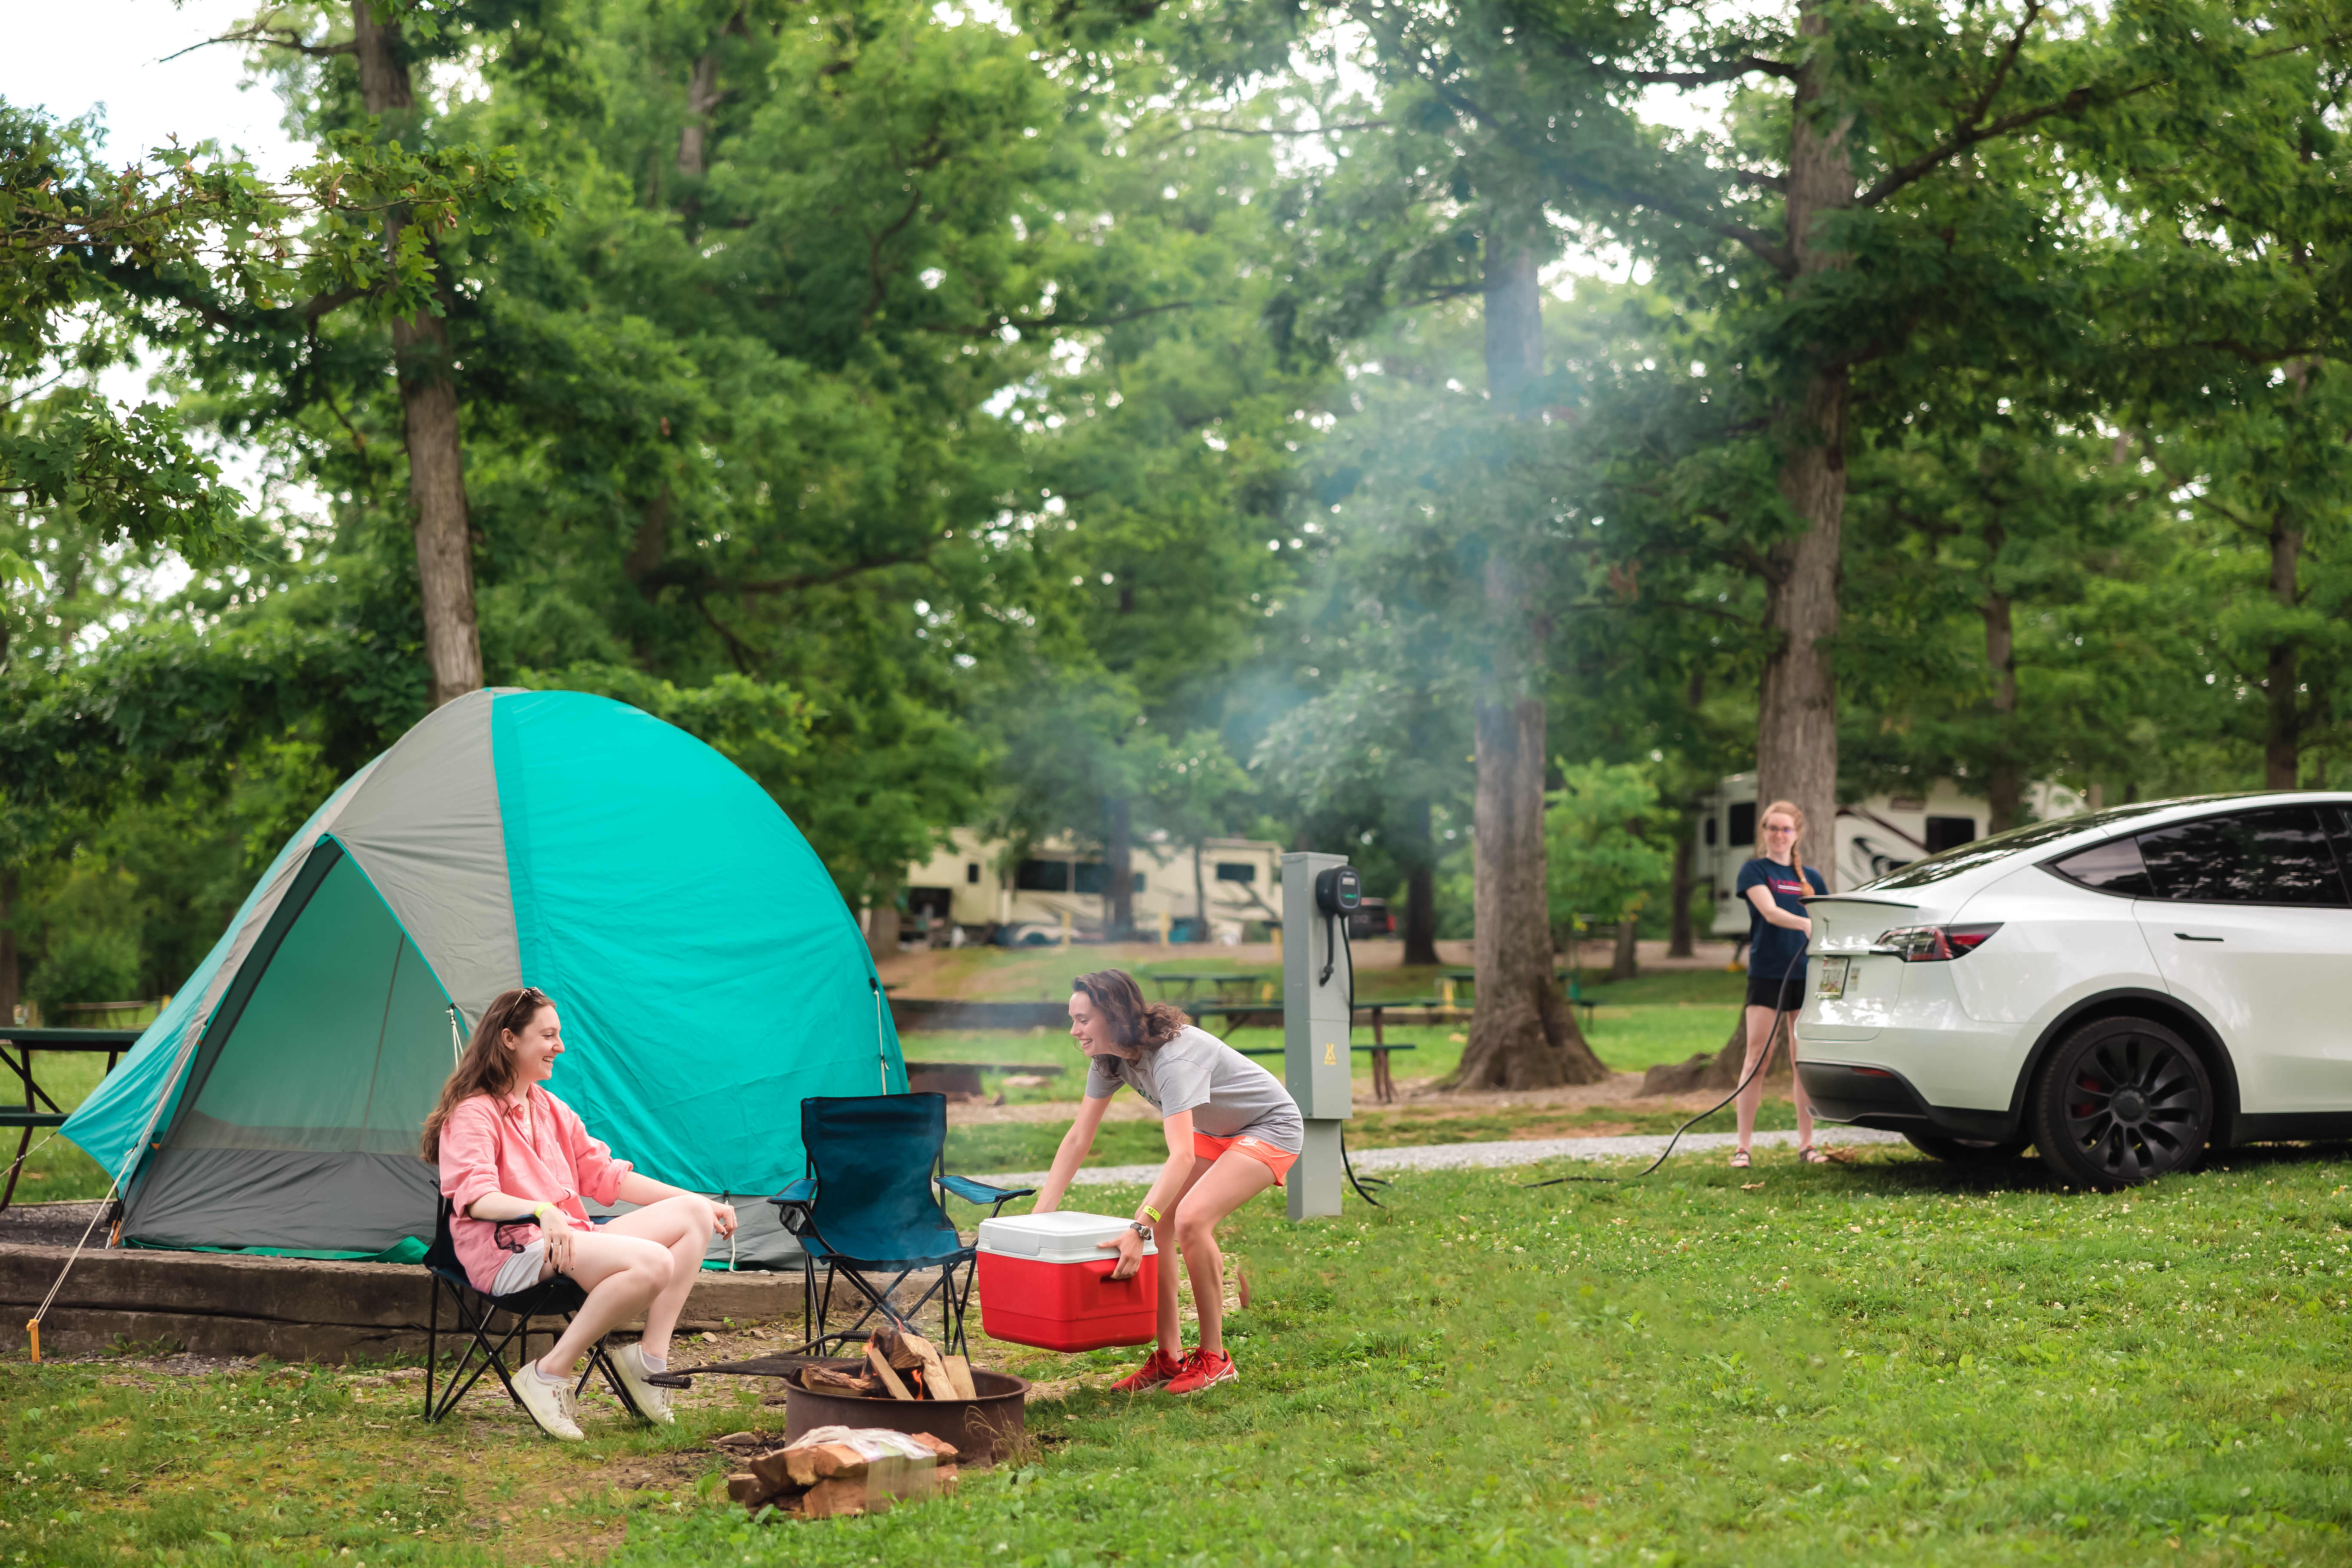
For many of us, camping is a beloved pastime — when we camp, we get to slip away from our busy lives to enjoy the peace and beauty of the great outdoors, either by ourselves or with people we love.
Often, camping also means setting up a tent at your campsite, unless you prefer to camp in an RV, cabin or another type of lodging. Even seasoned campers can find tent setup a challenge, especially if it’s a new tent, you’re running out of daylight or the wind decides to kick up a bit.
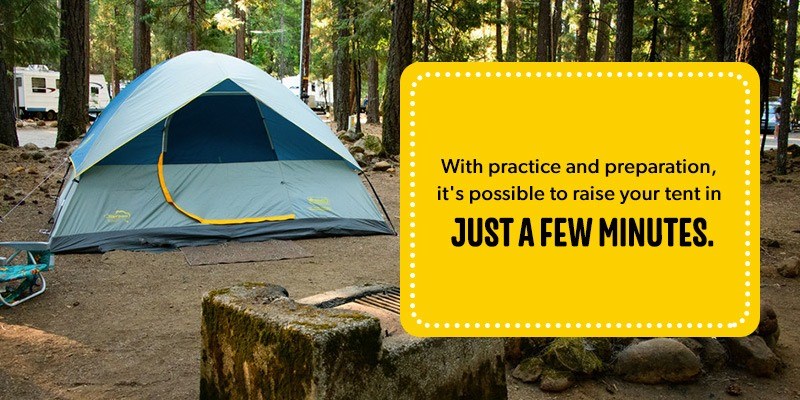
With practice and preparation, it’s possible to raise your tent in only a few minutes. We’ve created this step-by-step guide to show you how to set up any tent. With a little practice, you can pitch any type of tent, from a sturdy dome tent to a more vintage A-frame tent — and quickly.
Different Types of Tents
Tents come in a various shapes and sizes, and each type has a slightly different setup process. Types of tents include the following.
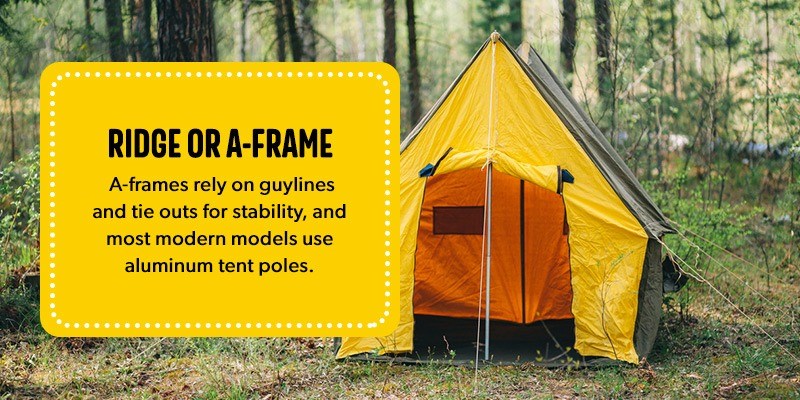
- Ridge or A-frame: For years, the classic A-frame tent was the go-to tent style, with a sturdy build and easy setup. Typically, A-frames rely on guylines and tie outs for stability, and most modern models use aluminum tent poles.
- Tunnel: Tunnel tents have a series of curved poles, creating a long, tunnel-shaped structure. They are roomy, versatile and comfortable, though they can be heavy and vulnerable to collapse in high winds.
- Pop-up: By dosing, these simple tents are designed to open up without construction — all you need is to tie them down once they’re up. Though lightweight, easy to carry and roomy enough for two people, pop-up tents also tend to be more expensive and less stable than many other types of tents.
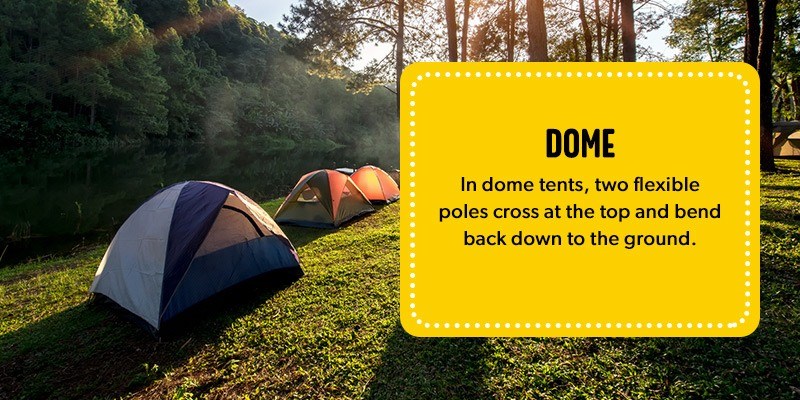
- Dome: Dome tents are some of the most common types of tents for today’s camper. In dome tents, two flexible poles cross at the top and bend back down to the ground. Typically inexpensive, lightweight and easy to set up, dome tents are popular for a reason, though they can be unstable in high winds.
- Geodesic and semi-geodesic: A geodesic or semi-geodesic tent is essentially a sturdier version of a dome tent. Designed with many crossing poles and a more complex design, these tents can be challenging to set up, but they are lightweight and stable even in bad weather conditions.
- Inflatable: One of the newest tent designs on the market, inflatable tents require minimal setup time. They feature air-filled beams instead of poles. Easily packed and carried, inflatable tents are ideal for casual family camping trips and music festivals, but they are not the best choice for more rugged settings.
- Cabin: If you have ever wanted to squeeze your entire family into one tent, a cabin tent is the perfect style for you. Cabin tents are the ultimate spacious tent, and they often have dividers to separate the main area into smaller rooms for privacy. Though cabin tents are fun and roomy, they are also heavy, can be complicated to assemble and are unstable in heavy winds, so you may only want to rely on them for fair-weather trips.
- Backpacking: When you’re backpacking, every ounce counts. Backpacking tents are as lightweight and compact as possible, and though they aren’t spacious, they are streamlined and sturdy enough to withstand harsh conditions. Many models come with a simple installation process, and some can stand on their own without any additional supports.
In this guide, we will focus on dome, tunnel and A-frame tents, but once you know the basics of these three forms, you’ll understand how to set up many different types of tents.
The Perfect Spot for Your Tent
Not every open space is suitable for setting up camp. Below, we’ve outlined some characteristics to look for when you’re selecting a campsite.
- Level: The perfect spot will be relatively flat and level — if you pitch your tent on a slope, you may end up rolling to one end of your tent while you sleep.
- Large enough to fit your tent: Make sure you practice setting up your tent before using it for the first time. If you aren’t certain about your tent’s size, you could accidentally select a spot that is too small to fit your tent and any other elements of your camp, such as a fire pit.
- Safe distance from fire pits or grills: To make your campsite as safe as possible, pitch your tent far from fire pits or grills. If you put it too close, you risk it catching fire in the event of a stray spark or ember.
- Higher ground: The ideal tent site will be on higher ground, where you will not be too close to creeks or bodies of water. If it rains, water levels could rise, soaking your camp. A higher-ground location will also prevent rainwater runoff from getting your tent wet.
- Shade: When camping in the summer, look for a spot with some shade. If you pitch your tent directly in the sunlight, your tent could get uncomfortably hot in the morning.
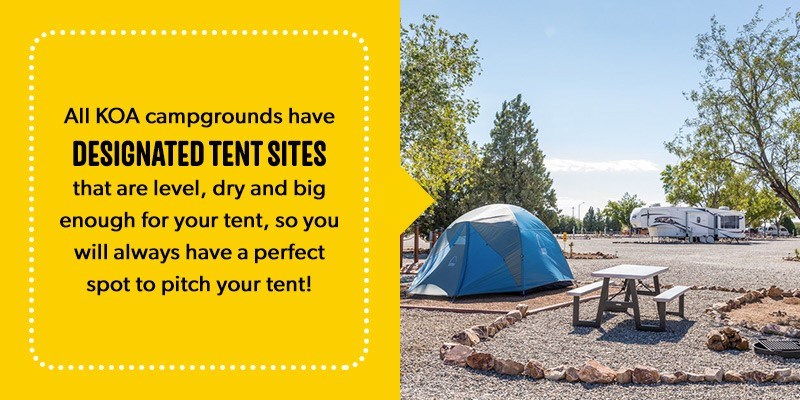
Fortunately, all KOA campgrounds have designated Tent Sites that are level, dry and big enough for your tent, so you will always have a perfect spot to set up!
How to Prepare Your Spot Before Pitching Your Tent
Even the perfect spots aren’t always immediately ready for you to set up your tent. Here are some steps to prepare your chosen campsite before unpacking your tent.
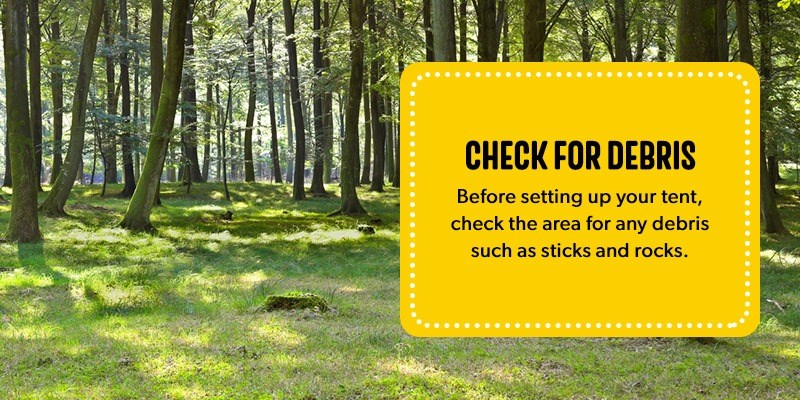
- Check for debris: Before setting up your tent, check the area for debris like sticks and rocks. Clear them away from your tent spot.
- Examine the ground: Feel the ground to make sure it isn’t too wet. Also, check the ground’s hardness — if it feels unyielding and packed down, consider adding a layer of leaves or pine needles beneath your tent to make the location softer for sleeping.
- Lay down a tarp: Once you’ve cleared away debris and checked the ground, lay down a tarp and fold until it’s slightly smaller than your tent’s footprint. If it rains, this extra layer will help prevent moisture from seeping into your tent while you sleep.
After you’ve prepared your spot, you’re ready to begin pitching your tent.
How to Set up a Dome Tent
Dome tents are the most common type of camping tents. Below, we walk you through the process of putting up a basic dome tent. These instructions can apply to any size of dome tent, from small two-person models to large family-sized tents.

- Lay out your tent: First, find the bottom of your tent and lay it on top of the tarp, positioning it in the right direction. Think about where you want your tent doors to face — you may choose to arrange your tent so that its entrance faces away from prevailing winds or toward your campsite for easy access. As you lay out your tent, account for all of its components, including tent poles and stakes.
- Connect the tent poles: Depending on what type of tent you have, you might lash your tent poles together with bungee ropes, or you may need to connect the pieces yourself according to their numbers. Some tents, such as pop-up tents, may not require tent poles at all. Once you’ve connected the poles, lay them across the flat tent.
- Insert the tent poles: Next, insert the tent poles into the sleeves or clips on the tent. Various types of tents have sleeves and clips in different locations. For dome tents, the tent poles typically form an X across the top. Some larger tents have additional poles to extend the front or back. Insert the end of the pole into an eyelet at each corner of the tent, and proceed to attach the poles to plastic clips on the top of the tent or slide the poles through small flaps on top of the tent. Consult your tent’s instruction manual to make sure you are inserting the poles the correct way.
- Raise the tent: Raising a tent often requires coordination, and it’s helpful to have a partner aid you in lifting the tent off the ground. Once you’ve fit your poles into the connection spots, they will probably bend and raise the tent on their own. Fit the bottoms of the poles into a small sleeve or clip at their connection points. Some tents require a little more coaxing to stand up — make sure the poles are untangled and secure, and try pulling the corners of the tent apart so that they’re square. Freestanding tents can stand on their own once the poles are connected, but other tents may require guylines for stability.
- Reposition the tent as necessary: Once the tent is standing, you might need to adjust its position before staking it down or attaching the guylines. Make sure the doors and any windows face the direction you intended, and that you have centered the tent over your tarp.
- Stake it down: Take the tent stakes and secure each corner of the tent to the ground. Insert each stake through a loop at the corner of the tent at a 45-degree angle, angled away from the tent — this will help the tent remain secure. If you’re staking your tent over turf, you can probably insert the stakes using the force of your hands alone. However, on hard or rocky terrain, you might have to use a hammer or a blunt object to push them into the ground. Some tent stakes are malleable, so take care not to bend them.
- Attach the rainfly: Some tents come with an extra guard against rain called a rainfly. For some tents, you can clip the rainfly directly to the tent, while for others you need to tie them above the tent. Consult your tent’s instruction manual to make sure you are using the correct method for your tent.
- Use the guylines: Some tents come with guylines to provide extra stability in storms and high winds. Often, guyline attachments are on your tent’s rainfly cover — to tie the guylines, you might need to pull on the rainfly. Attach guylines to guyout points, which are sturdy loops located roughly halfway up the tent wall. For maximum stability, attach guylines to points uniformly surrounding the tent, such as nearby trees, logs or rocks, or stake them into the ground.
- Enjoy: Celebrate successfully pitching your tent and then make it cozy with your sleeping bag, air mattress and pillows. If it’s evening, set up a campfire and enjoy the start of your vacation.
How to Set up a Tunnel Tent
Setting up a tunnel tent is similar to the process of assembling a dome tent — the primary difference is that with tunnel tents, the tent poles run parallel across the ridge of the tent. Here’s how to set up a tunnel tent.
- Position the tent: First, open up the tunnel tent and spread it out over your tarp. Consider the wind as you decide which direction to face the openings of your tent.
Stake down the corners: - When pitching a tunnel tent, you may choose to stake down the tent before raising it, depending on the size and design of the tent. Staking down the corners before you begin gives you extra stability, especially in windy weather. Peg out each corner of the tent at a 45-degree angle, and pull each edge taut — a tight tent base will make the rest of the tent easier to assemble.
- Secure the canopy: If your tent has a canopy, peg it down in front after staking the four corners of the main tent base.
- Assemble the poles: Arrange and assemble the poles of the tunnel tent. Depending on your model, all of the poles may be the same length, which simplifies the assembly process.
- Insert the tent poles: Thread the tent poles through the sleeves running along the sides of the tent. Begin with the two middle sections — this gives the tent support and puts less stress on the front poles of the tent. If the wind is blowing, start inserting the other poles on the wind-facing side. Feed the poles through the sleeves and lay them down flat on the ground.
- Raise the tent: Hold the tent up as you bend the poles to fit into their clips — manually supporting the tent lessens the pressure on the poles, reducing the chance that they will break. Clip them in along the side of the tent to secure them in place.
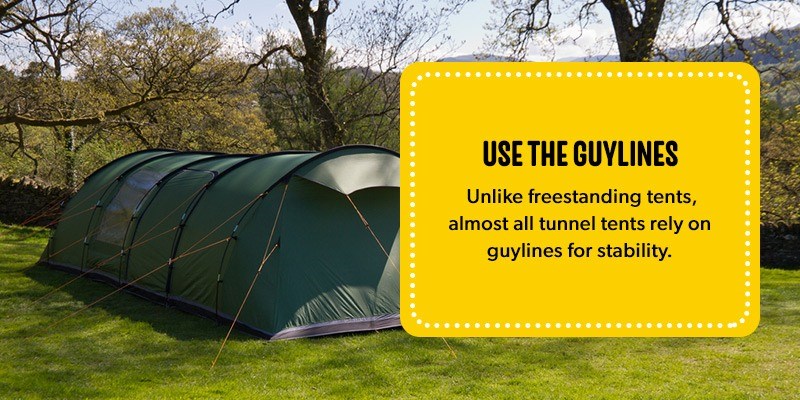
- Use the guylines: Unlike freestanding tents, almost all tunnel tents rely on guylines for stability. If your tent has a canopy, begin staking out the guylines from this section of your tent. Work your way around the tent, pulling the guylines tight. If your campsite isn’t close to rocks or trees, you can peg guylines directly into the ground at a 45-degree angle.
- Enjoy: Once your tunnel tent is sturdy and secure, sit back and enjoy your campsite.
How to Set up an A-Frame Tent
A-frame tents are an older style, and they are less common today than dome or tunnel tents. However, some backpackers prefer A-frames, though they can be trickier to set up than other types of tents.
- Lay out your tent: Position your tent over the tarp where you want to set it up. You cannot reposition an A-frame tent after pitching it, so choose your location wisely.
- Stake down the corners: Once you have positioned your tent, stake down the corners. When pitching an A-frame tent, you must peg down the corners before moving on to other steps. Make sure to stretch the tent fabric tight.
- Connect the tent poles: Next, connect the tent poles. Depending on your tent’s design, it will either have one pole for each end of the tent or two poles for each end that form a triangle. Both types have an additional pole that runs horizontally along the ridge of the tent. Older A-frame tents may use more rigid tent poles, while modern A-frame tents often use tent poles connected by bungee ropes.
- Raise the tent: In traditional A-frame tents, place separate poles at the front and back of the tent. Position one pole at the top corner of the tent at one end and stick it vertically into the ground, repeating the process with the other end of the tent. In modified models, two poles at each end of the tent form a triangle with the ground, giving the structure greater stability. With both styles of A-frames, the poles at the end of the tent support a ridge pole that runs down the length of the tent.
- Attach the guylines: Pull the guylines out tightly at the front and back of the tent and stake them securely into the ground at a 45-degree angle — tight guylines are essential for the stability of an A-frame tent.
- Attach the rainfly: If desired, you can place a rainfly over your tent and stake it into the ground using its guylines.
- Enjoy: Once you have raised your tent, pat yourself on the back for successfully pitching a traditional A-frame tent.

How to Set Up a Cabin Tent
Some of the largest tents you can find are cabin tents, which boast plenty of room for an entire family. Since they’re so large, they can be complicated to set up. Follow these steps.
- Lay out the parts: The first thing you should do is lay out and identify all of the tent’s parts and pieces, ensuring you have everything you need. You’ll also want to lay the tent out where you want to set it up.
- Insert the roof poles: The roof poles are the main foundation for the tent’s structure. Most cabin tents require you to criss-cross the roof poles and insert them into sleeves.
- Connect the joints to the poles: Joints will allow you to connect the corners together, creating a dome-like shape. Make sure you secure your poles into the proper joints.
- Raise the tent: Once you have inserted all the poles and attached the joints, you should be able to raise the tent. Since cabin tents tend to be large, raising them may require a second set of hands.
- Stake the corners: Always be sure to stake your tent’s corners and attach all securing clips. Most cabin tents require staking corners as the last step.
- Attach rain covers: Attach any rain covers or tarps to the top of your tent, if desired.
- Enjoy: Your entire group will enjoy your spacious cabin tent! Once you’ve securely set up your home away from home, you can focus on essentials like making delicious s’mores.
Tips for How to Put up a Tent by Yourself
Whether you’re on a solo camping adventure or your companions are busy with other tasks, sometimes you have to put up a tent by yourself. Here are some tips on assembling a tent on your own.
- Pick a good spot: To make the tent setup process as easy as possible, pick a good campsite with high, clear and level ground.
- Lay out your tools: Before you begin, lay out all the tools and materials you need.
- Use your surroundings: If your tent begins to slide while you’re trying to raise it, use a rock or another nearby heavy object to brace one corner in place while you push up the tent.
With a bit of practice and preparation, you won’t need anyone to help you set up your tent. You will even know how to set up a large tent by yourself!
How to Setup a Tent in the Rain
The weather can be unpredictable, but you can still enjoy a camping trip during a drizzle. Here are a few tips on how to put a tent together in the rain.
- Set down a tarp first: It is always wise to place a tarp on the ground under your tent, especially if it’s already raining.
- Wear appropriate footwear: Campers should always bring along waterproof shoes with good traction to avoid slipping and sliding in wet conditions.
- Wait out heavy rains: If it’s pouring rain, you might want to wait until it lets up a bit before setting up your tent. Just be sure to pitch your tent before dusk starts to fall.
- Practice at home: One of the best things you can do is practice setting up your tent at home. The more familiar you are with setting up your tent, the easier it will be when you’re in a hurry.
- Keep your cool: Though it might be frustrating to set up a tent in the rain, do your best to keep your cool. A level head will help you stay focused and avoid making mistakes.
Additional Tips for Speedy Tent Setup
Below, we’ve included a few additional tips for making your tent setup go as quickly and smoothly as possible.
- Practice: Pitching a tent is not the most exciting thing in the world to train for. We’re not saying you need to do timed trials of how quickly you can connect the poles, but setting up your tent a handful of times before your trip has its perks. Plus, Mother Nature is fickle — you never know when she’ll decide to rain on your camping experience.

- Pack it the right way: A full tent setup has many parts, including a ground cloth, stakes, poles, rain fly and the tent itself. Be sure to pack them all in a way that makes it easy to access the first things you’ll need first and the last things you’ll need last. Most importantly, on the eve of your big trip, double-check that you have every part you’ll need.
- Buy a tent with a fast installation: If you don’t want to deal with the hassle of tent poles and stakes, consider buying a tent with a fast installation such as a pop-up tent.
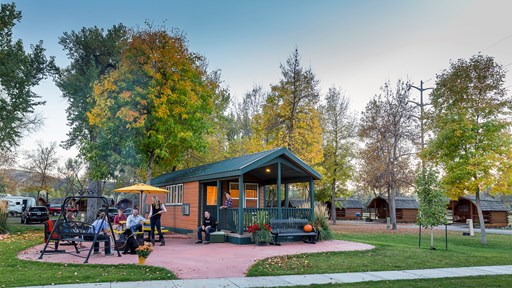
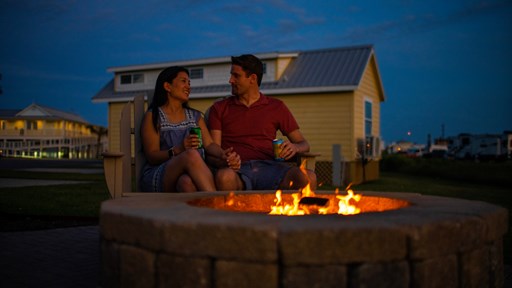
Pitch Your Tent at a KOA Campsite
Follow these tips, and you’ll be well on your way to mastering speedy tent setup. Why not try out your skills at a KOA campsite?

KOA has over 500 locations across North America, which means you can find a KOA close to wherever you want to go. With high-quality campgrounds, KOA offers a wide range of campsite options, including ideal clean, level Tent Sites. When you camp at a KOA campground, you will have access to fire features, laundry facilities, playgrounds, clean bathrooms and a KOA store, allowing you to maximize your camping trip. Be sure to make your reservation as early as possible, especially for camping trips during peak seasons.
Find and reserve a KOA campsite today!