Freezing temperatures in winter can take a toll on your RV, so before you put your RV away for the season, you need to winterize it. Winterizing is a process that requires emptying the water tanks and flushing antifreeze into your system to protect your pipes and tanks from microbial growth, bursting and other problems.
When temperatures are below the freezing point (32 degrees Fahrenheit/0 degrees Celsius), every new and used RV must be winterized, from Class A RVs to fifth wheels. Not winterizing can lead to extensive, costly damage to your RV that may delay your camping season next spring.
RV owners can learn how to winterize an RV to protect it and ensure it is ready for camping in the spring. Though RV repair shops offer winterization services, you can winterize an RV yourself with a few materials and tools and the right steps.
Why RV Winterizing Is Important
RV winterization protects your RV in cold weather. You need to winterize your RV when:
- Temperatures are expected to go below freezing: While you can winterize your RV when it is below freezing, it is best for your RV to get it done before temperatures plummet. Even one freeze can cause damage to your RV. Monitor the local weather and plan to winterize your RV while the temperature is still above freezing.
- You are putting your RV into storage: RVs should be winterized before they go into storage, regardless of the season. Winterizing your RV for storage brings you peace of mind — your RV will be protected if the weather turns cold unexpectedly.
- Traveling through cold climates: Driving through cold areas can damage your RV. Winterizing protects your pipes and tanks as you drive through the cold areas to reach your warmer destination. Just be sure to bring bottled water so you do not have to use the freshwater tank. You also should not pour any water down your drains as it could freeze in the gray or black water tanks.
Not winterizing your RV can have some devastating consequences. When temperatures go below freezing in the winter, any water left in your tanks could freeze and burst a pipe. Moisture that does not freeze could lead to bacteria growth. Additionally, damage from frozen water may lead to costly repairs not covered by most RV insurance policies.
RV Winterization Tools and Materials You Will Need
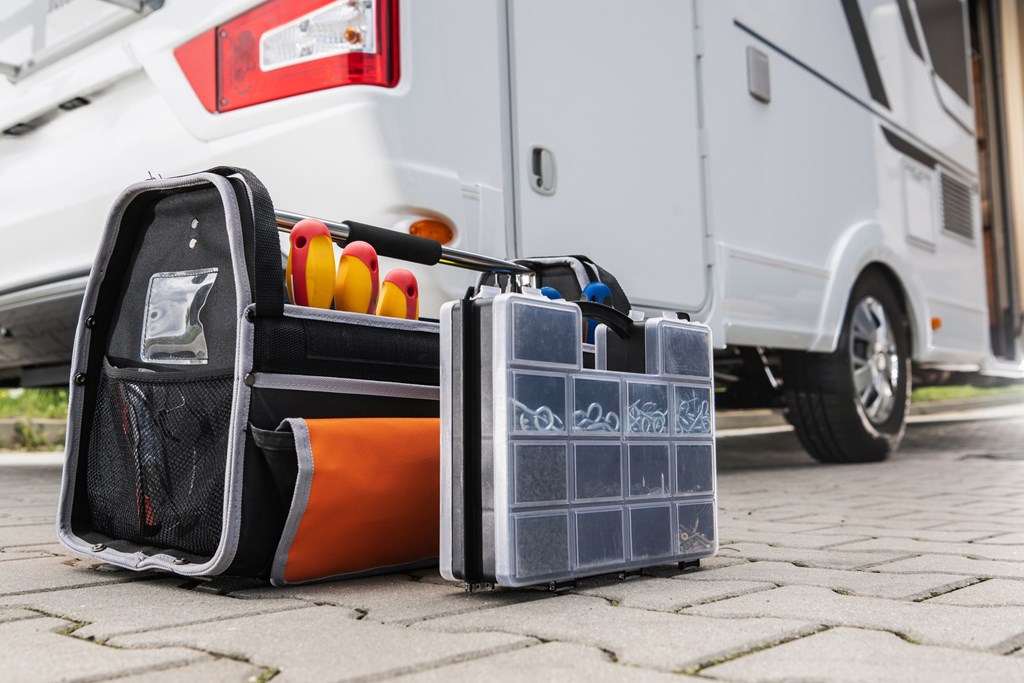
While trained service technicians at a local RV repair company can complete this service, winterizing an RV is a process you can do on your own with these materials:
- RV antifreeze: RV antifreeze replaces the water in your lines and stays in liquid form regardless of the temperature. The exact amount required varies by RV, but be sure you use RV-specific antifreeze since it is formulated for use in potable water systems. Regular antifreeze will not work.
- Cleaning products for the gray and black water tanks: The cleaning product removes microbial growth and debris from the gray and black water tanks.
- Water heater bypass kit: A bypass kit prevents antifreeze from going into the water heater. If your RV does not have a bypass kit, have one installed.
- Lubricant: A lubricant spray lubricates and protects your RV’s termination valves.
- Buckets: The bucket will catch the wastewater from the tanks and water heater so it will not spill on the ground.
- Socket wrench: A wrench can help you loosen and remove drain plugs and anode rods.
- Drill: A cordless power drill with the number 2 square bit may be necessary to remove service door panels and access other areas.
- Towels: Towels will clean up spilled or splashed water and dry your hands and tools.
- Flashlight: A flashlight can help you see in dark areas, so you can find inline water filters in your cabinets, set up the antifreeze siphoning kit, locate the drain plugs and more.
- Owner’s manuals: Get winterizing steps and tips from the owner’s manuals for your in-RV appliances, such as the toilet, refrigerator and air conditioning unit. If you have questions about the full winterization process, contact the RV dealer. You can also ask for a demonstration of how to winterize the RV before you take it off the lot.
Step-By-Step Guide to Winterizing an RV
Winterize your RV by following these steps:
- Turn off the water heater: If the water heater is on, turn it off to ensure the water inside is cool when you drain it later. If there are multiple places to turn your water heater off, turn them all off for your safety.
- Remove water filters: Remove all inline water filters to keep them clean and usable for next season or replace them if needed. The location of the water filters is different in every RV, but there are some common places you can find one. Look in the kitchen cabinet or under the kitchen sink, in the wet bay, at the convenience center, at the spigot, in the rear storage area or under the control panel.
- Drain the gray and black water tanks: Drain the black water tank, then the gray water tank to flush out the drain hose. Be sure to catch the wastewater in a bucket or drain the waste at a dump station since the contents of these tanks are not potable.
- Clean the gray and black water tanks: Use a cleaning wand, tank cleaner or your RV’s flushing system to clean the black and gray water tanks.
- Lubricate the termination valves: Use a lubricant on the termination valves to make them easier to use next spring.
- Drain the water heater: Once your water heater is cool, use a socket wrench to remove the anode rod or drain plug, then open the pressure relief valve. Use the wrench to unscrew and remove the drain plug to let all the water in the water heater drain. If you notice scalding, sediment or rust in the drained water, turn the water pressure on to flush the system again for a few minutes, then replace the plug or rod.
- Bypass the water heater: Use a drill to remove the water heater service door panel. Adjust the valves to bypass the water heater. The bypass prevents antifreeze from getting into the water heater since the water heater does not need antifreeze.
- Drain the fresh water tank and low-point drains: Remove the fresh water tank plug and drain the tank. Since the water is potable, you can catch it in a bucket or let it drain on the ground. Make sure the faucets are open to help with flow. When complete, close the faucets.
- Set up the antifreeze siphoning kit: Attach the siphoning kit or your RV’s siphoning hose to the antifreeze container. Open the valve and turn on the water pump to get the antifreeze flowing through your pipes.
- Open all faucets and valves: Open your external faucets and valves, starting at the lowest point and working up. When the water starts to turn pink — indicating the antifreeze has worked through the pipes — close them again. Repeat this process for the kitchen and bathroom faucets inside the RV, as well as the outdoor shower and outdoor kitchen faucets.
- Pour antifreeze down P-traps: Pour more antifreeze down the sink drains, shower and toilet to keep the P-traps from freezing.
- Run RV antifreeze through the toilet: The toilet needs to be flushed until the RV antifreeze comes through. This protects the toilet’s flush valve, which is another common failure point.
- Double-check the faucets: Make sure the faucets are closed, and the water heater’s heating element is off.
More Tips and Tricks for Winterizing an RV
Here are some more tips for winterizing your RV:
- Make your RV bug and rodent-proof: Bug and rodent protection measures include removing all food, spraying anti-rodent foam in crevices, setting ant and roach traps, sprinkling shavings of perfumed soap near crevices and in cupboards, and covering vents with mesh screens.
- Store your RV inside: Keep your RV undercover, like in a storage building or under a breathable tarp, to protect the exterior from the harsh winter elements and sunlight.
- Clean inside the RV: Get spring cleaning done before the winter by vacuuming the floor, wiping down surfaces and removing the bedding.
- Clean the awning: Remove dirt and debris from your awning using a fabric cleaner. Make sure the awning is dry before rolling it up to prevent mold and mildew growth.
- Encourage airflow: Keep your RV from getting musty by opening the cupboard doors and propping the refrigerator open.
- Flush the sewer hoses: Flush waste and debris from your sewer hoses before storing them.
- Keep the battery indoors: If your RV will be in storage for several months, consider removing the battery and storing it somewhere warm and dry. This helps extend the battery’s life and keep it charged. Put the battery on top of cardboard or a mat in case it leaks.
- Replace corroded anode rods: If the anode rod in your water heater has scaling or corrosion, replace it with a new rod.
- Seal the windows and doors: Check all of the outside seals and re-caulk existing areas to keep the rain and snow out of your RV.
- Wipe up any excess RV antifreeze: Be sure to wipe up residual RV antifreeze from sinks, shower stalls and toilet bowls to avoid staining.
Common Winterizing Mistakes to Avoid
Some errors RV owners make when winterizing their RVs include:
- Adding antifreeze where it is not needed: The fresh water tank and water heater do not need antifreeze. If you forget to bypass these systems, you will waste antifreeze and have difficulty removing it when dewinterizing.
- Poorly attaching the drain hose: When draining the black and gray tanks, make sure the hose is attached at both ends. An unsecured hose may leak, requiring you to clean up the not-potable contents.
- Failing to turn off the water heater: The water heater cannot be on or under pressure when you drain it. The water will be hot, and you will risk scalding your skin.
- Forgetting to run the outdoor shower: You need to open every tap to run antifreeze through it, including your exterior faucets like the outdoor shower. Otherwise, the outdoor pipes, shower head and faucet could freeze.
- Not winterizing all appliances: Some RVs have other appliances to winterize separately, like washing machines, ice makers and dishwashers. Follow the manufacturer’s guidelines or specifications in your owner’s manual.
Why Trust Kampgrounds of America for Information on How to Winterize an RV?
KOA is the leading name in camping, with over 500 locations across the United States and Canada. Since 1962, KOA has been helping families create amazing camping experiences with plenty of unforgettable memories.
RVs are an important investment. KOA helps you protect and gain the most value from this investment with RV advice articles on the blog. These posts have essential information for all RV owners, including:
- Guide to Dewinterizing Your RV
- How to Prevent Mold, Mildew and Fungus Growth in Your RV
- What to Know When Buying an RV
- How to Work Remotely From Your RV
Choose KOA as Your Camping Destination
Have a fun camping experience with your family at KOA. With hundreds of campgrounds to choose from, you are sure to find a KOA near your destination. Check out the RV Sites and reserve a site today!
About the Author: Kampgrounds of America
Kampgrounds of America is the largest system of open-to-the-public campgrounds in the world, with over 500 locations across the United States and Canada. Founded in Billings, MT in 1962, KOA’s family of campground brands – KOA Journey, KOA Holiday and KOA Resort – today serve more than a million camping families each year. KOA is dedicated to “connecting people to the outdoors and each other” by providing people with a variety of camping experiences and the information they need to make the most of their camping trip. Read more of their camping and travel resources by visiting KOA.com/blog.


