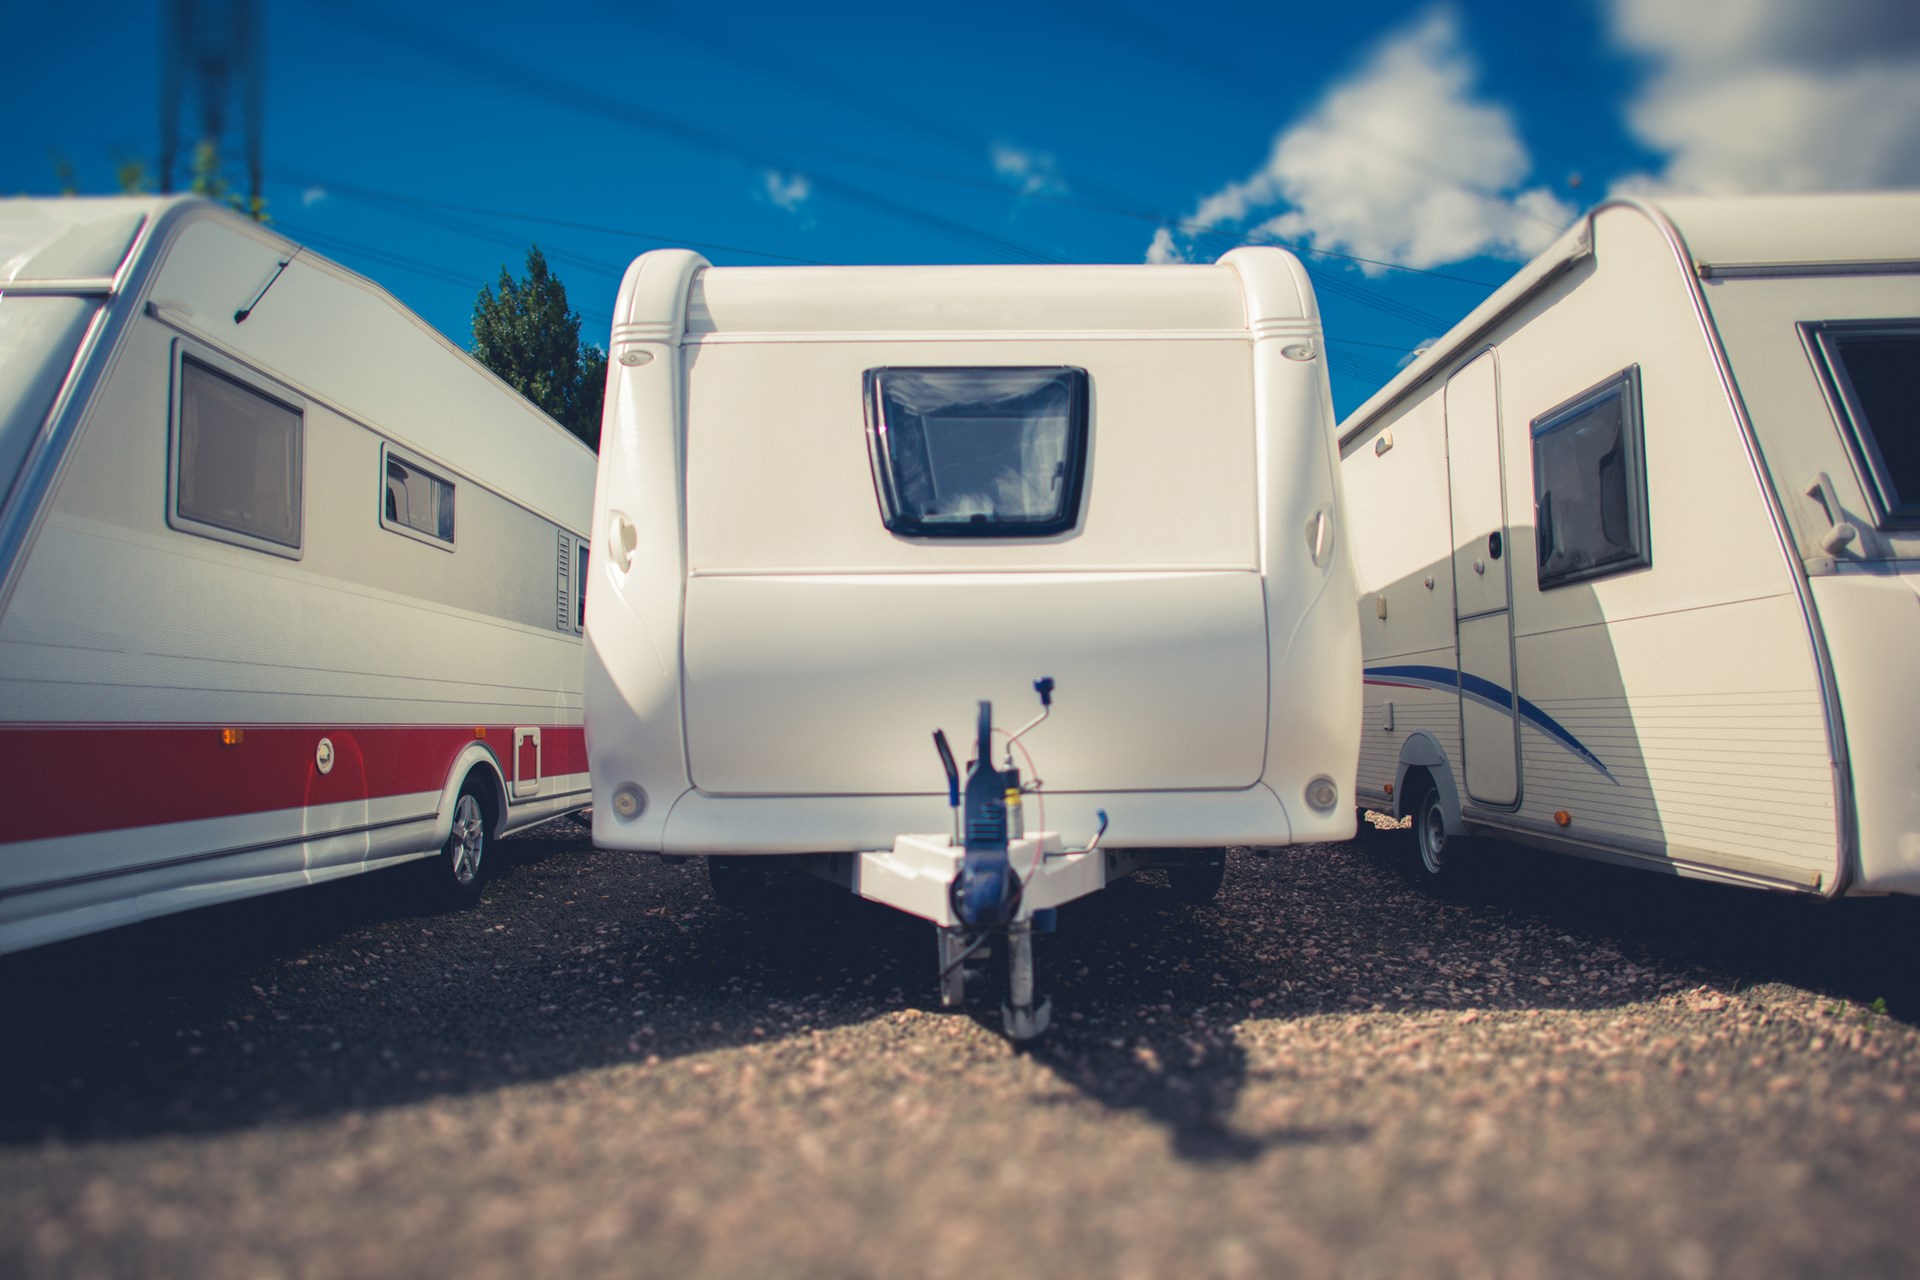
Cooler nights and less daylight signal one immutable fact: The end of travel season is near. If you’re planning to store your RV for the winter, the process is considerably more complicated than finding space in your driveway. As fall turns into winter, you’ll want to think about spoiled food, invading rodents, harsh weather, and other unpredictable elements that might wreak havoc on your RV while it’s in storage and off the road.
Fortunately, following a few simple steps can save a lot of headaches when you’re ready to hit the road again next spring. So as you look into how to store your RV for winter over the coming months, here are 11 tips to keep your rig in tip-top shape.
Storing Your RV For Winter? Here’s What You Need to Know
1. Clean and Inspect the Interior
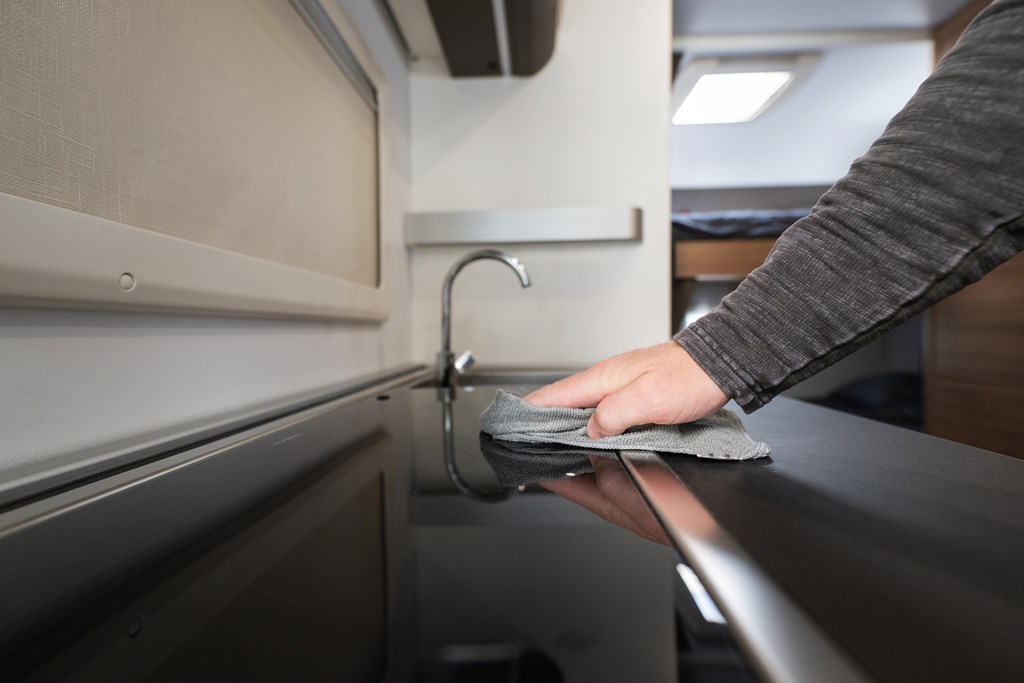
By preparing the interior, you can simultaneously prevent pests from entering and ensure your RV is ready for spring. Take out all food, trash, linens and other items rodents and insects might like. Once everything is gone, the next step is to clean everything and unhook your appliances.
From the living area to the bathroom and kitchen, clean your cabinets, refrigerator, freezer, shelves, tabletops and appliances thoroughly with disinfectant and all-purpose cleaners. Leave the doors of your cabinets, fridge and freezer slightly open when you finish cleaning for ventilation. Ensure you also vacuum and mop the floors.
If your RV has slide-outs, ensure the floors are clean so the slide-out can move in easily once you need to close it. Putting your RV in storage requires the slide-outs to stay in during winter. Depending on how many items you can keep in your RV during the off-season, you can use your RV’s tables for storage. Pack some of your boxes or camping supplies on top of the table so you know where they are.
2. Protect Against Pests
When you put your RV away for the winter, you probably will make limited visits or not go inside it again until you start prepping for the next camping season. While you may not go inside your RV often during the winter, other creatures can if you do not know how to prepare your RV for storage.
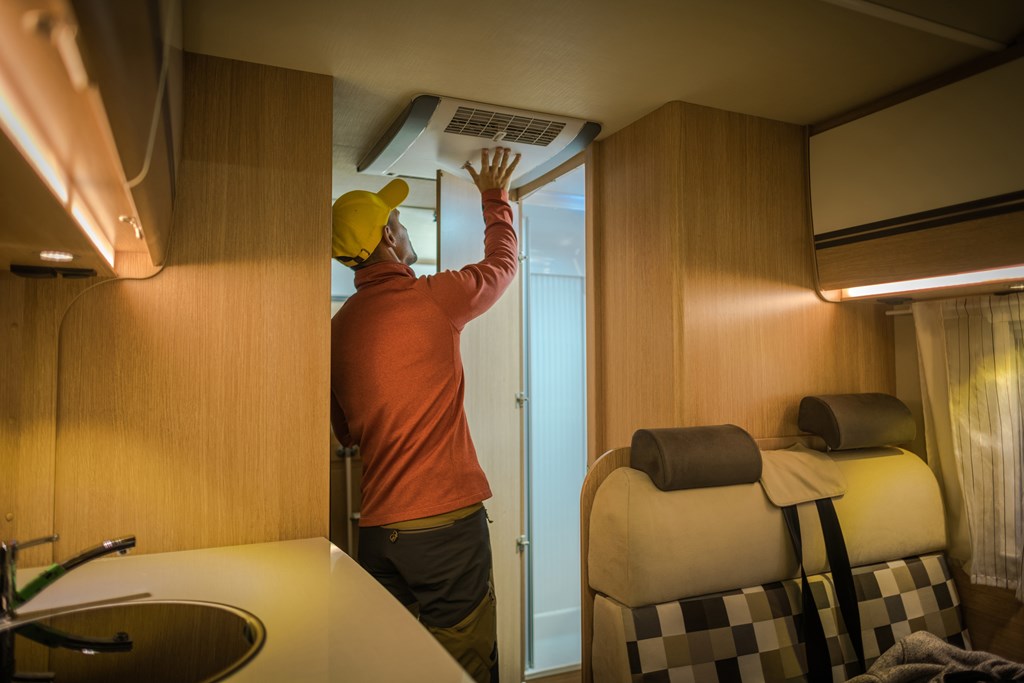
Check the roof and appliance vents and cover them once you shut off the gas. It would be best if you also covered the air conditioner filters after changing them.
Another vital step to protecting your RV from pests is thoroughly examining your vehicle’s underside. Ensure there are no gaps or loose panels where rodents or bugs can sneak in.
3. Invest in a Cover
Whether you purchase a standard-issue RV cover or one tailored to your specific model, an RV cover is essential for winterizing your vehicle. Most covers are water-repellent and can protect against bird droppings and fallen tree limbs (if stored outside), stop scratches, and prevent dirt and dust from building up over the winter. Most covers also offer UV protection to preserve your vehicle’s paint job.
Don’t settle for a basic, polyethylene-coated tarp. These might offer short-term protection against the elements, but their lack of rigidity means the tarps can fly away or leave gaps between the tarp and your RV, allowing moisture to build up and cause damage to the vehicle.
4. Drain the Water System and Prepare the Plumbing
Frozen pipes pose a constant threat to your home every winter, so why would an RV be any different? Fortunately, it’s easy to prepare your plumbing for the elements. First, empty all fresh and wastewater at a nearby dumping station. While this certainly helps guard against frozen pipes, it also prevents stagnated water, which can pollute the pipes and cause an unpleasant odor when you start traveling next spring.
You’ll also want to pump RV-specific, non-toxic antifreeze into your system to prevent pipes from freezing. Note that more complex plumbing systems may require additional work or outside help, so consult your owner’s manual for further information. (For instance, draining the water heater may need special equipment or processes that would be easier for a seasoned professional.)
Once you finish taking care of the water system, ensure the water pump and drain lines are off.
5. Clean the Kitchen
It’s no one’s favorite job, but cleaning your kitchen will pay dividends over then winter. First, clear out your refrigerator, freezer, pantry, and other storage areas of all food. This helps keep rodents away (more on that later), but it also protects against mold and rotten foods that can leave behind unpleasant odors.
While you’re at it, remove all canned good and glass bottles from your RV. Temperatures fluctuate wildly between fall, winter, and spring, which can cause these containers to explode or become unsealed. Finally, for safety’s sake, turn off your liquid propane tank and all propane-powered appliances.
6. Save Your Batteries and Engine
Keep your energy source safe for your first camping trip in the new season by disconnecting your batteries and stabilizing your fuel. Take the batteries out and store them in a cool and dry place. While batteries typically lose some charge in storage, the cool temperatures slow the decline. Check the batteries monthly to ensure they stay appropriately charged, lessening the chance of them freezing or getting damaged.
Protect your engine by stabilizing the gas left in your camper. Over time, gas can go bad and turn into sticky resin deposits, damaging engines. You can use a fuel stabilizer to prevent the deposits from forming. Add the stabilizer according to the product’s directions and fill the rest of the tank with gas. Once that is complete, start the engine and generator, letting it run for several minutes so the stabilizer can get through the entire fuel system.
7. Prep the Exterior
Prepping your camper’s exterior will help it endure natural wear and tear and ensure each part will be ready for the spring. Inspect the sidewalls, roof, windows, doors, seams and access panels. Reseal or caulk any cracks or holes you find to prevent water from entering and causing moisture damage. Before caulking and sealing, ensure you use the correct type for your RV and climate.
As part of your inspection, check your tires to ensure there are no holes. Once your tires look good, inflate them to the manufacturer’s maximum pressure, so you do not have to worry about a deflated tire come spring. Wherever you are parking your RV for the winter, consider using plywood blocks under each tire to keep the rubber off the ground. You should also set tire chocks to prevent the wheels from rolling and use tire covers to prevent any UV damage.
If you have RV undercarriage storage, ensure you empty and clean it to prevent bacteria and mold growth. Once you finish prepping your RV, it is ready for storage. Whether you park your RV in a garage or keep it outside, having your RV under a cover in storage can further protect it from damage.
8. Find a Safe Place to Store Your RV
One of the most important steps in winter RV storage is to find a place to store your rig. If you’re storing an RV in your driveway or yard, you’ll want to look up city or county codes ( and your homeowner association bylaws) to make sure your idea doesn’t run afoul of established rules. If you get the green light, look for a location that’s sheltered from the wind, rain, and snow–and that isn’t threatened by falling tree limbs. Ideally, your storage space should be as covered as possible to stop moisture.
Of course, several towns and cities offer safe, secure storage areas specifically for RVs. These are typically guarded, sport security features (like cameras and regulated access), and are usually temperature-controlled. Once safe for the winter, you can relax and start thinking about where you want to take it once the warm weather comes back next year.
9. Invest in Tire Covers
After removing dirt and debris from your tires, you will want to find a cover that effectively protects them from the winter elements. Extended exposure to frost and ultraviolet rays can damage your tires, and some smaller animals may use your tires as a shelter in the cooler months.
In the instruction manual for your tires, you should see a recommended maximum cold tire pressure. Inflate your tires to the recommended pressure before placing the cover on them. You can also invest in RV skirting, which offers insulation and protection for the entire underside of your RV.
10. Fill up the Fuel Tank
Ensuring your fuel tank is full before placing it into storage for the winter can help keep moisture from forming in the fuel system. For additional protection, you can use a fuel stabilizer. It is also wise to change your oil and filter before placing your RV into storage. Having existing oil sitting in your tank for an extended period it may cause corrosive acids to accumulate.
11. Know Where to Park Your RV
Even if you have a cover for your RV, it is best to avoid parking it under trees or on grass, dirt or sand. Over the winter, dirt may collect over the exterior of your RV and freeze, which can cause damage. Additionally, if you park on a soft surface, your RV may sink into the ground and become difficult to move in the spring. During winter storms, tree branches may also fall onto your RV and cause damage. It is best to park your RV somewhere flat and dry without any trees overhead to ensure it is safe throughout the winter.
Experience Winter RV Camping at Kampgrounds of America
While you can rest assured your RV is safe over the winter by following the tips above, if the urge to go camping strikes, KOA is here. Whether you want to go somewhere warmer for your winter or have a colder northern camping experience, KOA has a location for everyone. Many campgrounds are open 365 days a year for campers to experience the joys of camping regardless of the season.
Before heading out on your camping trip, it is essential to give your RV the same level of inspection as you would to store it for winter. Some ways to prepare for your winter camping experience include:
- Ensuring your holding tanks have an antifreeze treatment.
- Checking that you have the correct level of insulation to keep the inside of your RV warm.
- Not storing water hoses with water inside, as they may rupture due to expansion and contraction.
- Taking an electric blanket and hot water to stay warm during the night.
- Using shrink wrap to insulate windows and doors and prevent heat from escaping.
Book Your Stay at KOA Today
With campgrounds across the United States and Canada, it is easy to find a KOA to meet all your winter camping needs. Campers can choose from Back-In, Pull-Thru and KOA Patio® Sites to find the perfect option for their RV. Many campgrounds also feature amenities like laundry facilities and clean bathrooms, as well as campground-specific attractions such as pools, hot tubs and dog parks. Take advantage of beautiful campgrounds and convenient amenities by booking your stay at a KOA today!
About the Author: Kampgrounds of America
Kampgrounds of America is the largest system of open-to-the-public campgrounds in the world, with over 500 locations across the United States and Canada. Founded in Billings, MT in 1962, KOA’s family of campground brands – KOA Journey, KOA Holiday and KOA Resort – today serve more than a million camping families each year. KOA is dedicated to “connecting people to the outdoors and each other” by providing people with a variety of camping experiences and the information they need to make the most of their camping trip. Read more of their camping and travel resources by visiting KOA.com/blog.


