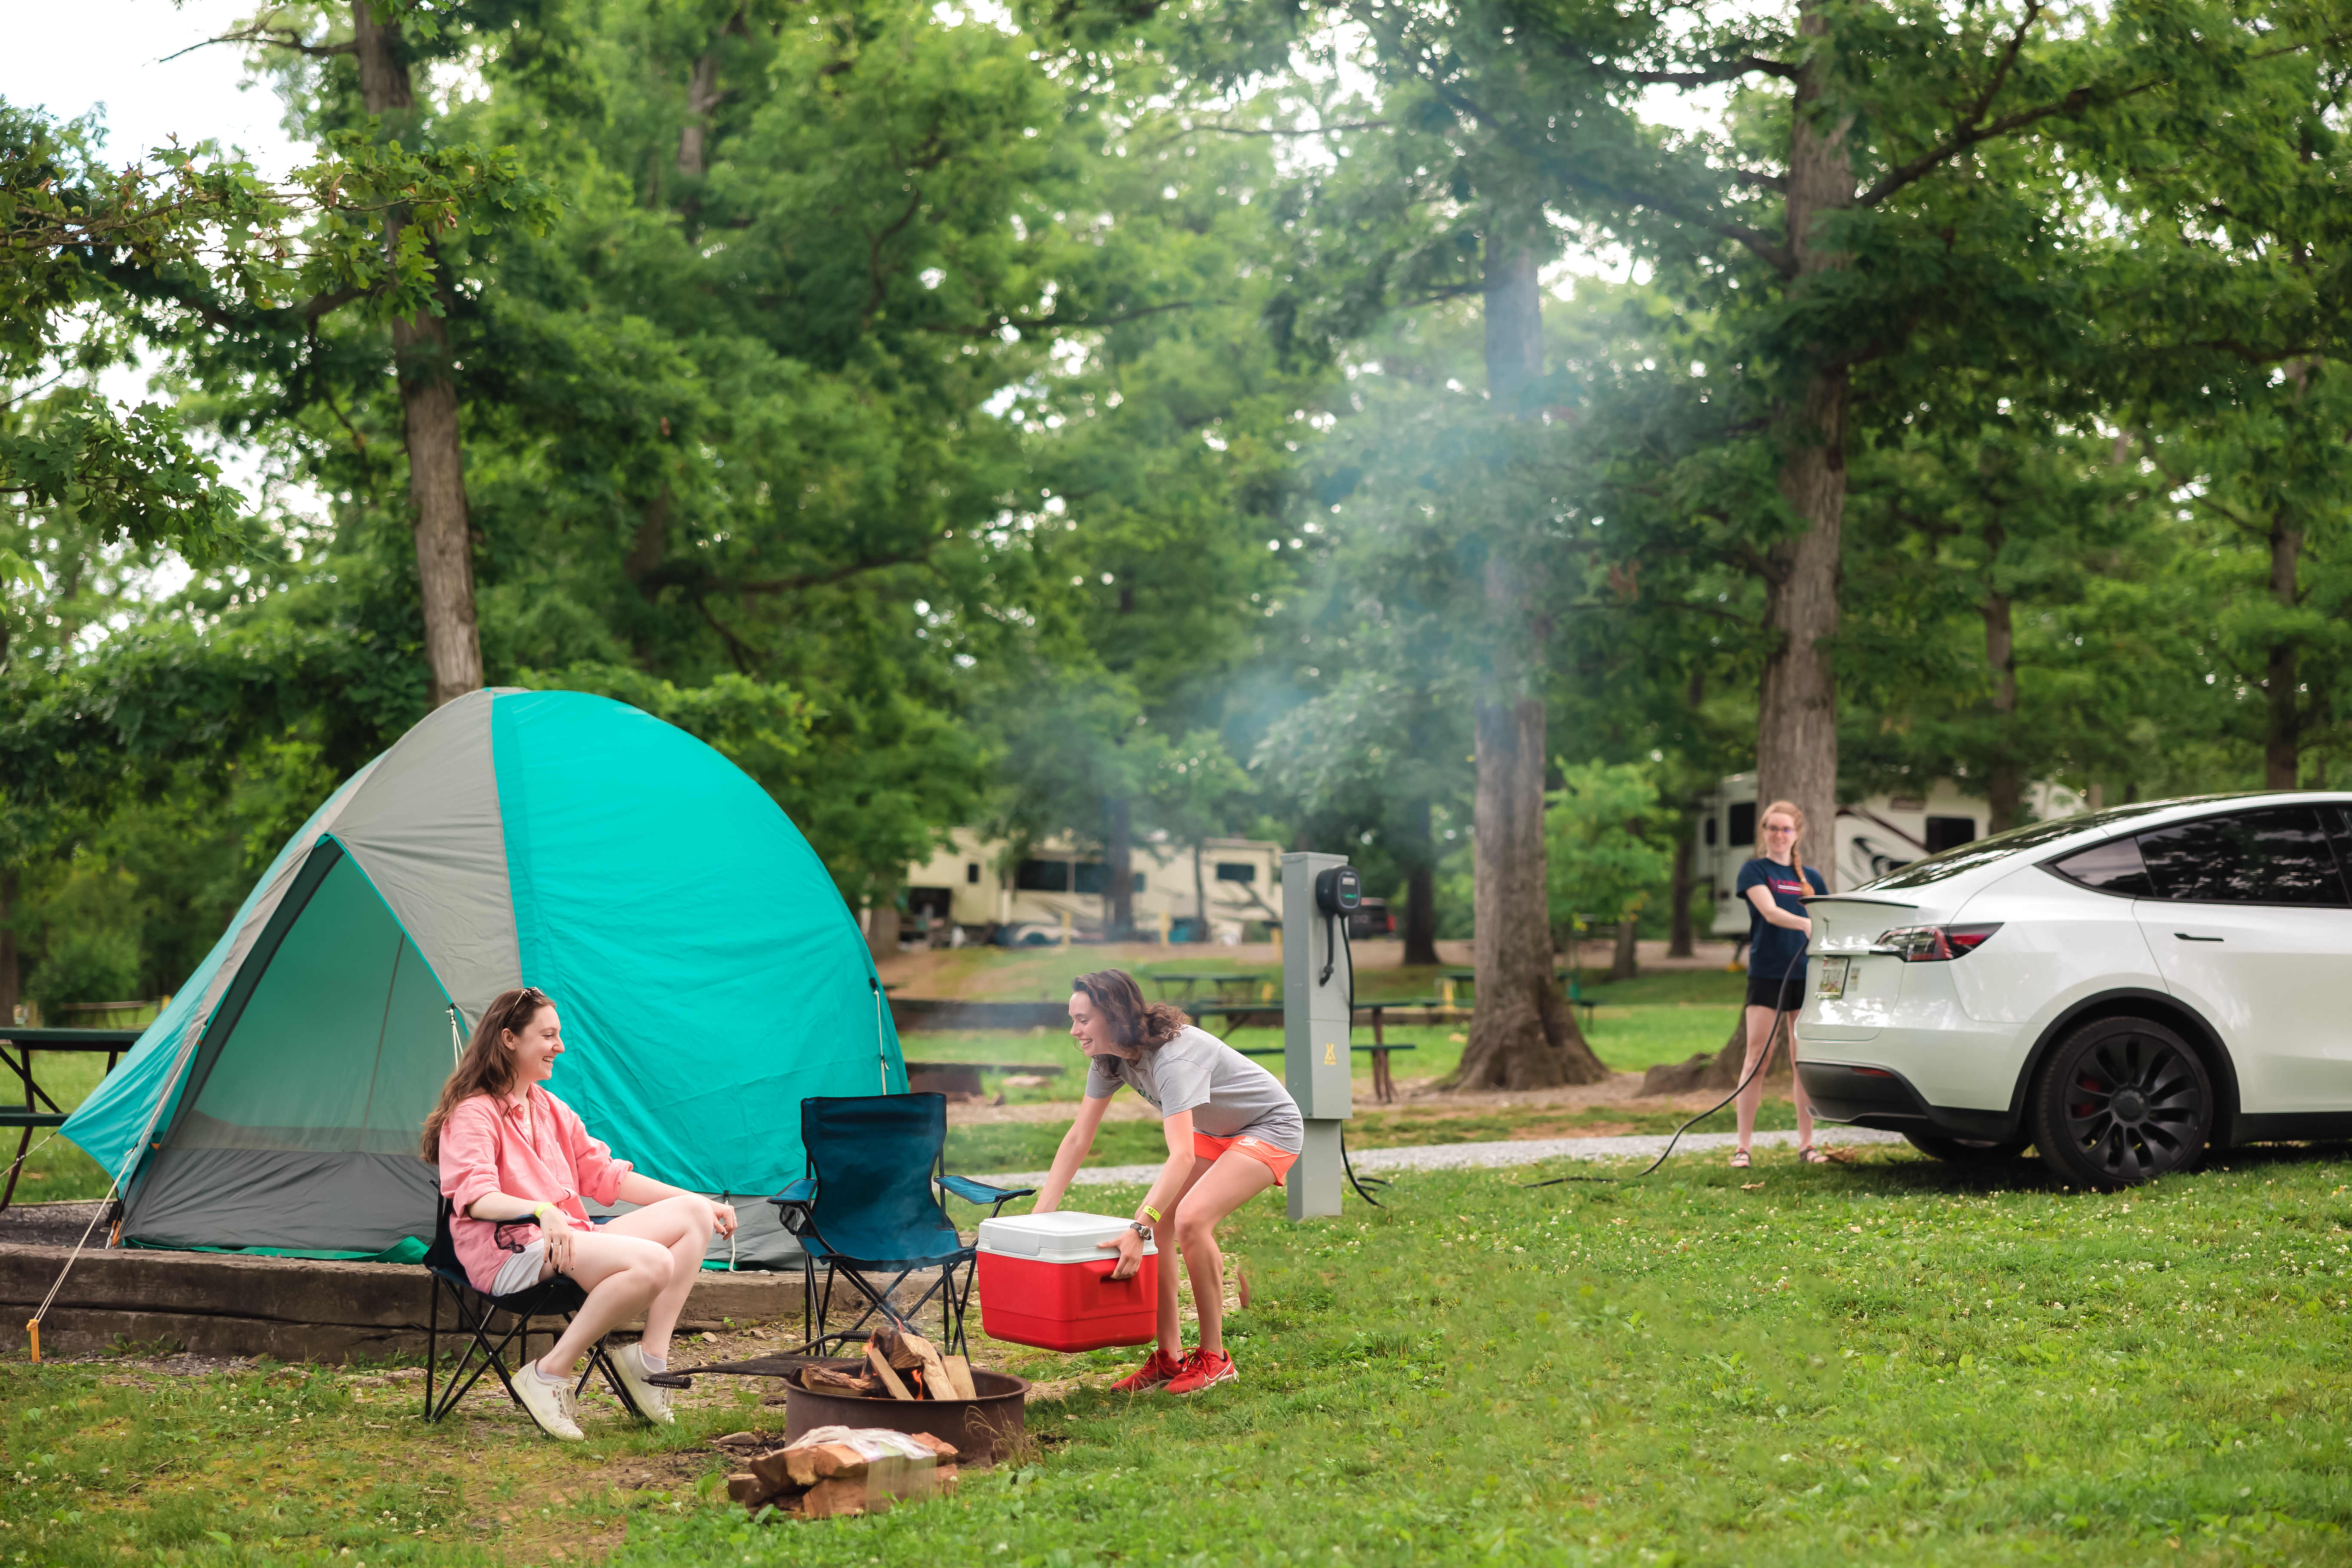
After you have pulled into your site at the campground, you will need to level your RV. Every site is different — some are pretty level, while others are several inches off. Either way, you will need to automatically or manually level your RV to make it comfortable and safe to be in during your stay. Follow these tips for leveling an RV to make sure you are doing it the correct way.
Why Is It Important to Level an RV?
Leveling your RV offers several benefits, including:
- Support for your appliances: Your RV’s refrigerator, water heater, toilet and other systems need to be level to function correctly. If you park your RV at an angle, it can make your systems stall or shut down.
- Proper functionality for the internal doors: When the RV is level, the cabinet, closet and bathroom doors will open and close correctly and stay in place.
- Better comfort and sleep quality: Living in your RV is most comfortable when it is level. It also keeps your bed level, so you can get a good night’s sleep.
- Improved safety: A level RV is more stable, reducing the risk of an accident.
- Preserving your RV structure: When your RV is level, water will drain away from your rig, helping to prevent leaks, water damage and mold growth.
Tools Needed for RV Leveling
Here are the tools you will need to level your RV:
- RV level indicator: An RV leveler — bubble level — has a small liquid tube with a bubble to indicate how many inches the RV is unlevel. When the bubble is in the center, the RV is level. You can set the RV level indicator on a countertop, table or floor. Some levelers are designed to adhere to the RV wall instead.
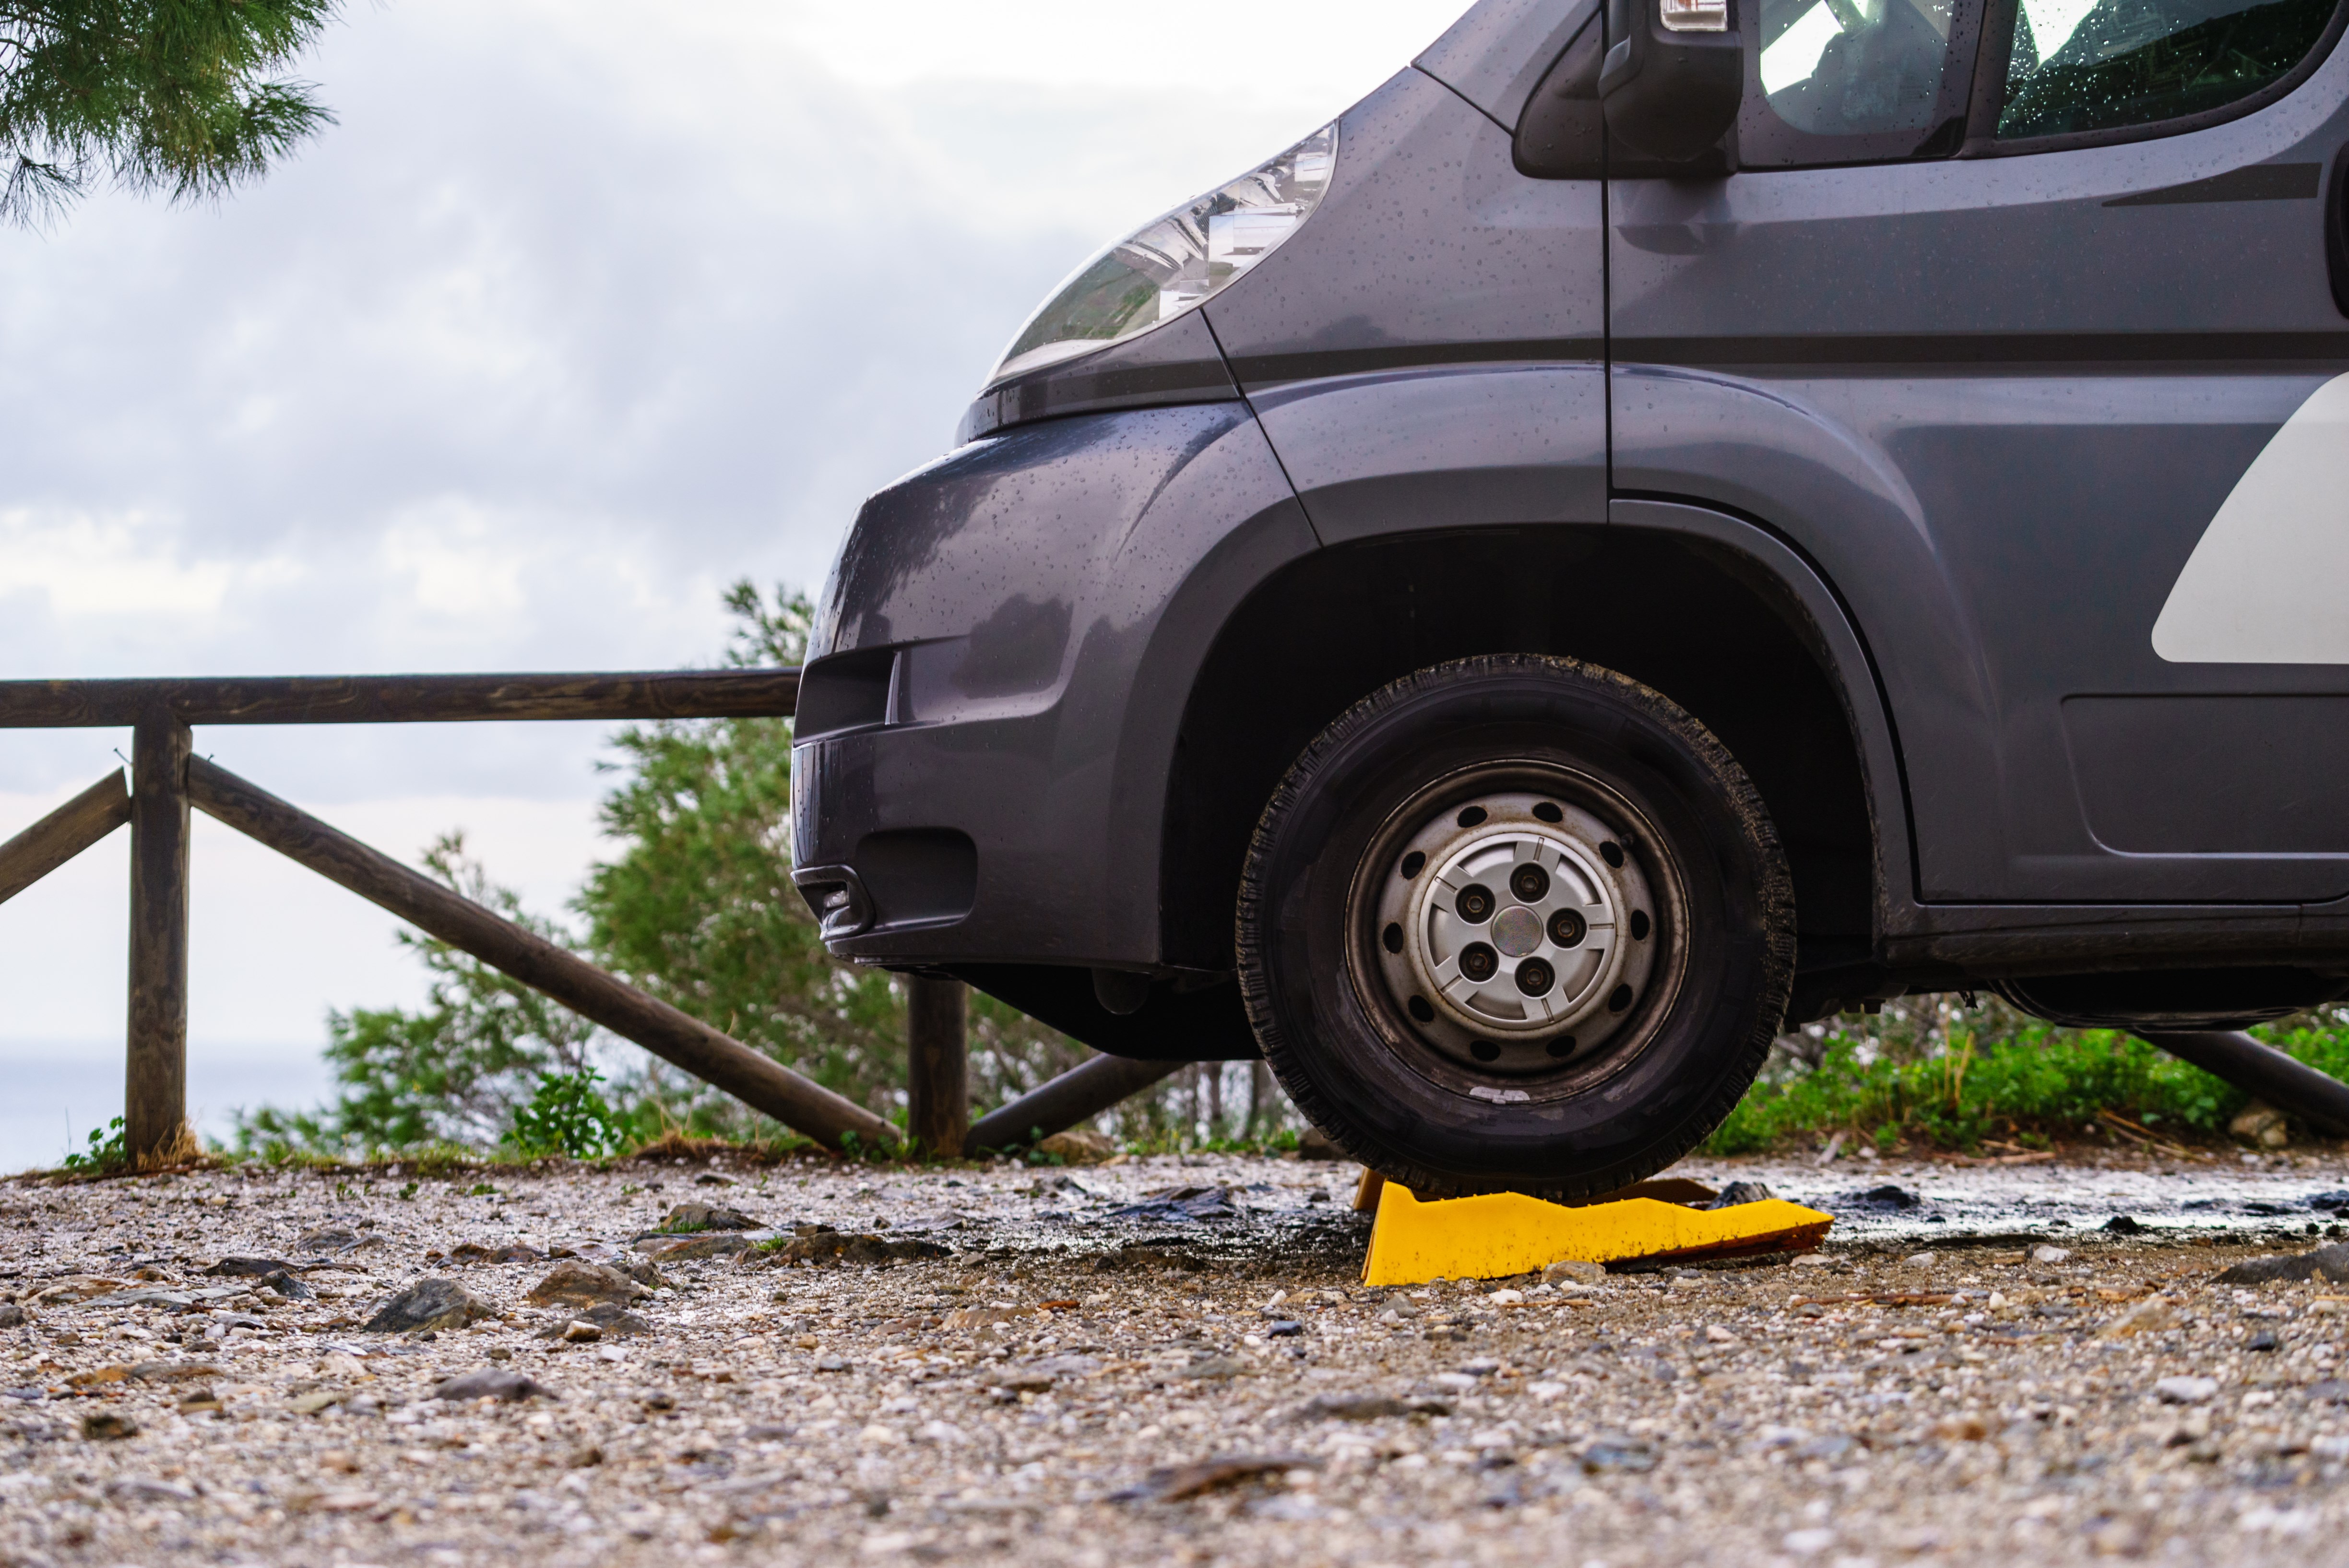
- RV leveling blocks: Leveling blocks are what you will drive or pull your RV onto to make it level side to side or front to back. You can purchase leveling blocks of various sizes and weight capacities from a camping supply store or use 2×6 wood planks.
- Wheel chocks: Wheel chocks stabilize the RV wheels to prevent your RV from rolling, especially if the site has an incline.
- Crank handle or attachment: A jack crank handle raises or lowers the trailer’s jack manually. You can use the jack attachment that comes with your RV or a ¾-inch or 19mm socket drill attachment to power the crank faster.
Step-By-Step Guide to Leveling Your RV
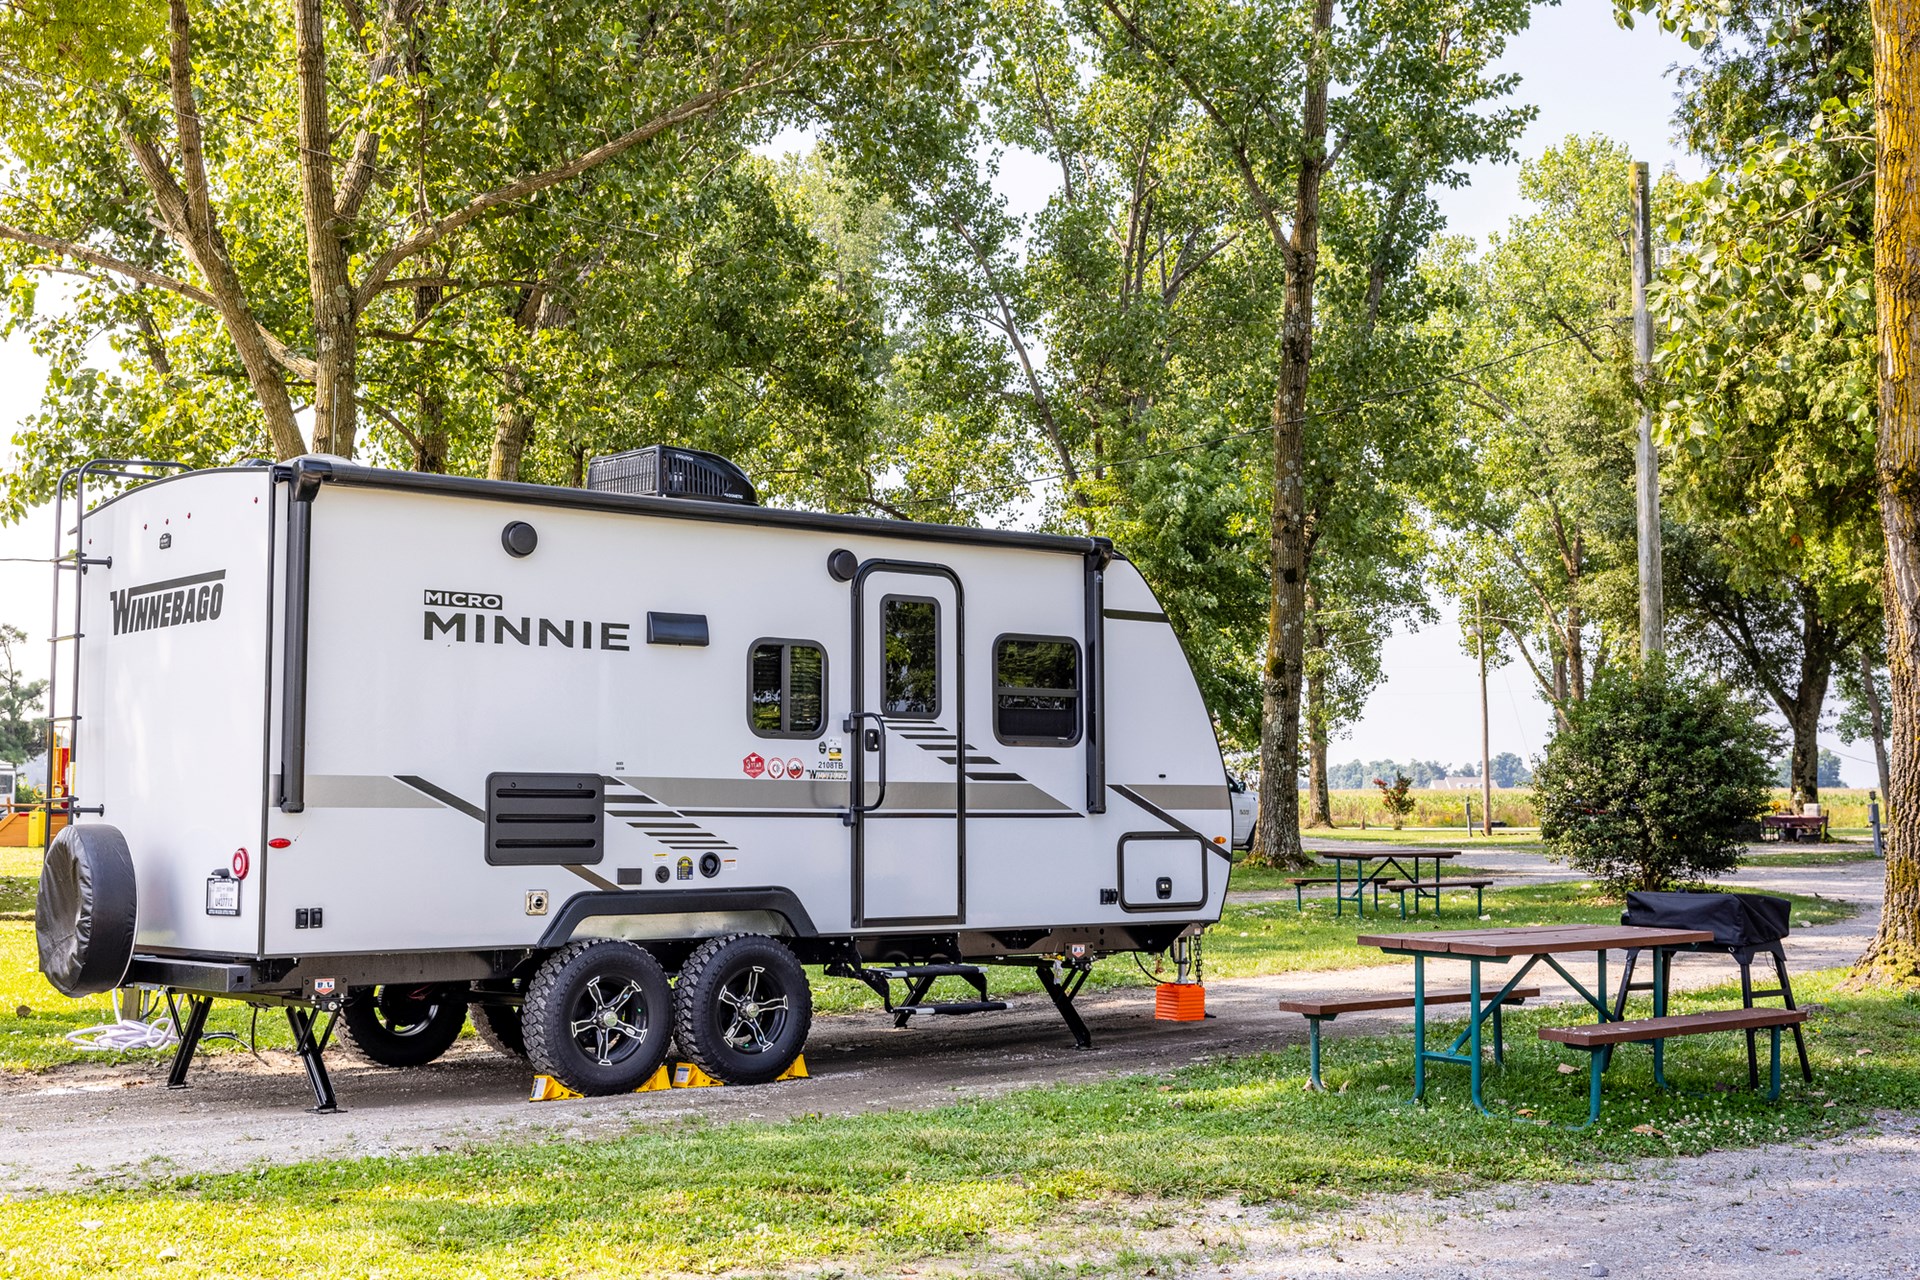
The steps for leveling an RV are slightly different for every type. Motorhomes can be leveled front to back and side to side at the same time, where these steps must be done separately when leveling trailers and fifth wheels. However, the general idea is the same — you want your RV level and secure while it is parked at the site.
How to Level an RV With Automatic Leveling Jacks
If you have an RV with jacks, the leveling process is quite easy. RVs like Class A motorhomes have automatic leveling systems with hydraulic jacks to level with the push of a button. Here is how to level your RV automatically:
- Park your RV in the most level place of your site — where the bubble in your RV level indicator is as close to the middle as possible.
- Place the jack pads on the ground to prevent the hydraulic jacks from sinking into the ground.
- Lower the jacks using your RV’s automatic leveling system by pushing the corresponding button. If you are unsure how to use the system, follow the instructions in your RV’s owner’s manual.
How to Level an RV Without Jacks
Many Class B and Class C motorhomes do not have an automatic leveling system. If your RV does not have jacks, you will have to level it manually with leveling blocks. Follow these steps to make your RV level:
- Back in or pull through your campsite. Be aware of uneven ground, and try to park in the most level spot.
- Check the RV leveler to assess the level from front to back and side to side.
- Set RV leveling blocks under the front or back wheels for front-to-back adjustments and under both driver or passenger-side wheels for side-to-side adjustments. If you need to adjust front-to-back and side-to-side, use leveling blocks on the lowest corner.
- Drive your RV onto the blocks, positioning the tire on the center of the highest block.
- Look at the RV leveler again to make sure the bubble is centered. If it is not, add more leveling blocks or change your position on the site as needed.
How to Level a Towable RV Side to Side
Leveling a trailer or fifth wheel side to side is much like leveling for an RV — you will need to drive the trailer onto RV leveling blocks. Follow these steps:
- Back the trailer into or pull it through your site, choosing the most level place.
- Set leveling blocks under the right-side or left-side tires, depending on which side is lower.
- Pull the trailer onto the RV leveling blocks until the tire is in the center of the highest block.
- Place wheel chocks on both sides of the tire — not on the leveling block — to prevent the trailer from rolling.
- Disconnect the tow hitch.
How to Level a Towable RV Front to Back
Front-to-back leveling for a trailer or fifth wheel does not require RV leveling blocks — you will only need to adjust the jack. Follow these steps after you have leveled the trailer side to side:
- Raise or lower the landing jack on your fifth wheel or tongue jack on your trailer until the front-to-back RV level indicator shows the bubble in the center. The jack may be drill-powered or a manual hand-crank style.
- Set jack pads on the ground underneath the stabilizing jacks.
- Lower or place your stabilizing jacks until they touch the jack pads to stabilize the trailer.

Common RV Leveling Mistakes to Avoid
When leveling your RV, avoid making these mistakes to keep you, your family and your RV safe:
- Parking on a steep slope: Sites with a 3 to 5% grade are safe. Grades of 5 to 10% need more safety measures, like stabilizing jacks and wheel chocks. Do not park your RV at a site with a grade higher than 10%. RVs can’t stay stable at these angles, and it stresses your RV’s systems.
- Leveling an RV with the slides out: During the leveling process, it is safest to keep your RV’s slides in. By leveling first, you can make sure your RV is stabilized and balanced to support the weight of the extended slide. When the RV is level and stable, you can extend the slides. Some RVs with automatic leveling systems can calibrate with the slides out — check your RV’s owner’s manual for the manufacturer’s recommendations.
- Using too many leveling blocks: While using leveling blocks is safe, too many can be risky. If you find you need to go up on more than three leveling blocks, park your RV a different way on the site or find a more level site to camp in.
- Neglecting to use jack pads: Stabilizing and hydraulic jacks should not sit on the ground or site pad. These surfaces can be soft, and the weight of the camper will push the jacks into the ground. In hot weather, jacks can sink into asphalt.
- Not leveling the steps into the RV: Uneven steps can damage doors and be hazardous to use.
- Using stabilizer jacks to level the RV: Stabilizer jacks are designed to make the unit more stable when you walk around inside the RV. They are not designed to lift the RV and will collapse if they are used for that purpose.
- Parking on soft ground: Soft ground lets the RV’s tires sink and can make it difficult to level the RV. It can also put added strain on the RV’s systems.
Why Trust Us for Information on How to Level an RV Without Moving It?
Kampgrounds of America has been the leading name in camping, offering premier sites, family-friendly amenities and dedicated service since 1962. KOA has become the world’s largest private campground chain, with over 500 campgrounds in the United States and Canada. KOA’s experience in the camping world makes them a trustworthy source for RV maintenance information.
The KOA Camping Blog has several RV advice posts with helpful and detailed information about taking care of your RV. You can gain insights on:
- How to fix common RV water leak issues.
- How to prepare your RV for storage.
- How to grease RV wheel bearings.
- How to prevent mold and mildew growth in your RV.
Reserve a Site at a KOA Campground Today
Leveling your RV is an important first step in setting up your campsite. With the right tools and knowledge, you can get your RV level and start relaxing at your site right away.
KOA Campgrounds offer level RV Sites that make setting up camp easy. Explore the RV Site options and reserve a site today!
About the Author: Kampgrounds of America
Kampgrounds of America is the largest system of open-to-the-public campgrounds in the world, with over 500 locations across the United States and Canada. Founded in Billings, MT in 1962, KOA’s family of campground brands – KOA Journey, KOA Holiday and KOA Resort – today serve more than a million camping families each year. KOA is dedicated to “connecting people to the outdoors and each other” by providing people with a variety of camping experiences and the information they need to make the most of their camping trip. Read more of their camping and travel resources by visiting KOA.com/blog.