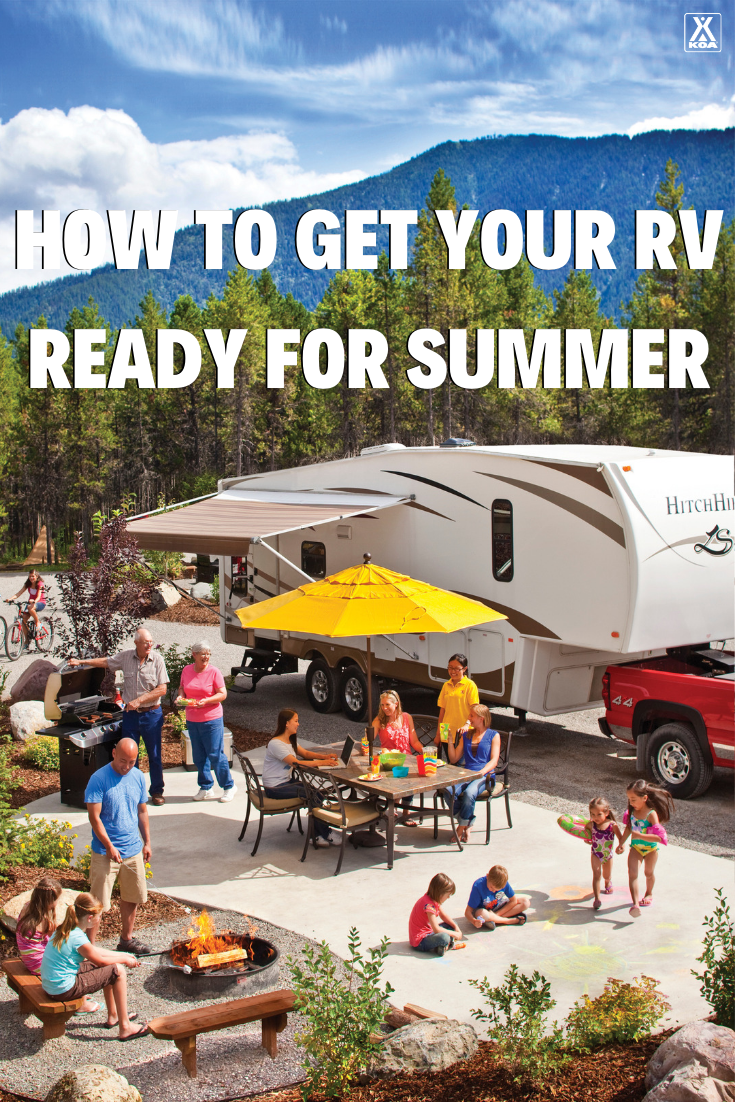
With warmer temperatures and longer days, now is the time to brush the dust off the RV and get your rig ready to hit the road for summer adventures. With this handy checklist, you’ll have all the insight and insider tips you need to make sure your RV is in tip-top shape, and you can travel with confidence wherever your journeys lead. Let’s get rolling!
Top Off the Tires
Before opening the doors to your rig, inspect the exterior of the RV, starting with the tires. Give the lug nuts a twist to ensure that they’re nice and tight. Check the tire pressure and air up any low tires. Look for worn-down treads or uneven wear on the tires. If it’s time for new tires, better to get tackle the process now, instead of right before your first trip.
Check for Leaks
Nothing ruins a camping trip quite like discovering that the rain outside is making its way indoors thanks to a leaky roof. In addition, water damage can cause mold, rot, moisture build-up, and a slew of other problems that are costly and time-consuming to fix. So head off any potential issues by inspecting seams, caulking, and gaskets. If you see any holes, tears, cracks, or gaps, get to work, replacing worn-out gaskets or removing and replacing old caulking

Clean Your Water System
If you use RV antifreeze for your water lines over winter (which you should), you’ll need to flush out the system before using your water lines. You can opt to do this yourself (there are lots of YouTube videos to help), or have a professional clean out the system.
Next, check out the whole water system. Be sure to set the water bypass valve in the “normal” position and keep all faucets closed. Use a city water connection to fill up your RV, and turn on all hot and cold faucets during the process. Keep them on until the water has a steady flow. Then, check for any leaks under sinks, around the water heater pressure safety valve, and around the water heater drain plug. After a thorough inspection, you can then turn off the faucets and disconnect from the city water connection.
Finally, fill up your freshwater tank and pressurize the system with your pump. After the pump has pressurized, turn the pump off and wait 30 minutes. Then turn the pump on. If it makes noise, that indicates there was a pressure drop, and you have a leak in your system. Again, you can do a DIY fix on the leak after inspecting the lines, or if that’s too much for your skill set, it may be time to take your RV in for servicing.
Power Up
Keep your batteries in working order at the start of each season by inspecting and testing your battery bank. (Be sure to wear safety glasses and protective gloves before any battery inspection.) Begin by turning the shore power, main power switch, and all other switches off. Next, inspect the battery and connections. Look for cracks, leaking acid, or exposed wires. You can clean corrosion using baking soda and hot water. If you notice any issues, or faulty wiring, take the RV into a specialist before hooking up power. Also, be sure to test your battery to see if it needs replacement.
Once your battery is in working order, hook up your RV to the shore power and fully charge the battery bank. Next, go through and switch on all devices to check that power is running to the rig. If you’re hauling a trailer, hook up the trailer to your vehicle and test that all exterior driving lights and any assisted breaking are in working order.
Examine Your LP Gas System and Appliances

The gas system of your RV should always be inspected before camping season. If you don’t feel comfortable around gas, get your rig serviced by a professional. Bugs, spiders, and other critters like the smell of LP gas, so before you turn anything on, carefully remove any nests, webs, or debris around the gas systems (this includes combustion chambers). Pay particular attention to the burning orifice, since this is the sensitive part of the system that affects the release of LP gas.
Sometimes the seals on gas lines can dry out over winter, causing leaks. Check for leaks by turning all of the appliances off, and turning the gas valve to open. Smell for any gas and apply soapy water to the lines. If you spot bubbles forming, you have a leak and should get your RV serviced before heading out. Once you’re leak-free, turn on all burners (including the fridge) and light them up. Flames should be blue and accompanied by a “whooshing” sound. Orange or yellow flames mean there is too much air in the system, and the RV will need servicing by a professional.
Clean Up and Stock Up
Spring cleaning applies to your home on wheels, too. So before your trip, get your RV in sparkling shape with a thorough cleaning and dusting. Stock up on any items that need to be restocked from last season. Check labels and toss expired food and other supplies, like batteries, that have been squirreled away in cabinets. Make the bed with fresh linens, put out clean towels, and add any other homey touches that make your rig feel just right. Essential oils are a great way to add a welcoming, clean scent to the space.
Putting in some time ahead of camping season to get your RV spiffed up and running smoothly and safely will not only get you inspired for the adventures ahead, but it will also make prep much simpler and quicker when you’re ready to hit the road. Here’s to a summer full of fun, with your rig running as good as new.