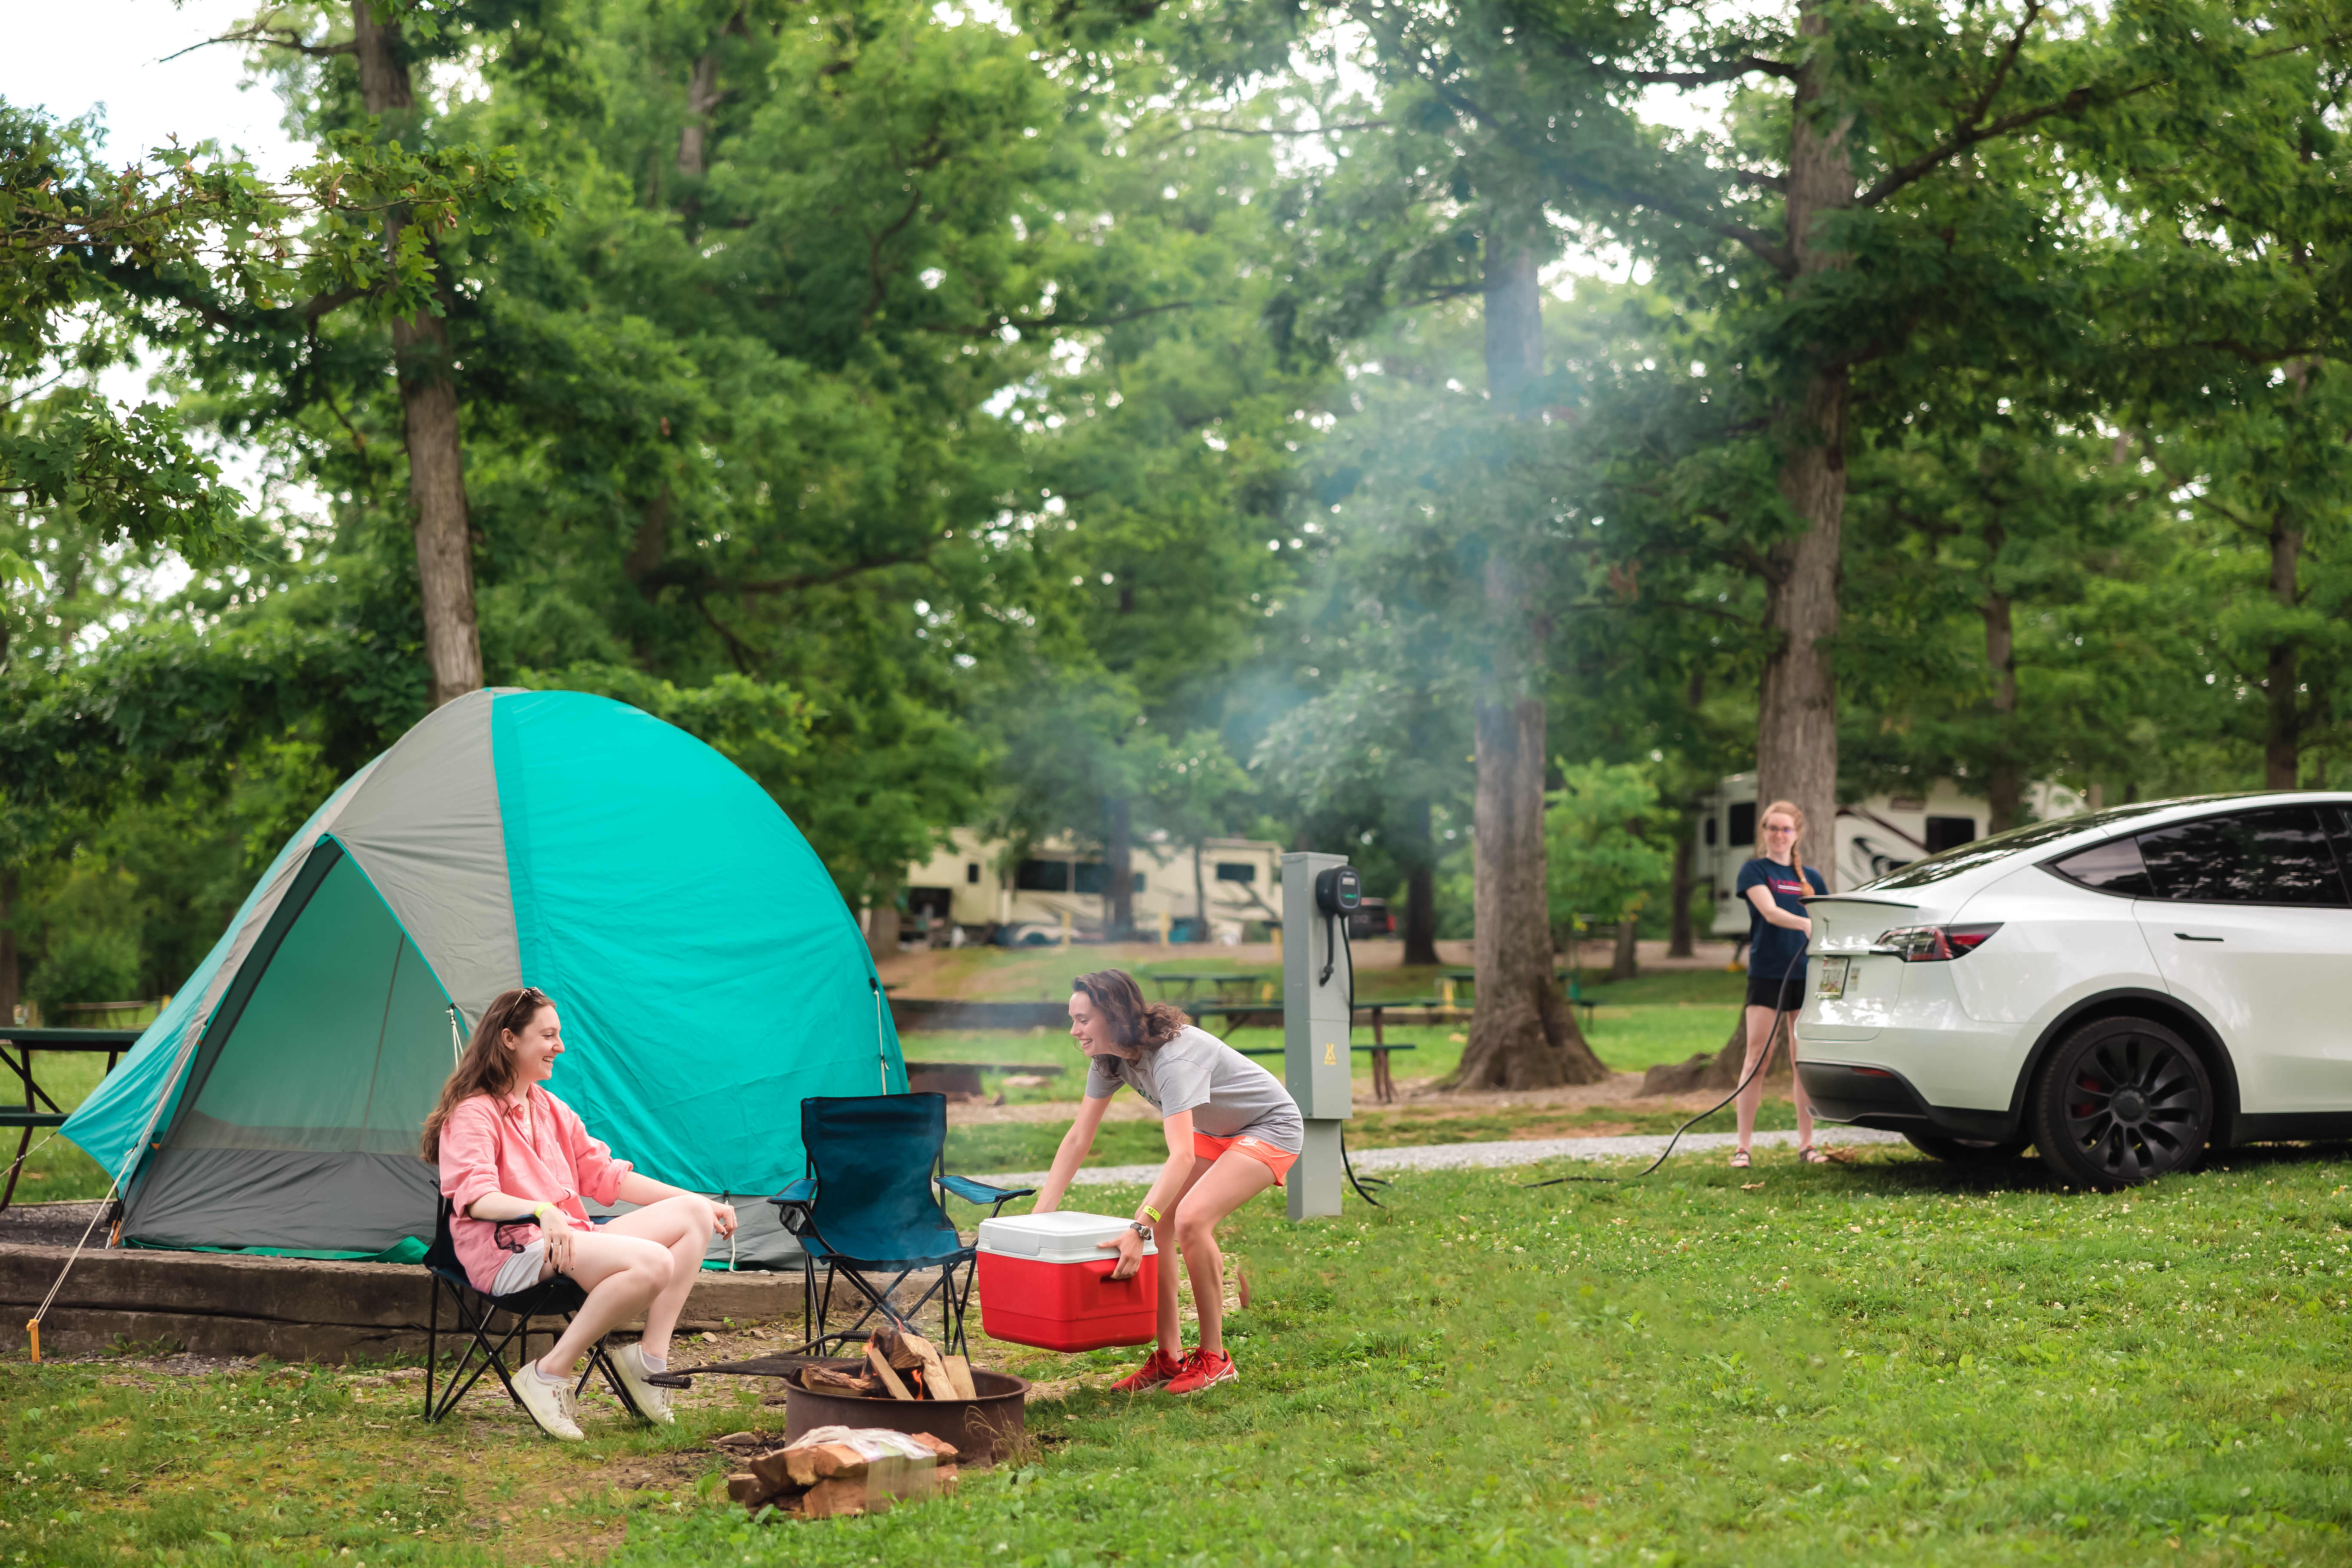
Winter destinations can mean different things to different people. Some people love the chill that leads to snow skiing or boarding, while others prefer to “Get out of Dodge” as fast as they can once the first flake hits.
If you’re one of those people who prefers to skip town, you might want to choose a warm beachfront destination to relax and regroup. Either way, check out these southern winter destinations to spend some time away in the RV.
Want to Head South This Winter? Check Out These Southern RV Destinations
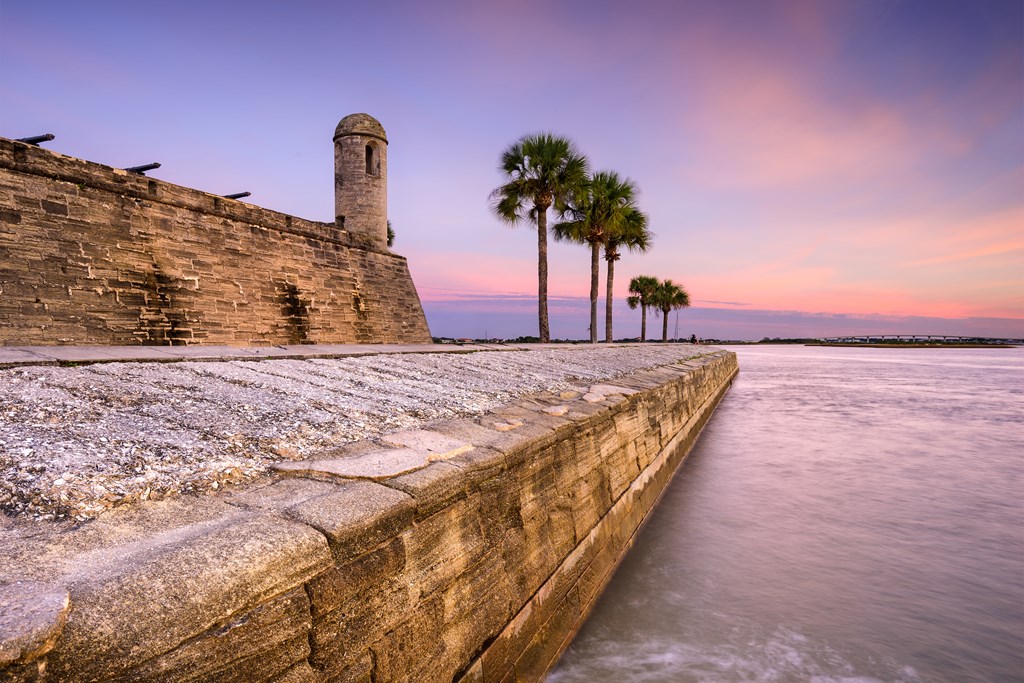
1. St. Augustine, Florida
St. Augustine, located on the northern edge of Florida, manages to avoid many of the intense weeks of crushing heat that can accompany any Florida city… and yes, even in the winter. The breeze from the neighboring waterside of the Matanzas Bay will leave you comforted and calmed. It’s a gem of a city as well, with historical charm and the ideal winter escape. You can explore the historic district, visit the iconic Castillo de San Marcos, and bask on the local beaches for some true rest and relaxation.
Nearby KOA:
St. Augustine Beach KOA Holiday
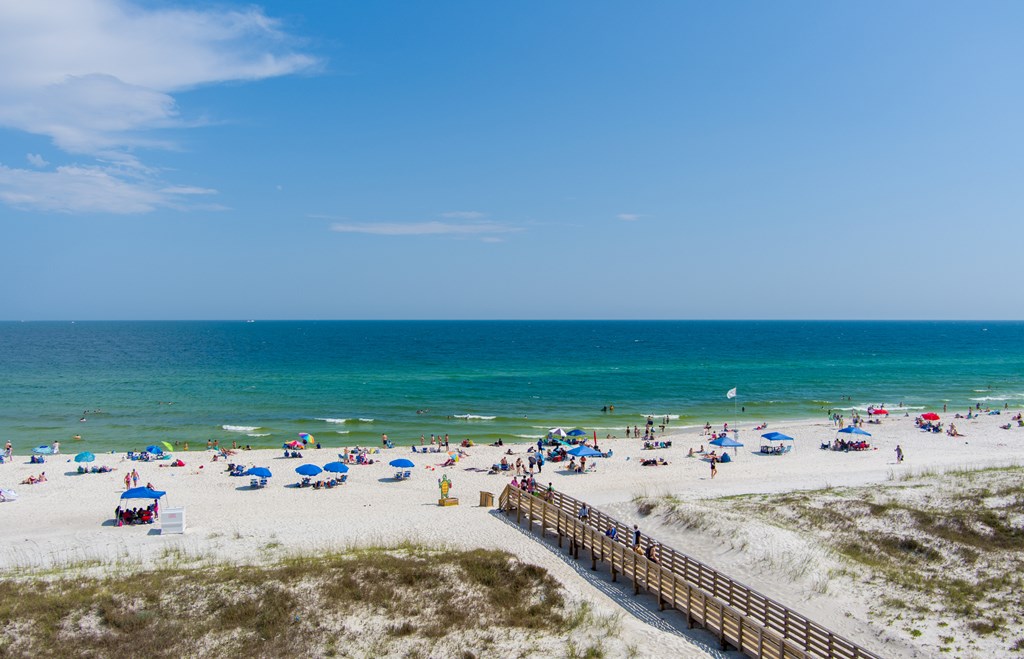
2. Gulf Shores, Alabama
Gulf Shores is truly quite a paradise for those seeking warmth and outdoor adventure. The weather is mild during the summer months, with average temperatures in the mid-50s and cool, bright skies overhead. Its beautiful beaches, climate, and plentiful amount of outdoor activities, such as fishing, hiking, and wildlife viewing, make it a top pick. The area also boasts golf courses and great seafood restaurants.
Nearby KOA Campground:
Gulf Shores / Pensacola West KOA Holiday
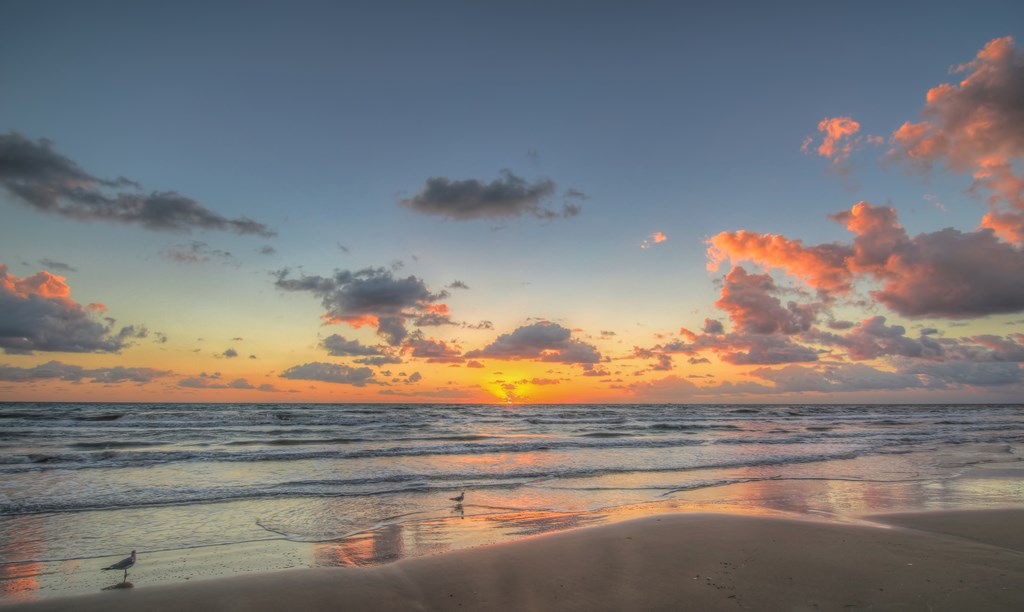
3. South Padre Island, Texas
South Padre Island is a popular winter destination due to its pleasant weather and lovely beaches. Throughout South Padre Island, you’ll find various holiday and light displays decorating the town. But if you are looking for the largest and most festive decorations, make sure you visit The Holiday Light Show located at South Padre Island Entertainment District. As you drive in, the lighted trees will lead you toward the light show, where you can enjoy the festive lights synchronized with holiday music. Additionally, the Holiday Sandcastle Village is one of South Padre Island’s most popular spots. What makes it unique is that as the seasons and holidays change, so do the sand sculptures. Check out life-size sculptures decorated with festive ornaments and lights perfect for the holiday season.
Nearby KOA:
South Padre Island KOA Holiday
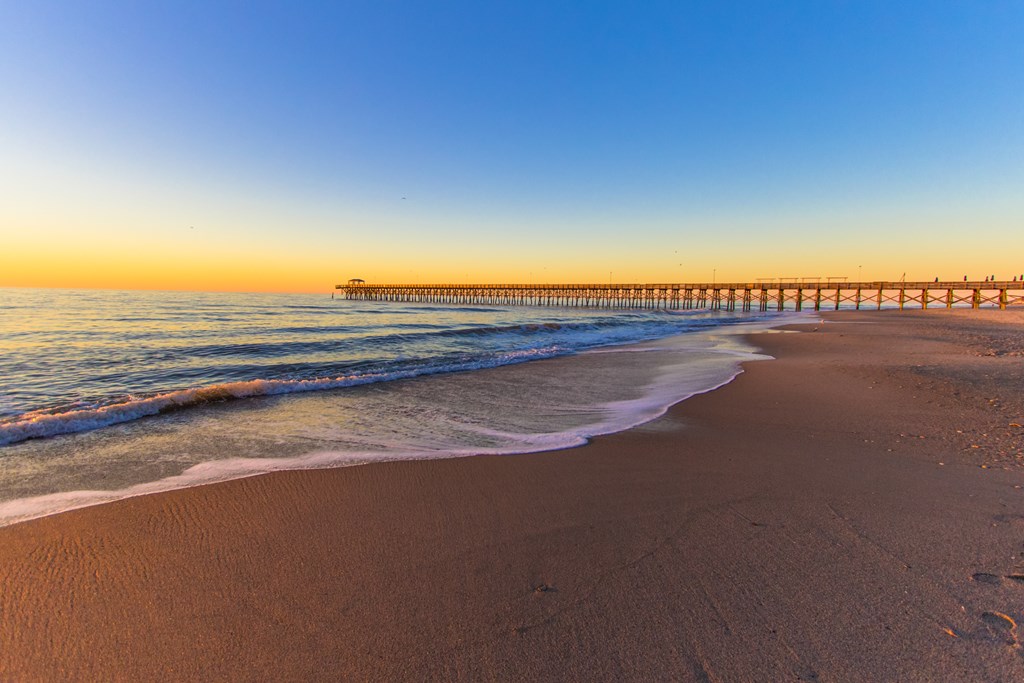
4. Myrtle Beach, South Carolina
Visiting Myrtle Beach in the winter provides an opportunity to explore everything the Grand Strand has to offer. The crowds have thinned for the season and the weather is warm but not tropical, proving comfortable for enjoying activities inside and out. From fun shows to great food and family-friendly attractions, to just taking a stroll down the boardwalk, you’ll find enough things to do to take a winter vacation in Myrtle Beach with your family or friends.
Nearby KOA:
Myrtle Beach KOA Resort
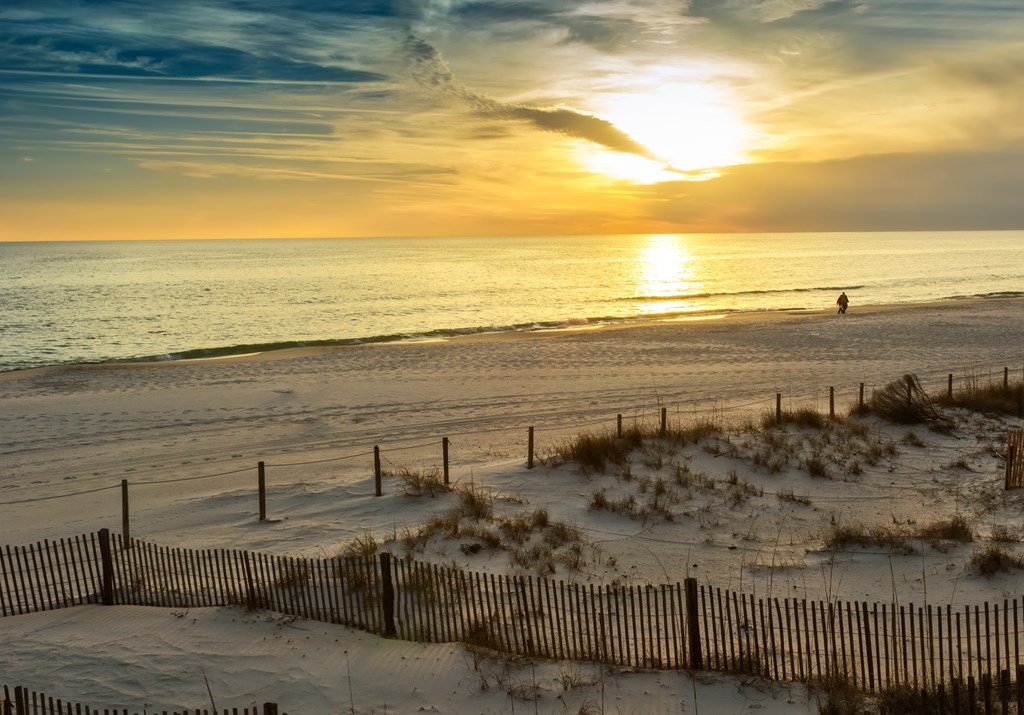
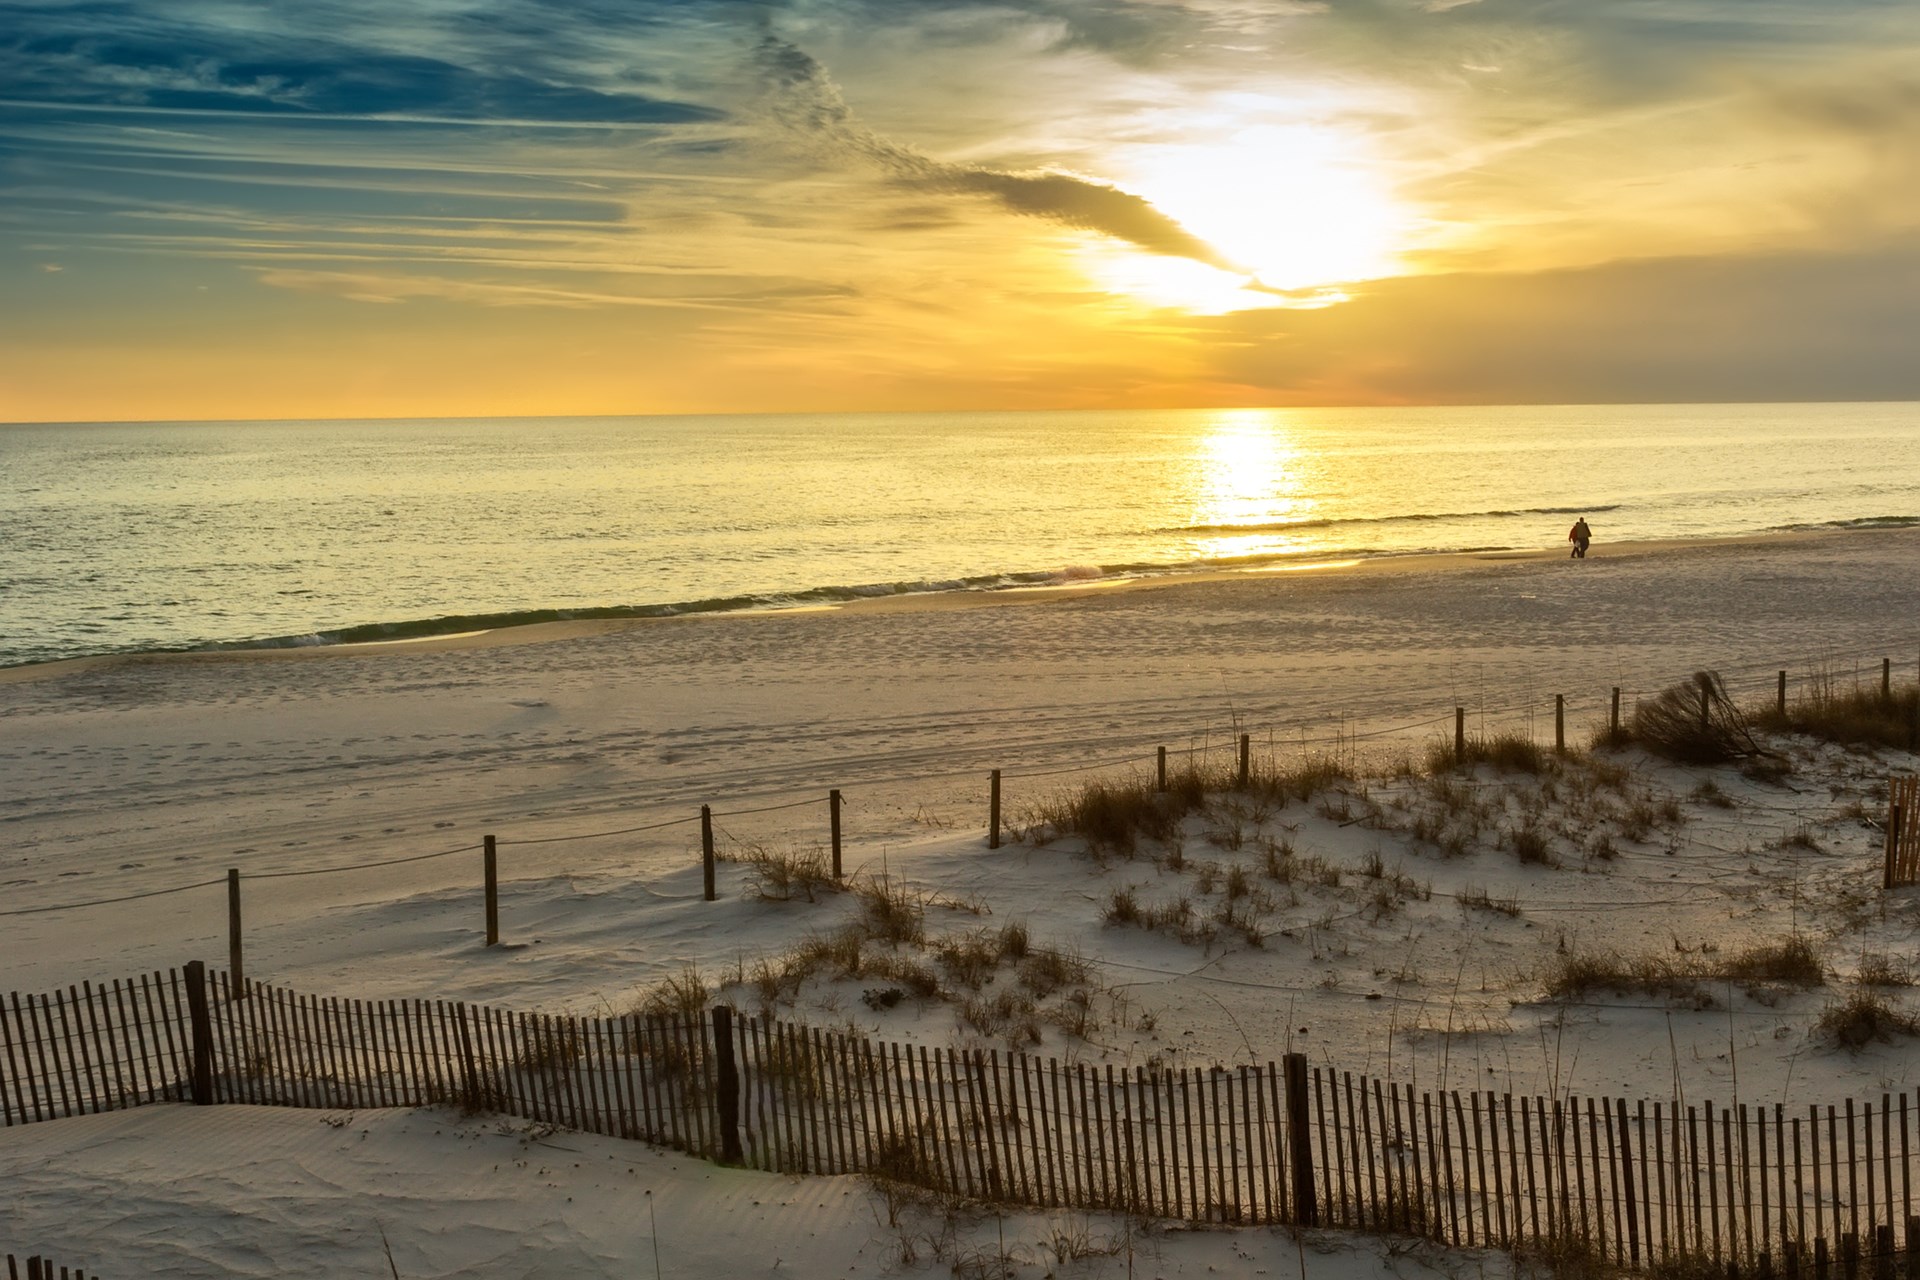
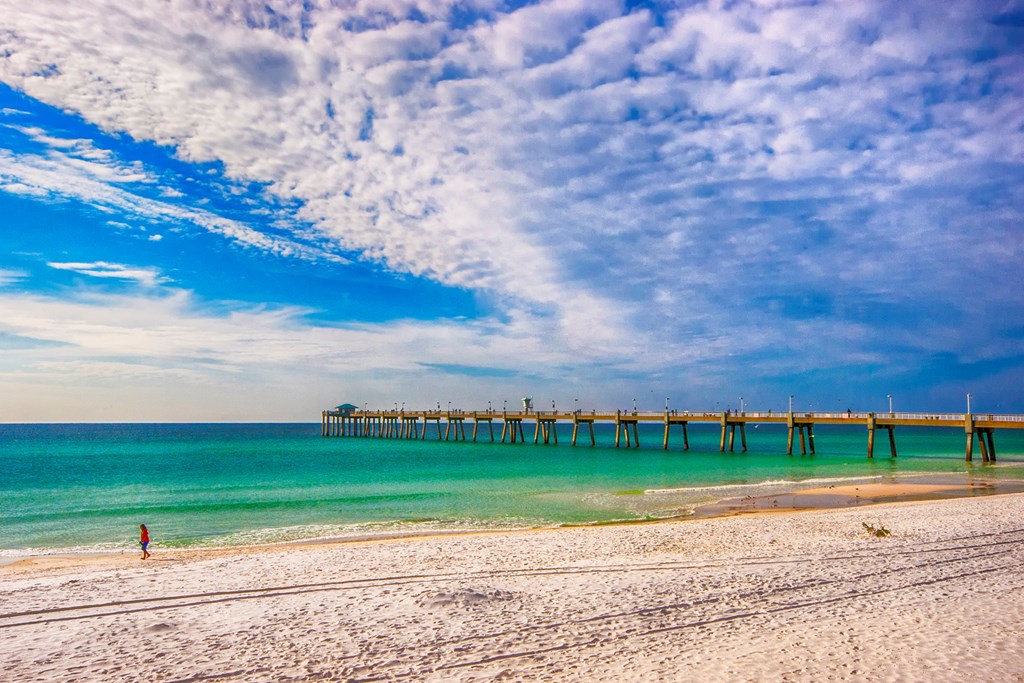
5. Panama City, Florida
Kiss Kissimmee and Key West goodbye. The Gulf Coast is where it’s at for snowbirds. One of the lesser visited areas of the Sunshine State is Panama City and they welcome snowbirds of all kinds. In December, January, and February, the average high temperature will be in the 60s, with a low typically in the 50s. Peaceful and quiet, the off-season of the beach is usually not very rainy, making it ideal for casual strolls along the water and nestling under a blanket while watching the sunset over the horizon. With a chillier climate, it is the perfect opportunity to experience Panama City Beach’s various indoor activities.
Nearby KOA:
Panama City Beach KOA Holiday
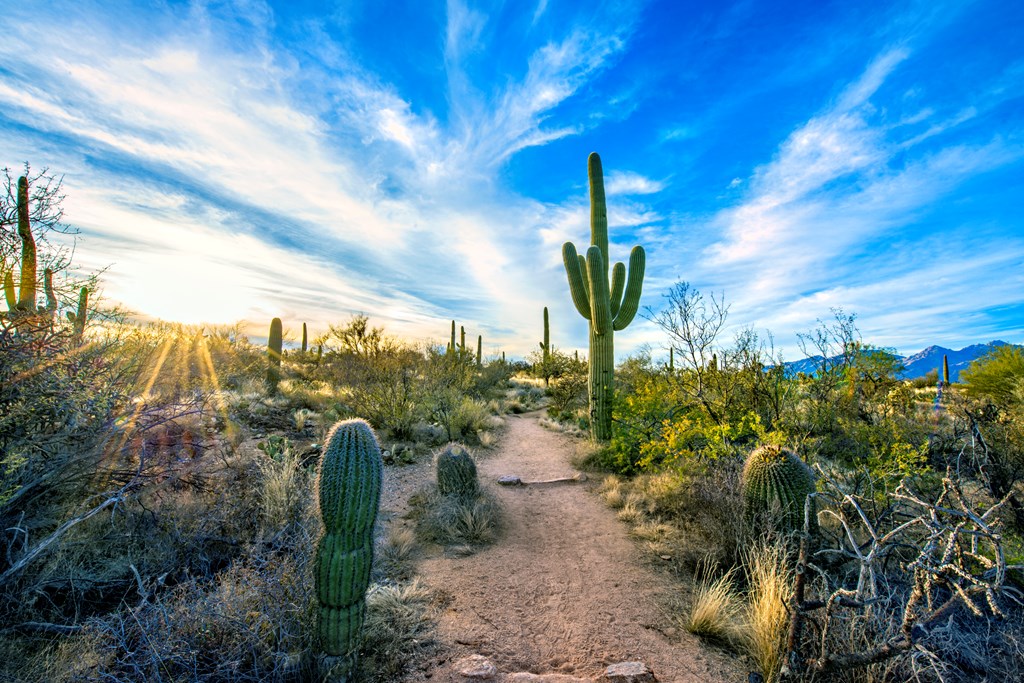
6. Tucson, Arizona
Arizona has always been a snowbird haven and Tucson is known for its warm, dry weather so you can ditch the cold and soak up the sun all winter long. While many RVers head to Scottsdale or Mesa, Tucson is a more relaxed location to set down winter roots. The historic downtown is walkable, yet offers access to some great shops and restaurants (with tasty margaritas!). Tucson is in the heart of the Sonoran Desert, surrounded by a National Park and a National Forest so it’s easy to get out and explore. You can explore the Saguaro National Park, hike in the nearby mountains, and when the sun sets Tucson’s downtown comes alive, and as a UNESCO City of Gastronomy, you’ll find plenty to savor at local restaurants.
Nearby KOA:
Tucson / Lazydays KOA Resort

7. Macon, Georgia
Savannah is one of the top winter destinations in the country, but visitors tend to forget about Macon. With its beautiful architecture and music scene, you get a nice mix of what makes the South so great. Visit places like Amerson River Park, which used to be the Macon Water Authority’s water treatment plant before it was destroyed in the flood of 1994 and relocated. The area has since then been reinvented as this amazing place. Reopened in 2015 after some major upgrades, this place has it all. Paved walking paths, beautiful views of the Ocmulgee River, an awesome and handicap-usable playground, picnic areas scattered throughout, and canoe launches.
Nearby KOA:
Forsyth KOA Journey
8. Destin, Florida
Last but certainly not least, Destin is known for its beautiful white sand beaches and emerald waters. The average winter temperature highs in Destin range from 62 – 64°F from December through February, offering a mild winter climate and making it an excellent choice for RVers looking to escape the cold. You can enjoy water activities, golfing, and shopping, or take a sunset walk along Destin Harborwalk and if weather permits.
Nearby KOA:
Milton / Gulf Pines KOA Holiday
No matter your winter travel preferences, these winter-friendly destinations offer unique experiences and memorable moments to be had by family and friends. Plus, with KOA campgrounds nearby, you’ll have all the amenities you need for a comfortable and enjoyable getaway.
 Lindsey Hall is an award-winning mental health speaker and writer, focusing on what she refers to as “the nitty gritty topics not discussed.” She is the author behind “I Haven’t Shaved in Six Weeks,” a blog written to humanize the stigmas of eating disorders and treatment.
Through her published writing and work in public relations, she has had the privilege of speaking around the world on nuanced topics such as Body Dysmorphic Disorder, Exercise Addiction, Orthorexia and other eating disorder behaviors, and has been featured in publications including TODAY Show, CBS, Washington Post, Cosmopolitan, Women’s Health, SheKnows, SHAPE Magazine, Refinery29, and more.
An outdoor enthusiast (and Colorado girl) at heart, Lindsey loves to hike wherever possible and is currently focused on taking her white Dodge Ram ProMaster van around the world with her lovely cat, Smudges. Together, they have traveled in over 40 states and even across borders into Canada to conquer the trails!
Follow Lindsey Hall on Instagram.