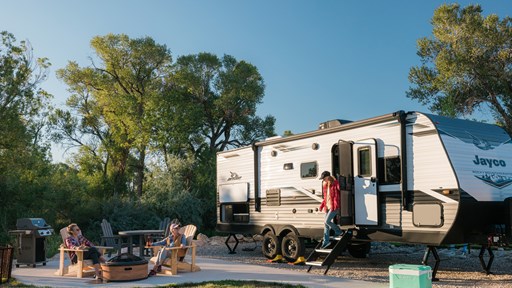

As the days grow longer and the temperatures start to rise, the anticipation of camping season sets in. You can almost smell the campfire smoke and hear the birds chirping. One crucial task stands between you and the open road before you embark on the season’s first adventure. First, you must wake your rig from its winter hibernation.
Preparing your RV for spring is essential for safe and comfortable travel. The right checks and maintenance prevent unexpected breakdowns so you can explore the open road with confidence. After an RV sits in storage for months, a little extra care prepares it for fun spring, summer and fall road trips.
Essential Supplies for Spring RV Maintenance
Having everything you need on hand before dewinterizing your RV prevents unnecessary trips to the store, giving you a smooth workflow. Here are the essentials you will need to prepare your RV for spring adventures:
- Tire pressure gauge: A digital or heavy-duty stick tire pressure gauge is best for accuracy.
- Air compressor: You will need an air compressor capable of inflating high-pressure RV tires.
- Voltmeter: A voltmeter is necessary to test battery charge and electrical connections.
- Garden hose: A garden hose lets you check, sanitize and flush your RV’s water system.
- Bleach: You will need regular, unscented household bleach to sanitize the water system.
- Cleaning supplies: Gather RV-safe wash, wax and interior cleaners.
- Basic toolkit: Your RV toolkit should contain basics such as screwdrivers, wrenches and pliers for minor adjustments.
- RV sealant: Find self-leveling sealant for the roof and non-sag sealant for vertical surfaces.
- Distilled water: If your RV runs on lead-acid batteries, you will need distilled water to top them off.

Step 1: The Exterior Inspection
Your RV’s exterior takes the brunt of winter weather. Whether you store it under a cover or expose it to the elements, a thorough inspection is a top priority when spring arrives. Take the following actions against water damage and mechanical failure:
Check and Inflate Your Tires
Tires are one of the most critical safety components on your RV. During cold storage, they naturally lose air pressure. Driving on underinflated tires generates excessive heat and is a common cause of blowouts. According to the National Highway Traffic Safety Administration (NHTSA), proper tire care can help prevent crashes and save you up to 11 cents per gallon of fuel. The following checks and maintenance will have your tires ready to hit the road:
- Check pressure: Check the pressure of all tires against the manufacturer’s recommended pounds per square inch (PSI) on the RV’s data plate. Remember to include the spare tire in your inspection. Inflate the tires until they reach the recommended PSI.
- Inspect sidewalls: Look for cuts, cracks or signs of dry rot on your RV’s sidewalls. These types of damage can occur even if the tread appears new.
- Replace tires if needed: Replace your tires if you spot any significant cracking or dry rot. You should also replace any tires that are over five to seven years old.

Inspect the Roof, Seams and Seals
Winter freeze-thaw cycles can cause sealants to peel or crack, creating pathways for moisture to enter. Protect your RV from water damage with the following tips:
- Inspect the roof: Safely access your roof and walk the perimeter. Look closely at the sealant around vents, skylights, the ladder and the AC unit. Remember to include windows and slide-out toppers in your inspection.
- Check for damage: Look for gaps, voids or dried caulk that may have pulled away from the surface.
- Repair compromised areas: If you find any compromised areas, remove the old sealant and apply a fresh bead of RV-specific lap sealant.
These checks are especially important if you store your RV outside during the winter. Catching minor damage and small leaks now can prevent costly repair needs in the future.
Inspect Hitch and Towing Components
If you embark on adventures in a travel trailer or fifth wheel, the hitch system is your lifeline. These tips can help keep it in top shape:
- Inspect the hitch components for damage: Inspect the hitch head, safety chains and ball mount for any signs of structural stress or heavy rust.
- Lubricate moving parts: Lubricate moving parts according to the manufacturer’s instructions for smooth operation.
- Inspect the jaws of your fifth wheel: If you tow a fifth wheel, check the jaws and locking mechanism for wear. A well-maintained hitch is essential for a safe and stable towing experience.
Step 2: Power and Electrical Systems
After sitting dormant throughout the winter, you must carefully bring your RV’s electrical system back to life. Batteries are particularly susceptible to damage if not properly maintained during the cold months. When spring comes around, you can ensure your electrical system is in top shape with these actions:
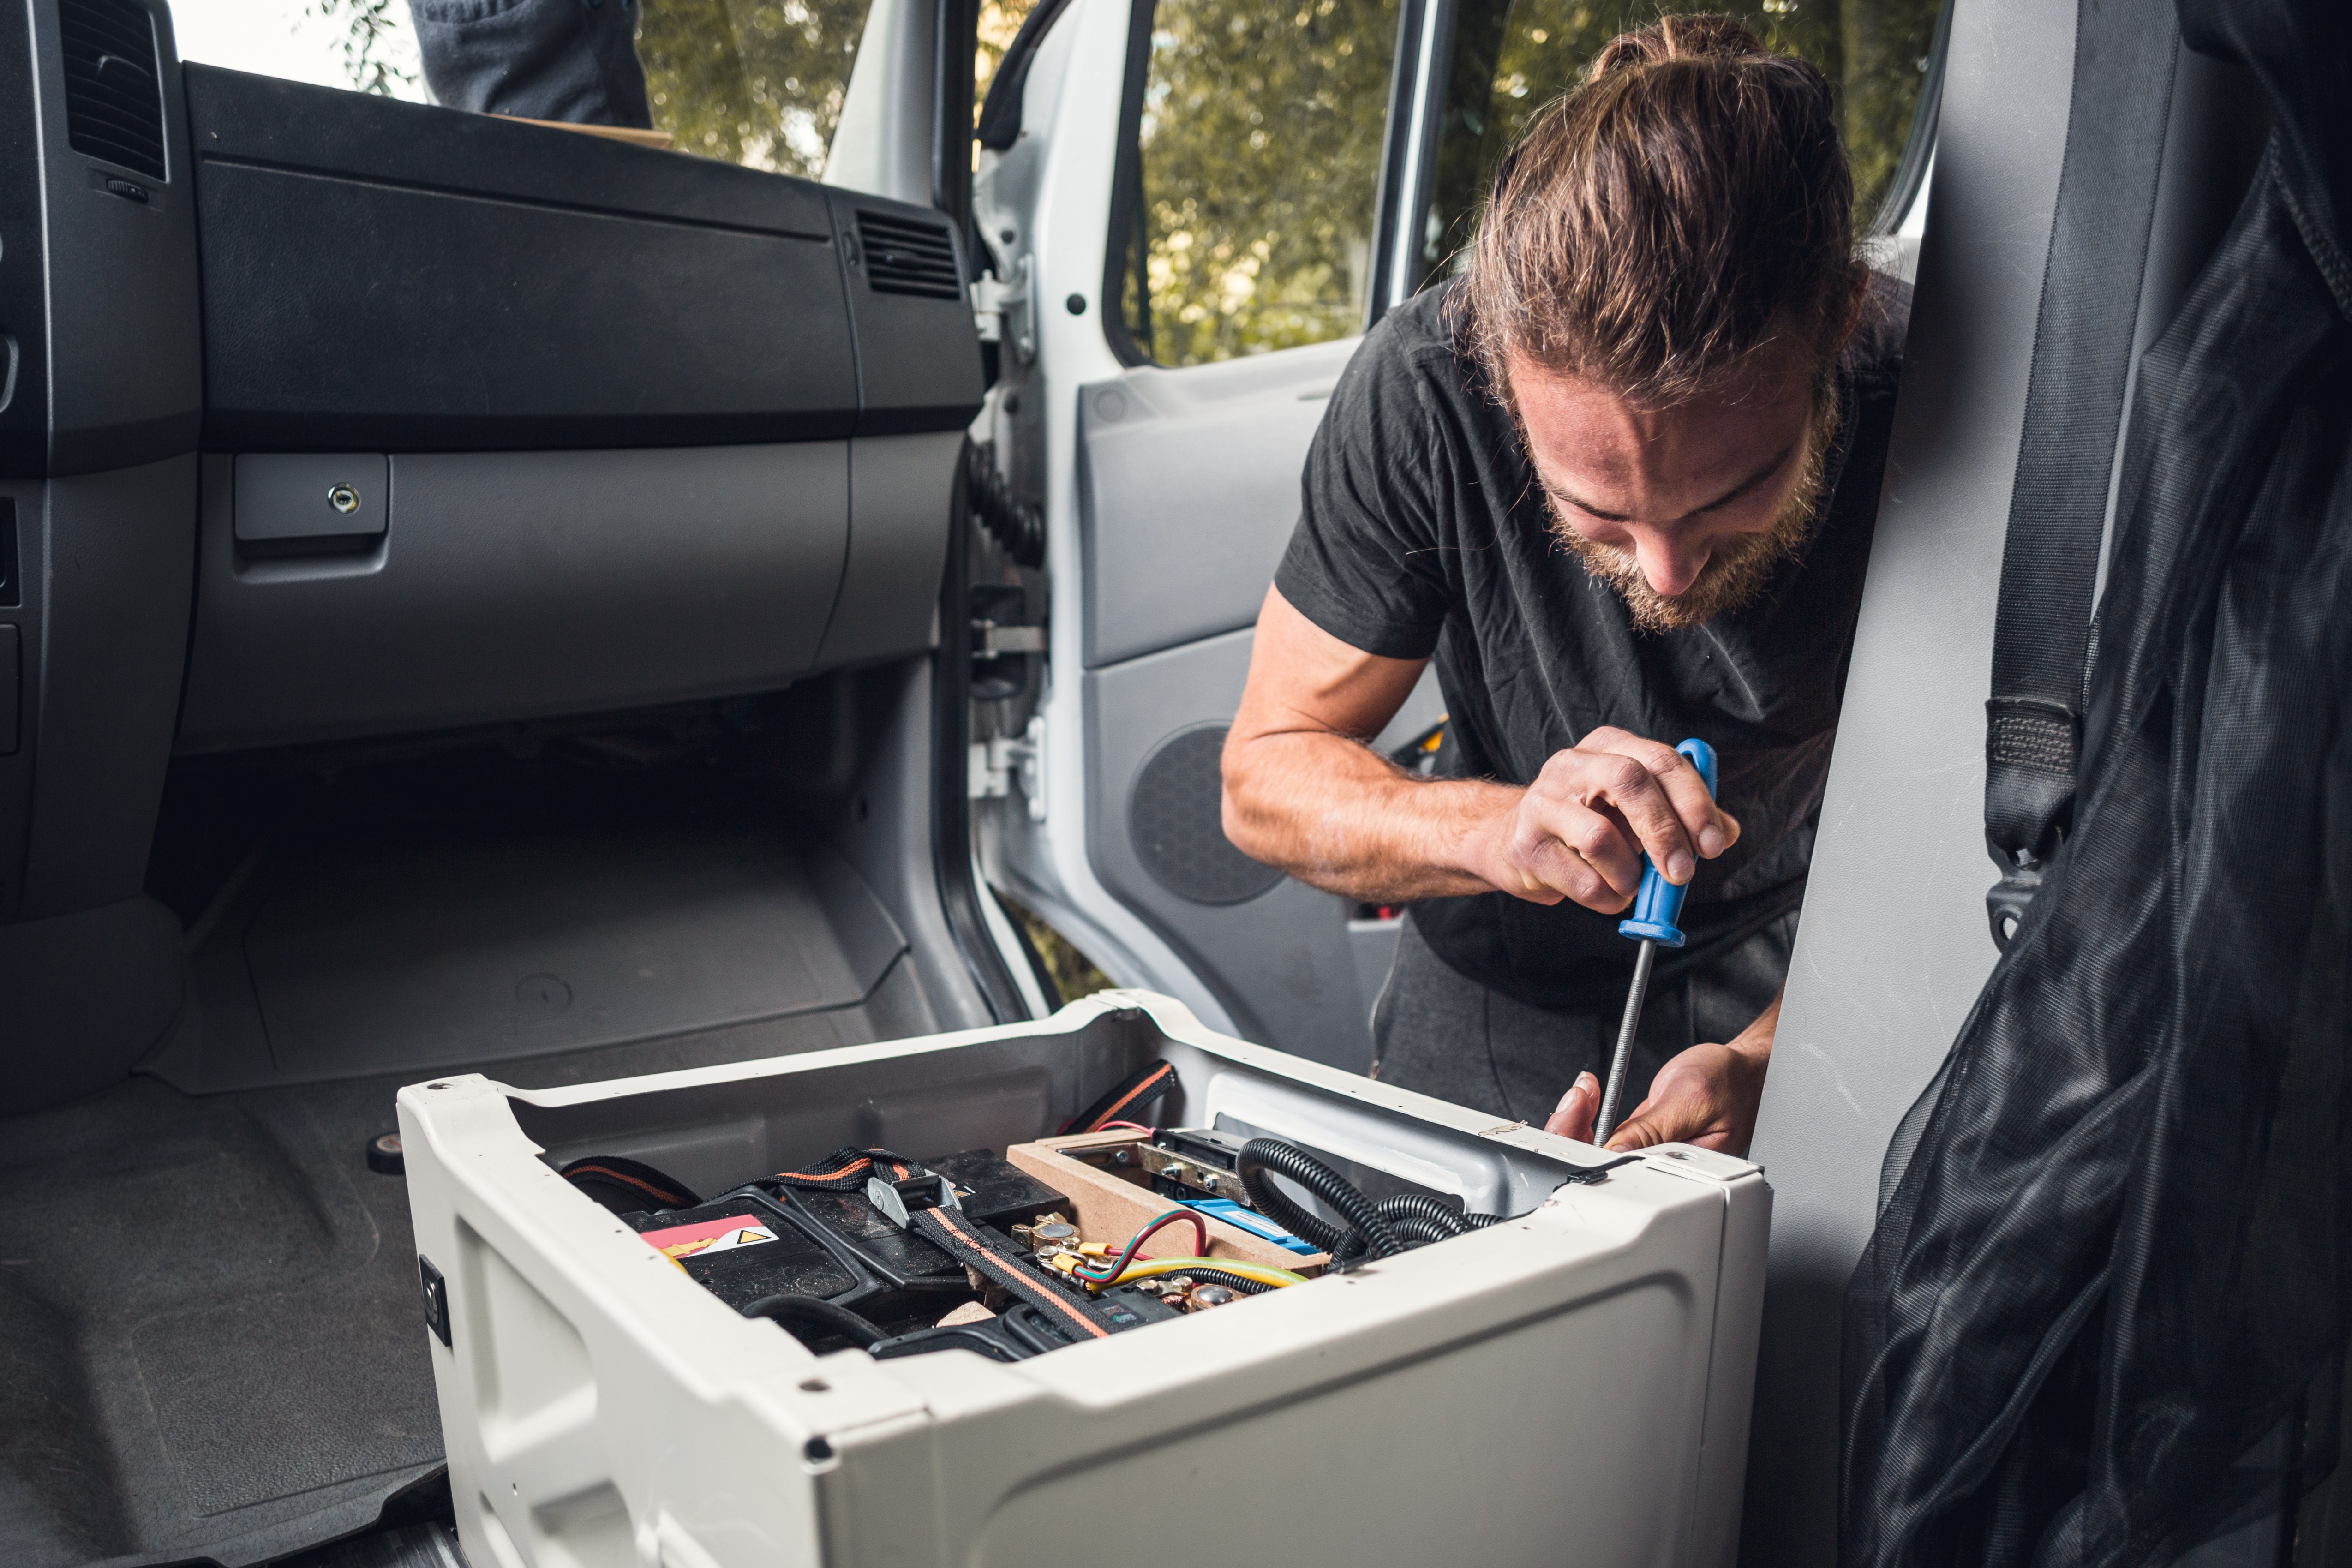
Reinstall and Test Your Batteries
Batteries naturally self-discharge over time. If your RV was not plugged in or you did not use a battery tender, the batteries may be dead. Use these steps to reinstall and test your batteries:
- Disconnect the shore power: Make sure your battery is disconnected from shore power before inspecting and cleaning it. The battery should also remain disconnected from shore power during the winter to prevent phantom load damage.
- Clean the terminals: If you removed your RV’s batteries for storage, clean the terminals with a mixture of baking soda and water to remove any corrosion before reinstalling them.
- Check the charge: Use a voltmeter to check each battery’s charge. The batteries’ charges should meet the recommended voltage stated in the RV’s manual.
- Charge the batteries if needed: If a battery’s reading is lower than the recommended voltage, connect it to a charger.
- Check fluids in lead-acid batteries: If your RV uses standard lead-acid batteries, pop the caps and check the fluid levels. Top the plates off with distilled water if they are exposed to air.
- Replace the battery if needed: You may need to replace the battery if it refuses to hold a charge after a full cycle.
Test the Onboard Generator
If your trailer or motorhome features an onboard generator, check the oil level before starting it. Inspect the exhaust system for any damage or nests built by critters seeking warmth. Start the generator and let it run for about two hours under a half-rated load. You can achieve a half-rated load by turning on the air conditioner or a space heater. This lubricates the engine seals and ensures that fuel moves through the carburetor.
Test All 120-Volt Appliances
After plugging your RV into a reliable shore power source or verifying that the batteries and generator operate properly, you can test your RV’s major appliances. Run the microwave, turn on the refrigerator and cycle the air conditioner. If any of these fail to operate, you can check and reset any tripped circuit breakers. If complications continue, contact an electrician.
Step 3: Dewinterize RV Water and Propane Systems
Next, you must dewinterize your RV’s plumbing system and appliances with these maintenance tasks:
Flush and Sanitize the Water System
If you winterized your RV with non-toxic pink antifreeze, you must flush and sanitize it. The following process helps eliminate bacteria that may have grown during storage:
- Turn on the water: Connect your garden hose to the city water inlet and turn on the water.
- Check faucets: Check each faucet throughout your RV, running the hot and cold faucets simultaneously until the water runs clear and loses its pink hue.
- Flush toilets: Flush each toilet in the RV until the bowls are clear.
- Sanitize the system: Pour an unscented, diluted bleach solution into the fresh water tank. Pump it through the lines until you smell beach, and let the solution sit for a few hours or overnight. Avoid letting it sit for too long, because this can damage the seals. Drain the system and flush with fresh water until the bleach smell is gone.

Check for Plumbing Leaks
Once the system is pressurized with water, turn off the water pump and all faucets and listen closely. If the pump cycles on and off periodically while no water is running, you likely have a leak. Inspect under sinks, behind the toilet and near the water heater for puddles or drips. You can typically fix leaks by tightening fittings or replacing cracked lines, but it is important to contact a professional plumber if a leak continues.
Reconnect Propane and Test Appliances
Performing a pressure test and clearing air from your lines enables you to operate appliances more safely and efficiently. You can reconnect your propane system and test appliances with these steps:
- Reinstall the propane tanks: Reinstall your propane tanks and close the main valve before connecting the hoses.
- Open the valve: Once the tanks are connected, open the valve slowly.
- Check for leaks: To check for leaks, apply a soapy water solution to the fittings. If bubbles form, you have a gas leak. Tighten the connection and test again.
- Test your appliances: After confirming the lines are secure, you can test your propane-fired appliances. Light the stove burners to purge air from the lines. Fill your RV tank with water, and turn on the furnace and water heater to verify they ignite properly.
If you are unfamiliar with handling gas systems, it is best to contact an RV maintenance technician for a professional inspection.
Step 4: Engine and Safety Device Checks
Inspecting your RV’s engine and safety devices is vital for safety. Take these actions to make your RV safe and ready for adventures:
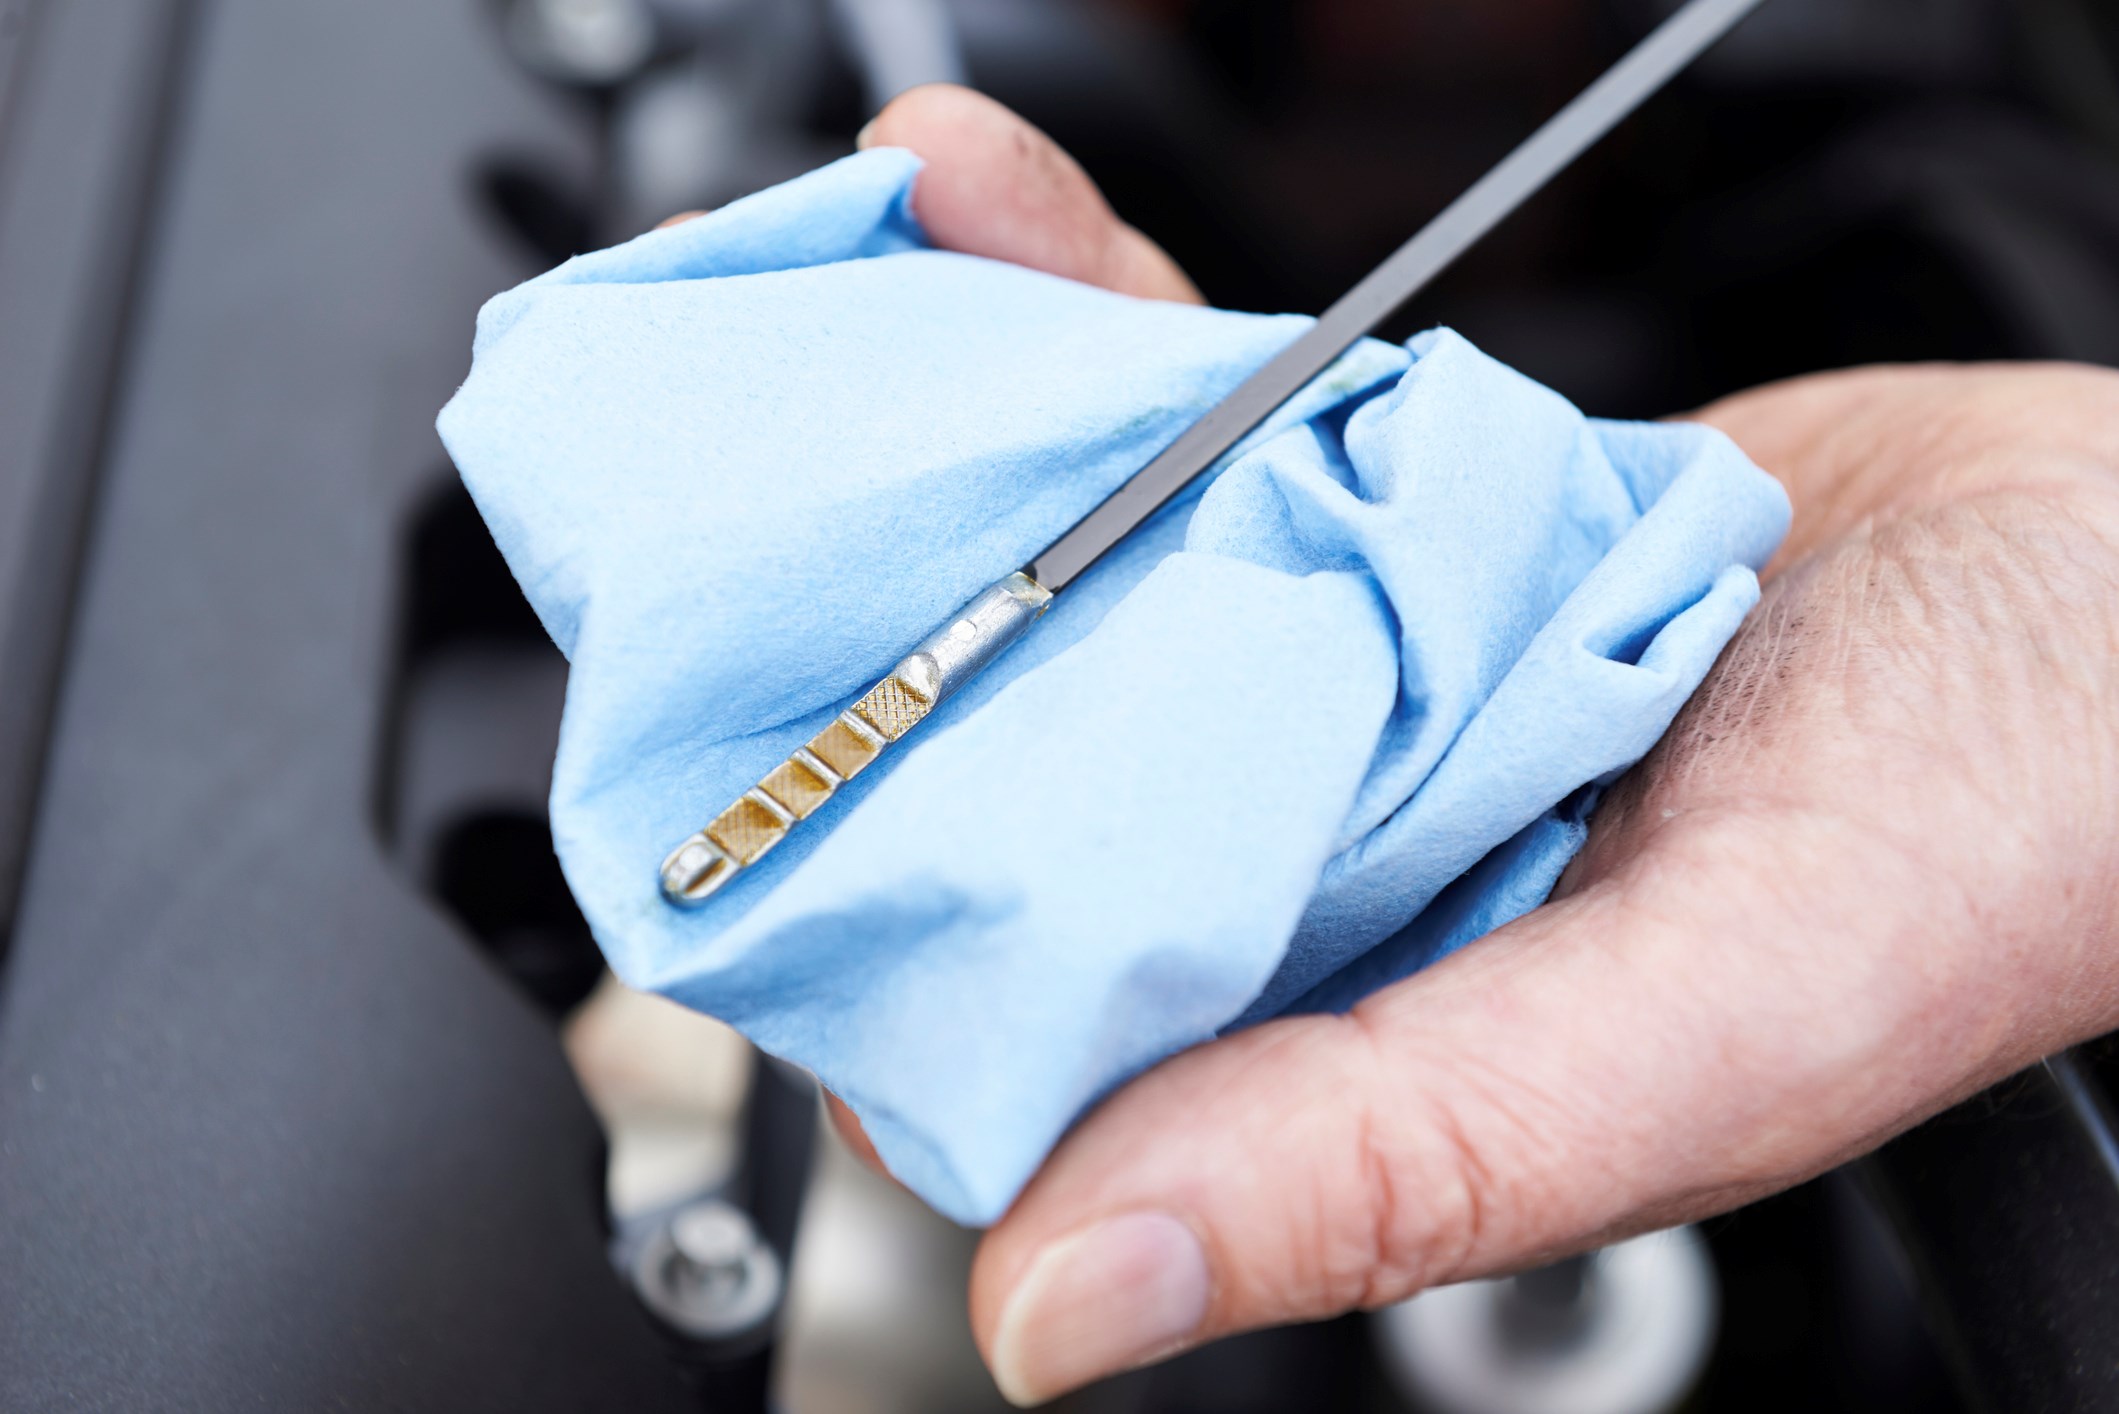
Inspect Engine Fluids and Belts (for Motorhomes)
If you use a motorhome, you should pop the hood and check these vital fluids, topping them off if needed:
- Oil
- Coolant
- Transmission fluid
- Power steering fluid
- Windshield washer fluid
While the hood is up, inspect the rubber belts and hoses. Look for signs of cracking, fraying or softness. Repairing a damaged belt or hose before your first spring trip helps you enjoy your adventures without an unexpected breakdown.
Test All Safety Devices
Use this checklist to test your RV’s safety devices:
- Replace smoke and carbon monoxide detector batteries: Install fresh batteries in all smoke detectors and carbon monoxide detectors. Press the “test” button on each detector and listen for the alarm.
- Check your fire extinguisher: If your fire extinguisher is over 10 years old or has lost pressure, replace it.
- Check the liquefied petroleum (LP) detector: An LP gas leak detector has a lifespan of about five to seven years. Check the detector’s date and replace it if necessary.
Update Paperwork and Restock Supplies
Updating paperwork and restocking supplies is another crucial RV preparation step. Update your registration, insurance card and roadside assistance membership, and place all paperwork in the glove box. Check your first-aid kit and discard any expired medications or ointments. You should also restock first-aid basics such as bandages, pain relievers and antiseptic wipes.
Step 5: Spring Cleaning Inside and Out
Once you complete the mechanical checks and updates, it is time to make your RV feel like home again. A clean rig sets the tone for a fun, relaxing season.
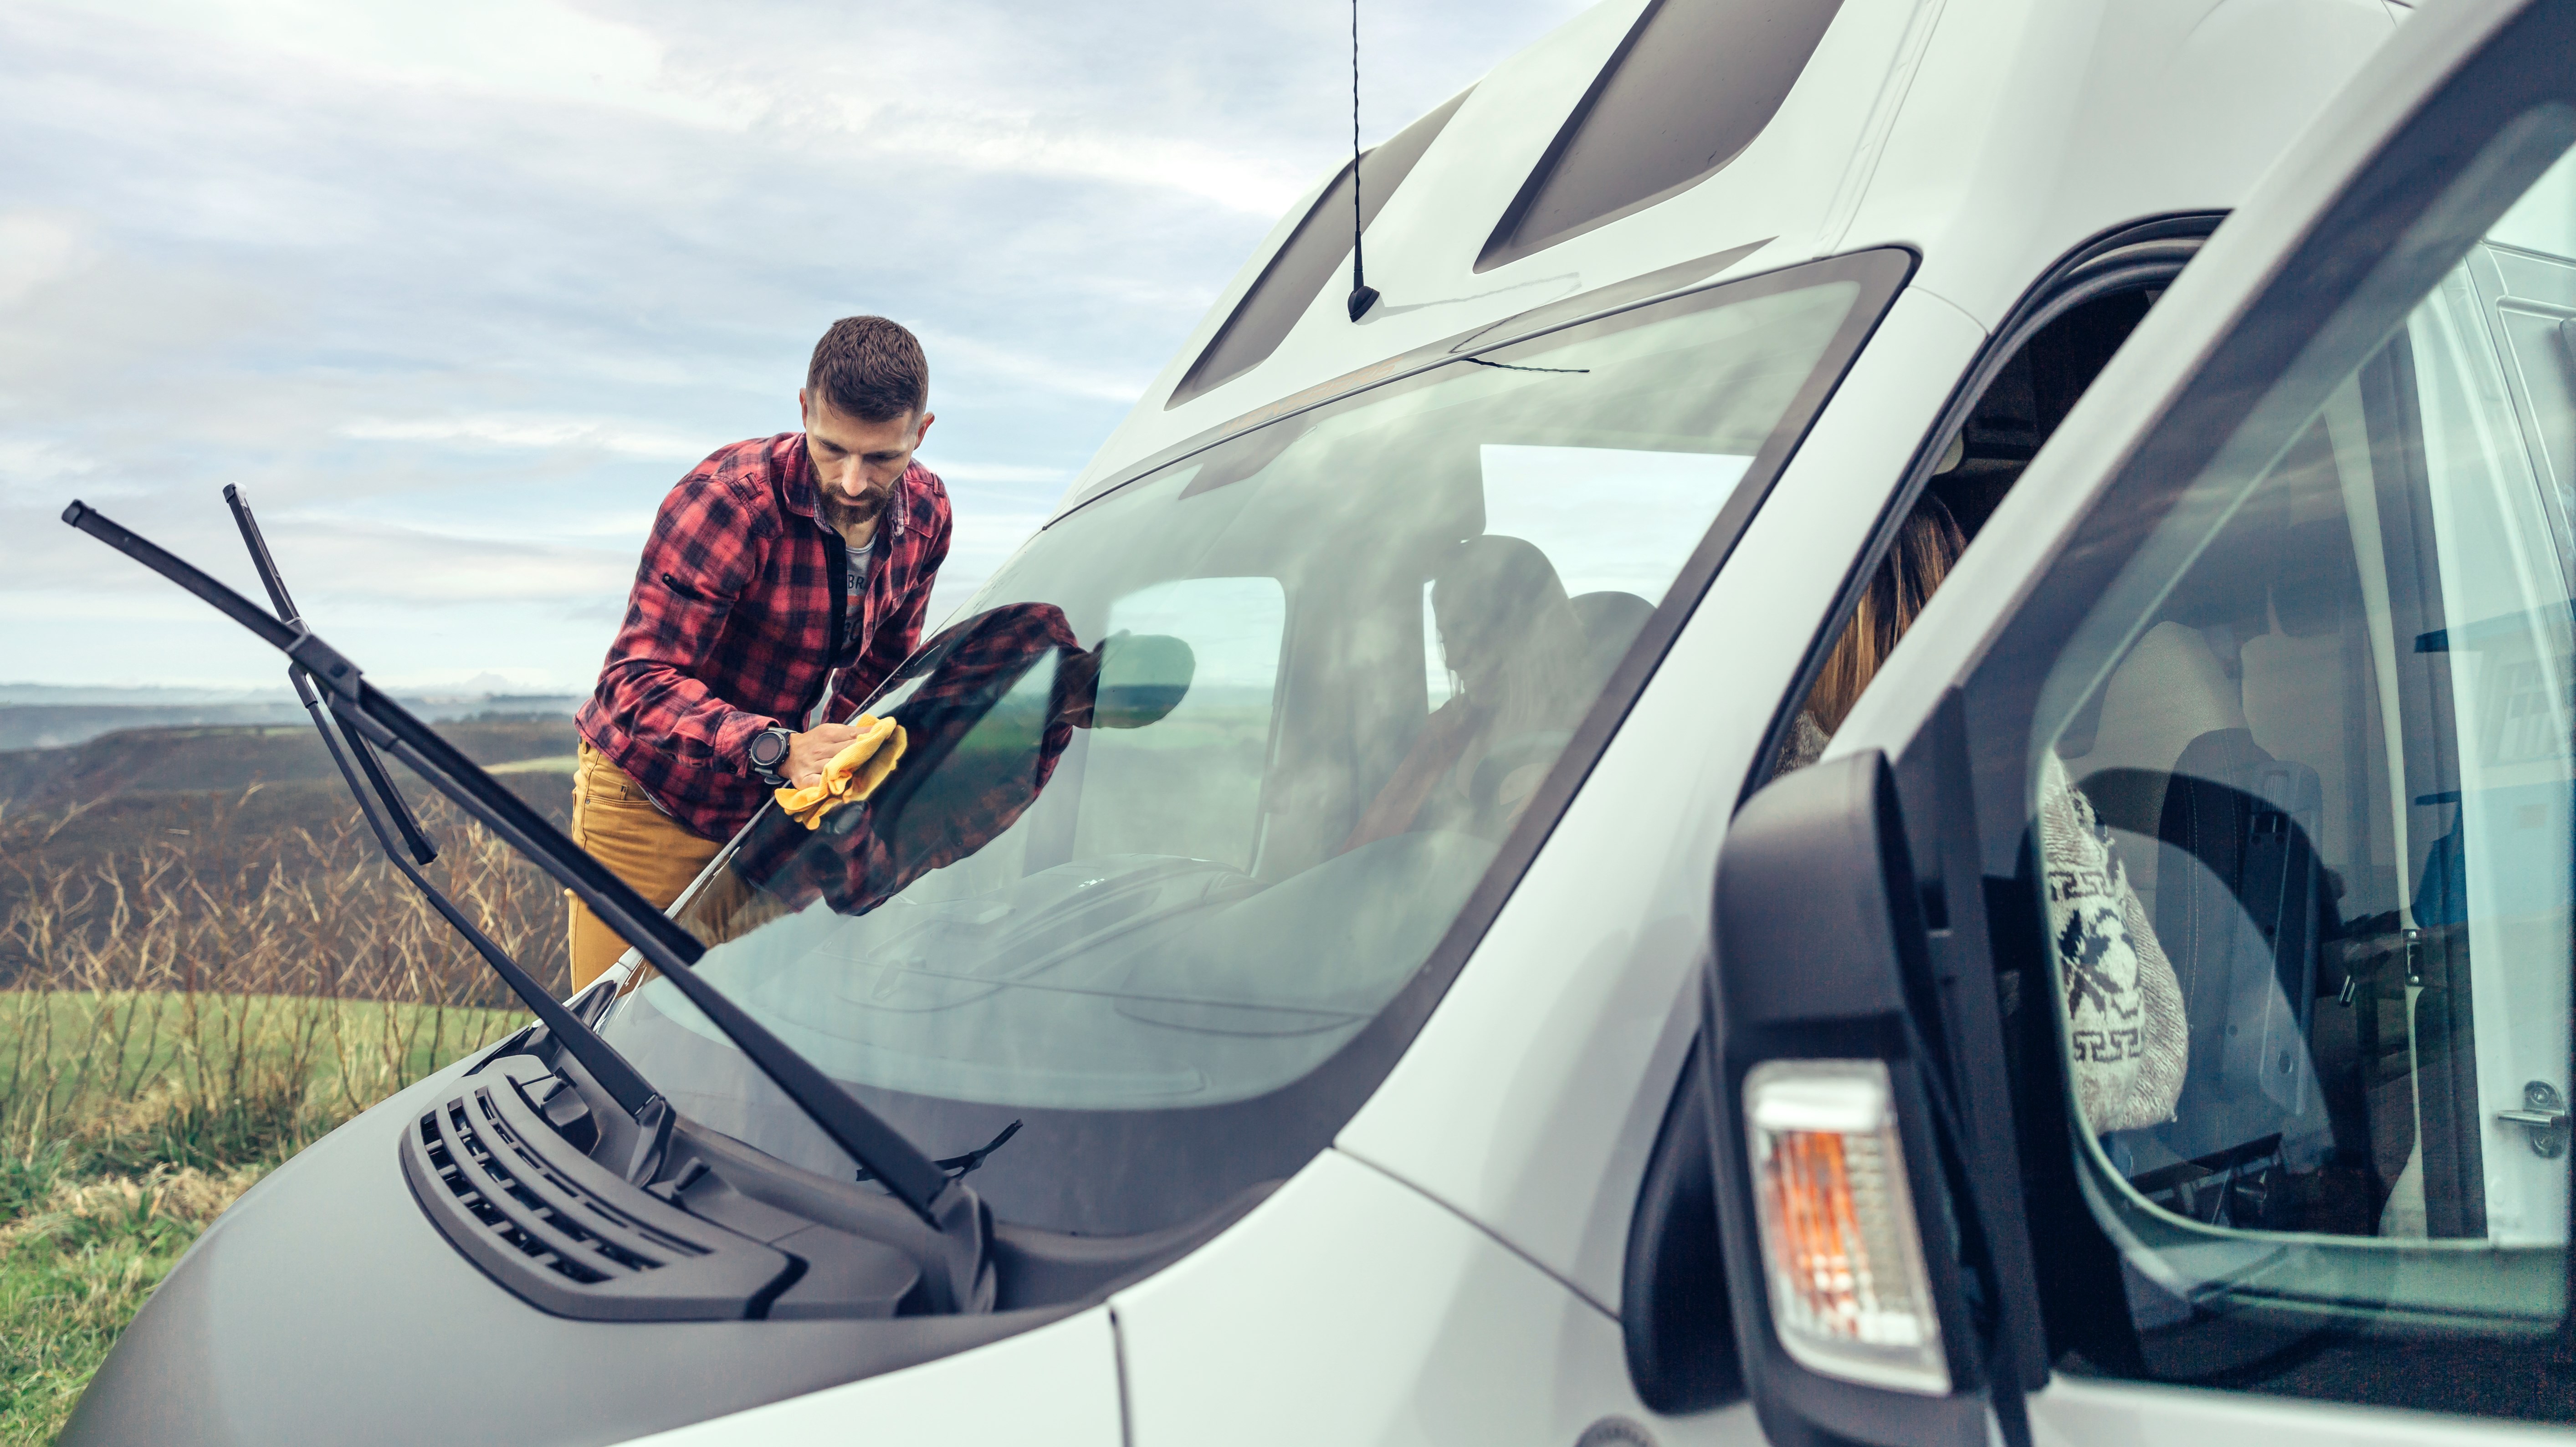
Wash the Exterior of the RV
Use a long-handled soft brush and an RV-friendly wash-and-wax product to scrub the RV from the roof down. This removes winter grime, bird droppings and sap that could damage the finish. You should also fully extend the awning, gently scrub off any mildew, and let it dry completely.
Complete an Interior Deep Clean
Use this checklist to clean your RV’s interior spaces:
- Pests: Check for any pests that may have moved in over the winter.
- Vents and filters: Clean vents, fans and AC filters
- Windows and screens: Wash windows and screens so you can enjoy beautiful views on your trips.
- Floors: Vacuum or sweep the floors.
- Cabinets: Clean out your cabinets, removing any left-behind, expired items.
- Linens: Wash towels and bedding to make your sleeping and living spaces feel fresh and comfortable.
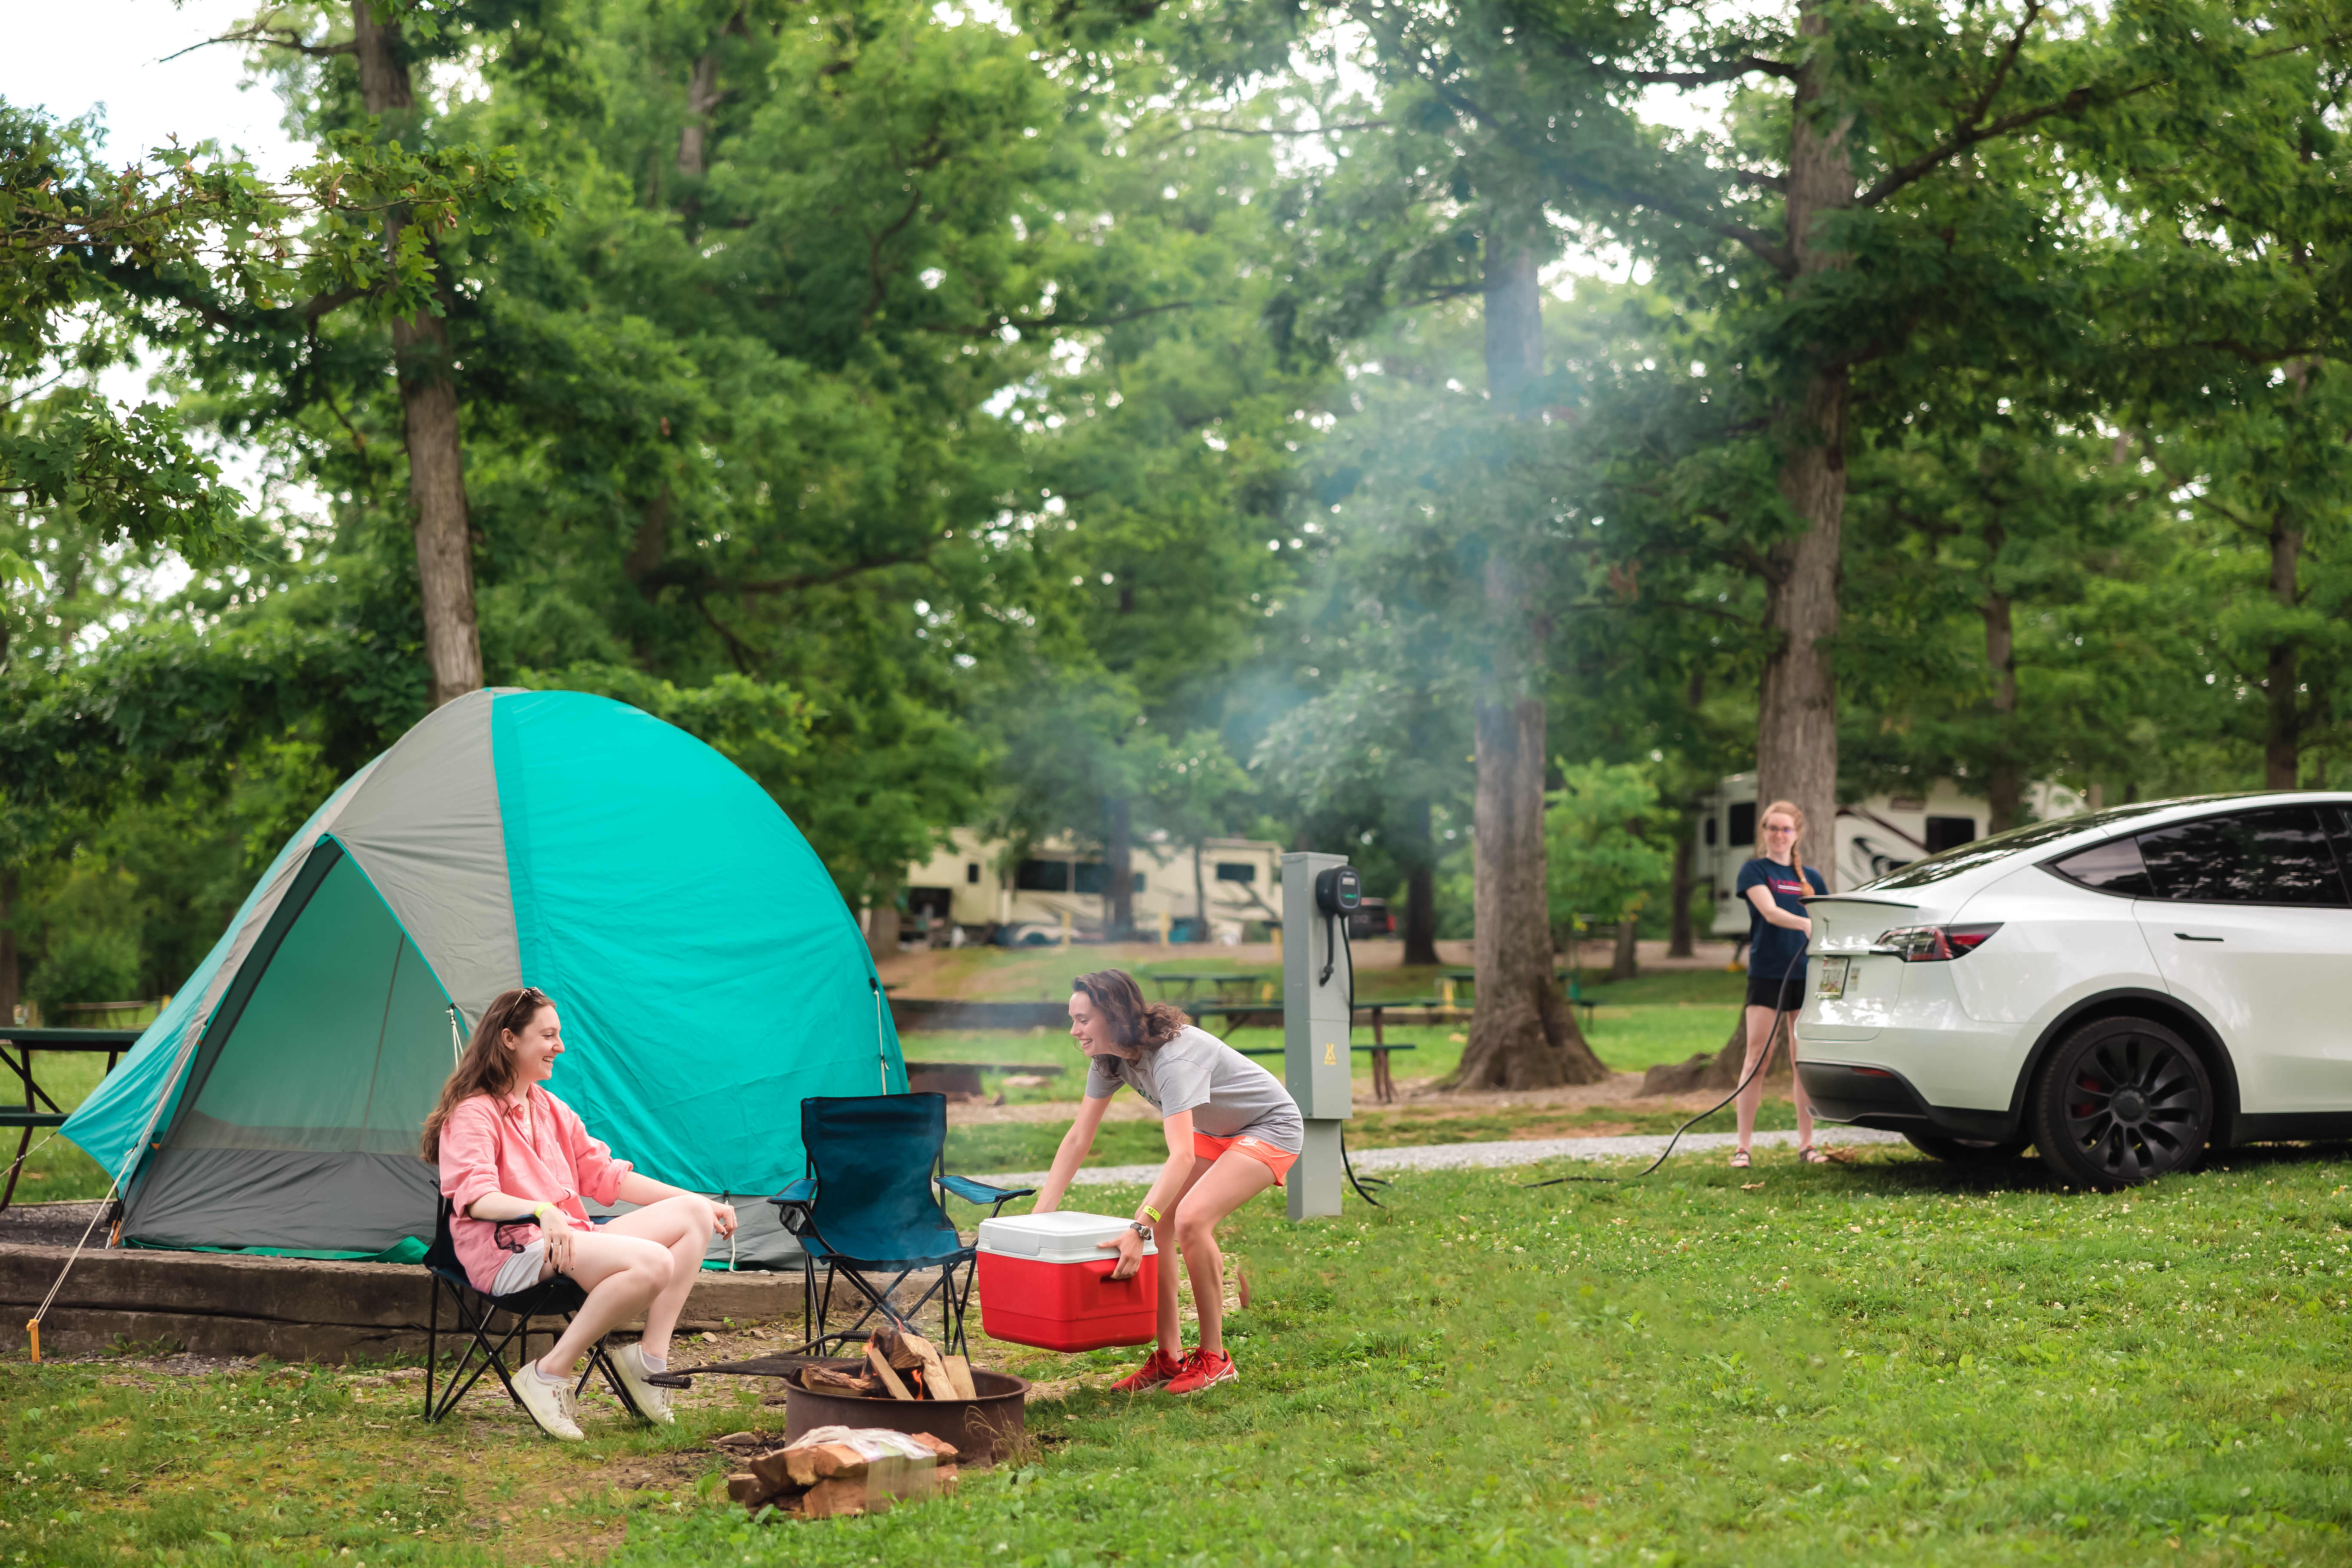
Plan Your First Spring RV Adventure of the Season
Now that your RV is clean, safe and in top shape, you are ready for some fun. Whether you prefer relaxing camping weekends near home or exciting out-of-state adventures, you can make incredible memories this season. Before embarking on any cross-country expeditions, a spring shakedown trip is a fantastic way to test your RV after dewinterizing it.
Kampgrounds of America offers over 500 locations across North America, where you can start enjoying the great outdoors. Fun recreational activities and convenient amenities make for a comfortable stay full of memories. KOA offers full-hookup Pull-Thru and Back-In RV Sites. This makes it easy to test and use your electrical and sewer systems, ensuring your dewinterization process was successful. Find a KOA location to kick off the spring camping season.
About the Author: Kampgrounds of America
Kampgrounds of America is the largest system of open-to-the-public campgrounds in the world, with over 500 locations across the United States and Canada. Founded in Billings, MT in 1962, KOA’s family of campground brands – KOA Journey, KOA Holiday and KOA Resort – today serve more than a million camping families each year. KOA is dedicated to “connecting people to the outdoors and each other” by providing people with a variety of camping experiences and the information they need to make the most of their camping trip. Read more of their camping and travel resources by visiting KOA.com/blog.