They say a picture is worth a thousand words. But when you’re selling your RV, it could be worth a thousand George Washingtons. Unfortunately, photographing your RV, especially the interior, is easier said than done, especially if your knowledge of photography is limited to point and shoot. Fortunately, we found a few professional photographers who were happy to share their tips for shooting tight spaces. So, if you plan on selling, or even renting out your RV, anytime soon, these pointers are for you.
1. Location, location, location
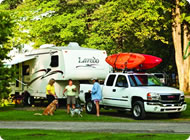
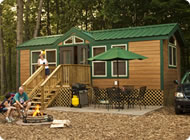
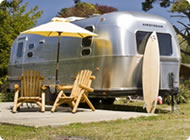
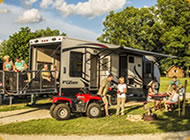
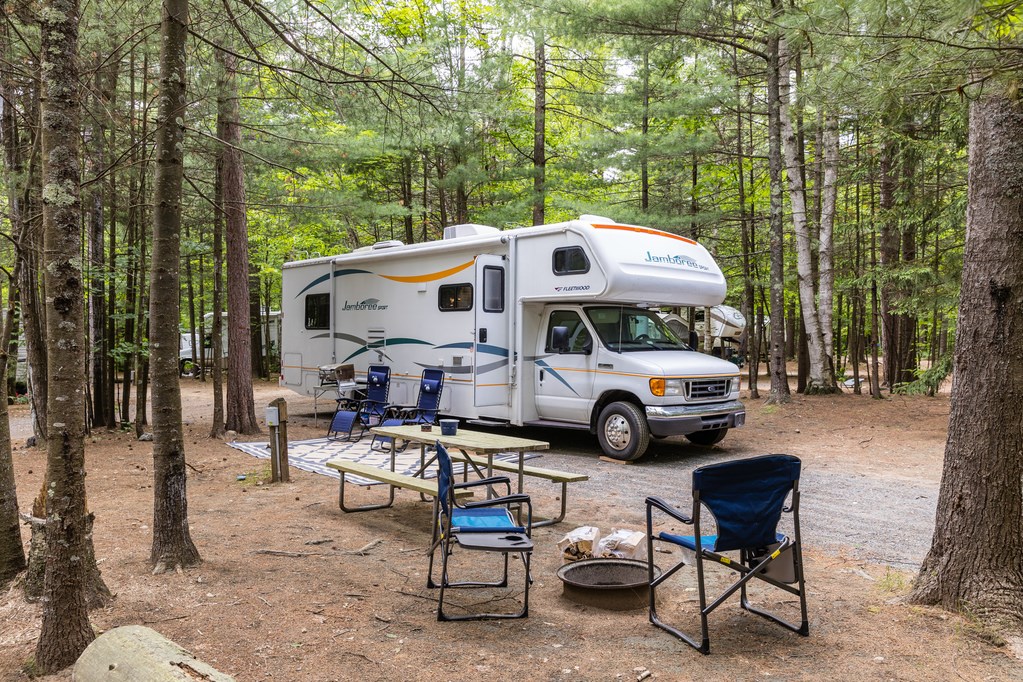
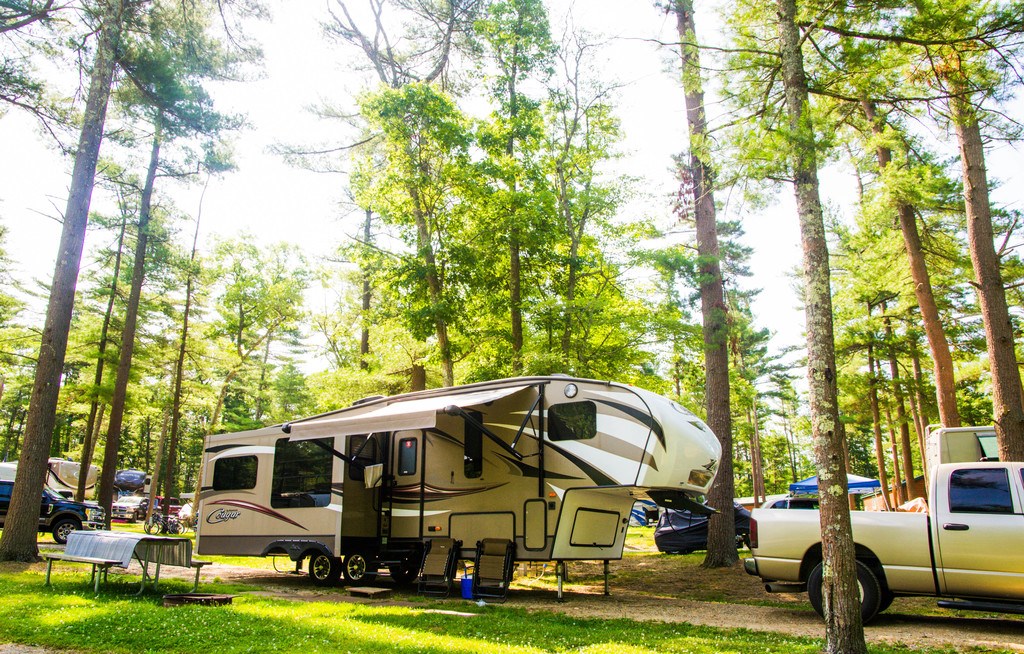
Yes, the subject is the selling point. However, according to Bryan Feeber, a professional photographer and founder of Shuttertalk, one of the biggest mistakes one can make is to not think enough about the background. For example, he doesn’t recommend photographing your RV in a parking lot or even a driveway. “Dress up the area,” he suggests, “add a firepit, chairs and maybe some greenery.” Potential buyers want to be able to picture themselves using your RV for camping, not picture themselves having it sitting in their driveway or in storage.
2. Lighting, lighting, lighting
Lighting is just as important as location. “Natural sunlight is your friend,” says Feeber who recommends taking your photos early in the morning or late in the afternoon. During these “golden hours” you’ll get to take advantage of a soft light that makes photos look – well, golden. When shooting the inside of an RV, Feeber recommends starting out by opening all of the blinds to let as much light as possible in. (You can always dial it back if it’s too bright.) “If some areas still appear too dark, try adding small LED lights in inconspicuous places,” says Feeber. He personally doesn’t like to use the camera’s flash – he says it doesn’t usually look good – unless absolutely necessary.
3. If you use the flash, use a fill flash
If you’re still getting unwanted shadows, illuminate them with your camera’s fill flash. This tip comes from Hákon Ágústsson, a professional photographer in Iceland and a marketing pro working with MinkCampers (they’re very cute and a great option for camping in Europe). If you’re not sure what a fill flash is or how to use it, this is a good guide from Light Stalking.
4. Pay attention to angles
“Try to shoot all of your photos from a similar angle for consistency,” says Feeber. He shoots wide angles to make interiors feel roomier. He also recommends photographing your RV as if you were giving a tour, “Allow the viewer to feel like they’re walking through your RV. And take closer photos of things like TVs, control panels and gauges.” It’s better to have too many photos posted than not enough.
5. Use a wide-angle lens if you can
According to Sean Dalton, a professional photographer based in Thailand, having a wide-angle lens is essential. For interiors he recommends a 16-35 mm lens and a focal length between 12 and 24. But he does note that they don’t come cheap. (Expect to pay at least $200 for a good one.) “Fortunately, the new iPhones also are pretty good,” says Dalton. “Their wide-angle lenses are plenty wide.”
6. Pay attention to perspective
It doesn’t take long to realize spaces look bigger if you shoot them from extremes. Think high above, down below and definitely in the corners. The diagonal lines created by shooting from the corners adds a sense of depth to your space. For an even more unique view, Ágústsson recommends standing outside your RV and taking photos of the inside through an open window. It’s a neat way to capture the interior.

7. Add a person or a pet
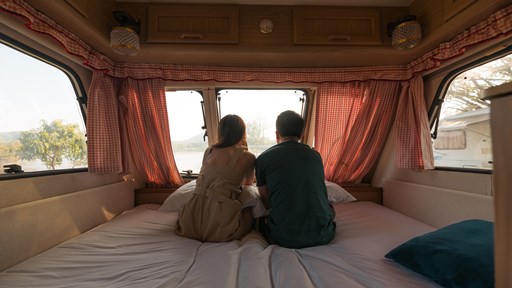
Based on his experience with what’s popular on Instagram, Ágústsson recommends adding a living subject that people can relate to. Even if it’s just a body part – like the back of a head or a dog’s tail – it adds that special first-person element.
8. Use a tripod and a self-timer
Let’s say you can’t find a model to volunteer to be in your shots. That’s OK. Just buy a tripod – you can get them for as little as $30 – and use your camera’s self-timer. Or, if you don’t want to buy a tripod, prop your camera up on something. Dalton recommends doing this especially when you’re shooting the bathroom or a space with a mirror. It’s less intrusive to have a camera in the shot than a person. And if you do want to edit the camera, or your reflection out, do a bit of cloning in Photoshop (sign up for a free 7-day trial or simply pay $21/month). This YouTube video with more than 4 million views does a good job of explaining how to do it.
 Katie Jackson is a writer and media specialist based in Montana’s Big Sky Country. Living and working everywhere from New York to Nicaragua, Katie is no stranger to adventure. When she’s not traveling the world (or writing about it!) she’s busy chasing after a Leonberger named Zeus. Follow Katie’s travels on Instagram @katietalkstravel.
