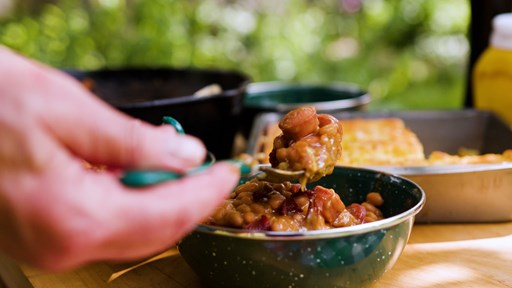
There are so many great things about camping. Unplugging from most (or all) technology, getting out into the wild, exploring, getting some exercise, breathing fresh air, spending quality time with your friends and family, and, most importantly, eating some delicious snacks.
We didn’t choose the snack life — the snack life chose us. And we are here to share our favorite camping snacks with you so that you too can get the most out of your camping trips.
Can’t get outside? These fun snack ideas are also great to make at home to mix up your usual snacking routine. Because let’s face it, no matter where you are snacks are always a good idea.
Our Favorite Camping Snacks
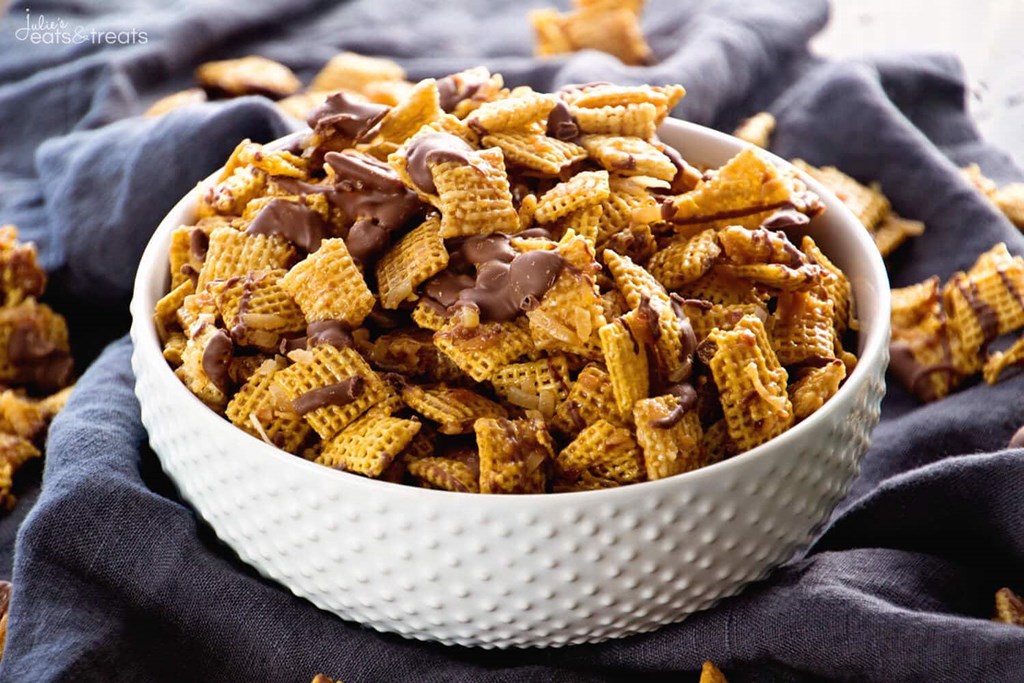
1. Samoa Chex Mix
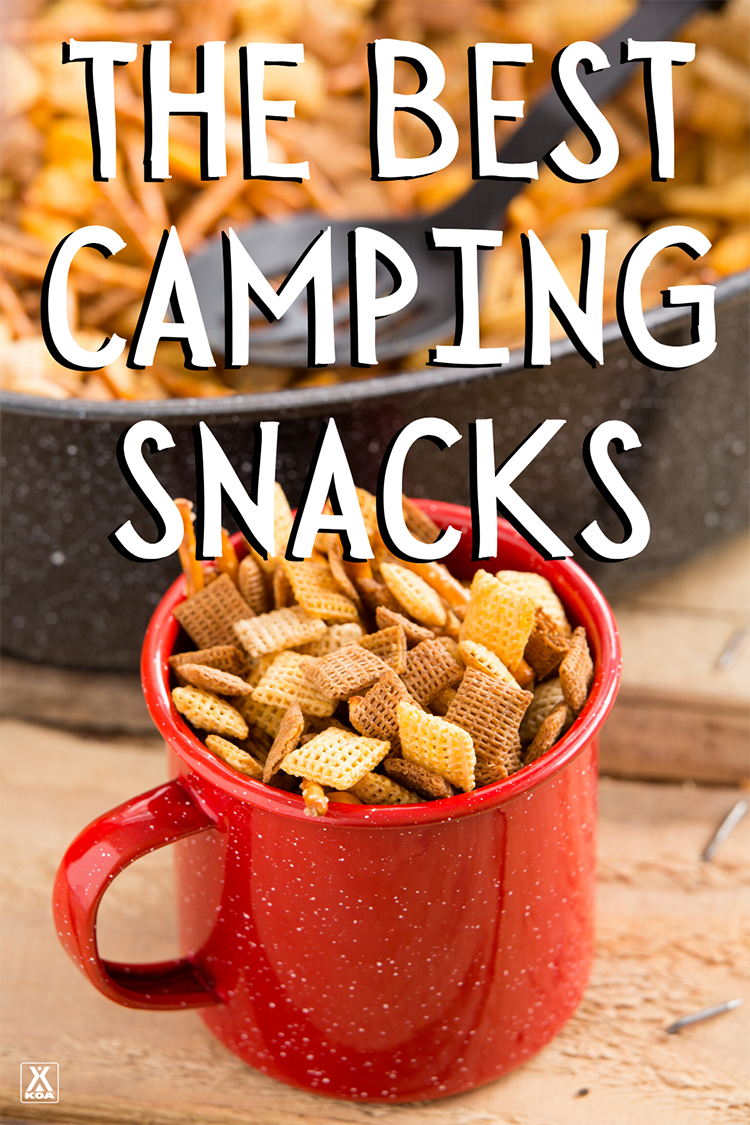
Elevate the typical Chex mix by making it perfect for a campfire snack by throwing in some chocolate and other sweet delights to give the ideal mix of sweet and savory. We are going to bet this Chex mix won’t make it past the first night.
Here’s what you need:
- 12 oz. corn Chex cereal
- 4 cups rice Chex cereal
- 2 cups toasted coconut
- 1 cup chocolate chips
- 2 cups brown sugar
- ¼ tsp salt
- 1 cup butter
- ¾ cup light corn syrup
- ½ tsp baking soda
Here’s how you make it:
- Place wax paper on the counter and spray with non-stick cooking spray
- Grab a brown paper bag (yes like from the grocery store) and mix in it the Chex cereals (it sounds weird, but trust us on this one). Set aside.
- In a medium saucepan mix together the brown sugar, salt, butter and corn syrup
- Bring to a boil for 2 minutes
- Add in the baking soda and stir
- Pour syrup mixture into the paper bag over the dry ingredients
- Fold down the top of the paper bag and microwave for 1 minute
- Remove the bag, shake it, and place back in the microwave for 1 minute
- Repeat this 3 times (for a total of 4 minutes in the microwave)
- Spread the mixture onto the wax paper
- Sprinkle toasted coconut on top
- In a small bowl pour the chocolate chips
- Microwave for 30 seconds, stir, and microwave for another 15 seconds
- Repeat until melted
- Drizzle chocolate over cereal and let cool completely
- When cool, break apart and store in an airtight container
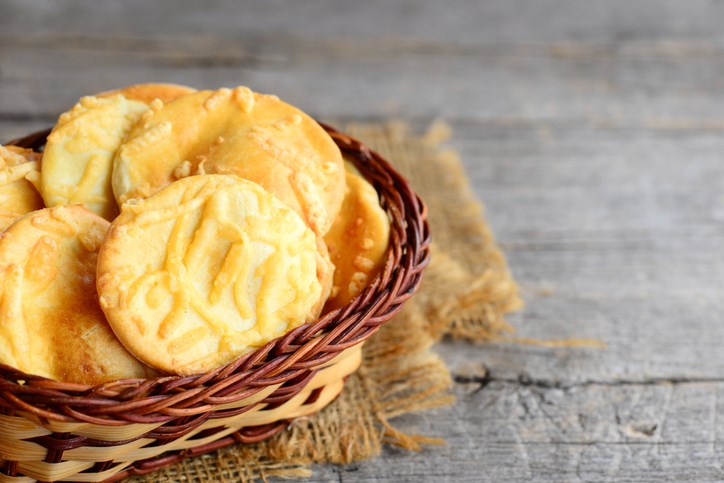
2. Gluten-Free Cheesy Crackers
From Food Network
If you have any sort of gluten allergy or intolerance in your camping group, then these cheesy crackers are going to be a hit. People who can’t eat gluten sometimes get the short end of the stick when it comes to camping snacks, so it’s always nice to take some extra time out to prepare a snack that they can enjoy without worry.
Even better, these crackers are great for the kids to help make, so you don’t have to do all the work alone.
Here’s what you need:
- 1 large egg, separated
- 1 T cider vinegar
- 1 ½ cups gluten-free all-purpose flour
- 1 T cornstarch
- ¾ tsp kosher salt
- ½ tsp baking powder
- ½ tsp dry mustard
- ½ tsp paprika
- ¼ tsp turmeric
- 6 T unsalted butter, cut into small pieces
- ½ cup shredded cheddar
- ½ cup grated parmesan
- 1 T white sesame seeds
- 2 tsp poppy seeds
Here’s how you make it:
- Whisk together the egg white, vinegar and 3 T water in a small bowl and set aside
- Place the egg yolk in a small bowl, cover, and refrigerate
- Pulse the flour, cornstarch, salt, baking powder, mustard, paprika, and turmeric in a food processor
- Add the butter, cheddar, and parmesan to processor and pulse until the butter is completely broken up
- Pour in the egg white mixture and pulse until the dough starts to form a ball
- Place the dough ball on a large piece of plastic wrap and pat into ½-inch thick round
- Wrap and refrigerate to chill, for about an hour
- Position your oven racks with one at the top and one at the bottom third of the oven and preheat to 350F
- Line 2 baking sheets with parchment
- Roll out the dough onto a large piece of parchment, to about ⅛-inch thick
- Using a 1 ½-inch cookie cutter, cut shapes out and transfer to the prepared baking sheets with about ½ inch in between them
- Whisk 2 tsp of water into the egg yolk
- Brush the tops of each cracker with the mixture
- Then sprinkle with sesame seeds, poppy seeds, and a little bit of salt
- Bake 2 baking sheets of crackers at a time until they are deep golden brown on the bottom — about 20 minutes — and be sure to rotate the sheets halfway through
- Let them cool and then store in an airtight container
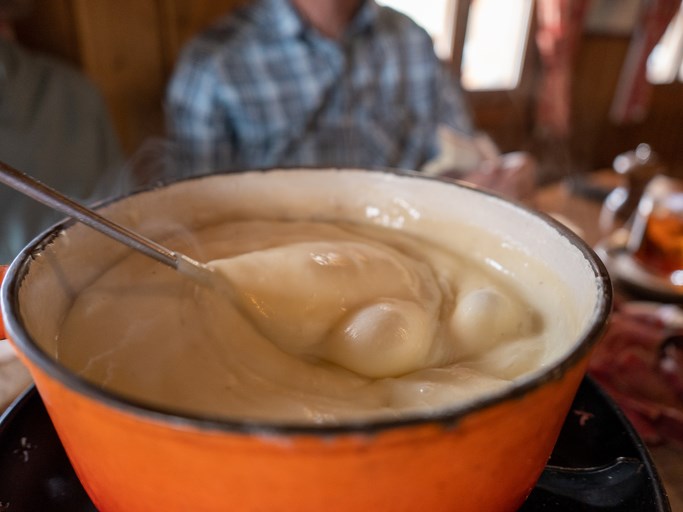
3. Campfire Queso
From Delish
You had us at queso. But add in the word “campfire” and we are really sold. This snack is ideal for those cool nights by the campfire. Or those warm nights. Or those nice afternoons. Heck, even for breakfast. There is no wrong time of day to eat queso, so let’s get down to business and share the recipe for this masterpiece.
Note: Though campfire is in the name, you can easily make this on the stove (imagining a campfire permitted).
Here’s what you need:
- ½ lb hot Italian sausage
- ½ cup beer (pale ale)
- 16 oz Velveeta, cut into 1” cubes
- 2 cups shredded pepper jack
- ½ can (10 oz) Rotel tomatoes
- Freshly chopped cilantro
- Sliced jalapeno
- Tortilla chips
Here’s how you make it:
- In a cast-iron skillet cook the sausage, breaking it up with a wooden spoon, for about 5 minutes
- Pour the beer over
- Reduce the mixture for 3 minutes, then add Velveeta, pepper jack, and Rotel and stir until combined and melted
- Garnish with cilantro and jalapeno and serve with tortilla chips
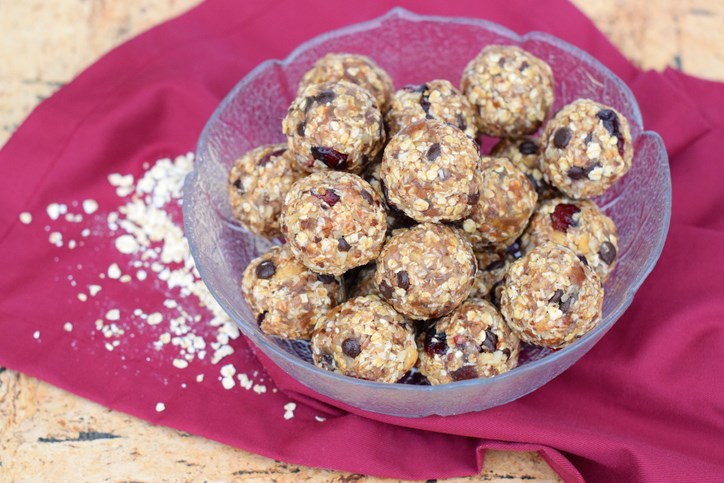
4. No-Bake Energy Bites
From Gimme Some Oven
As much as we’d love to indulge in foods that may not be of the highest nutritional value while camping, if you plan to be hiking or doing any fun exploring outdoors, then you are going to need some protein to keep you energized when you’re on the go. And these no-bake energy bites are exactly what the doctor ordered. These things pack a whole lotta flavor along with a whole lotta nutrients, so eat up.
Here’s what you need:
- 1 cup old-fashioned oats
- ⅔ cup toasted shredded coconut
- ½ cup creamy peanut butter
- ½ cup ground flaxseed
- ½ cup semisweet chocolate chips
- ⅓ cup honey
- 1 T chia seeds
- 1 tsp vanilla extract
Here’s how you make it:
- Stir all ingredients in a medium bowl until thoroughly mixed
- Cover and place in refrigerator for 1 hour
- Once chilled, roll into balls of your size of choice
- Store in an airtight container and keep in refrigerator for up to 1 week
5. Easy Blueberry Snack Bars
From KOA
We love anything with the word “easy” in the name, but what’s even better about these easy blueberry snack bars is that they are even more delicious than they are easy. They are quick to put together and great for on-the-go snacks when time is short but you need a bit of a boost.
Here’s what you need:
- 1 13-oz package blueberry muffin mix
- ½ cup granola
- ½ cup flaked coconut
- ¼ tsp ground cinnamon
- 1 egg
- ¾ cup orange juice
- Powdered sugar
Here’s how you make it:
- Preheat oven to 350F
- Grease a 13x9x2-inch baking pan with some shortening
- In large mixing bowl stir together dry muffin mix, granola, coconut and cinnamon
- Drain blueberries from muffin mix package
- In small mixing bowl beat together egg and orange juice with a fork, then gently stir in drained blueberries
- Stir egg mixture into granola mixture just until all the dry ingredients are moistened
- Spoon the batter into the greased baking pan and spread evenly
- Bake in oven about 20 minutes or until the top is light brown
- Cool, then sprinkle with powdered sugar
6. Grilled Blooming Onion
From Diethood
Anyone who says they don’t love getting a blooming onion when they go to their favorite steakhouse is probably not telling the truth (or just really hates onions). These things were made to pair with steak, but then we discovered they are great on their own too. And that they’re even better when done a bit more healthy and on a grill.
Here’s what you need:
- 1 large white onion
- ½ T olive oil
- 2 T shredded mozzarella cheese
- 2 T shredded mild cheddar cheese
- 2 T steak sauce, soy sauce, hot sauce, etc.
- Salt and pepper to taste
Here’s how you make it:
- Heat the grill
- Cut onion into 6-8 wedges, stopping ½-inch short of the bottom. **Whatever you do, do not cut all the way through to the bottom — leave it intact**
- Cut a piece of aluminum foil
- Place onion on foil and slowly pull apart the wedges to open the onion up
- Drizzle onion with olive oil
- Season with salt and pepper
- Add cheeses in the open center of the onion
- Drizzle the onion with sauce
- Wrap it up tightly and grill for 30-35 minutes or until tender
- Remove from the grill and open up the foil to serve immediately
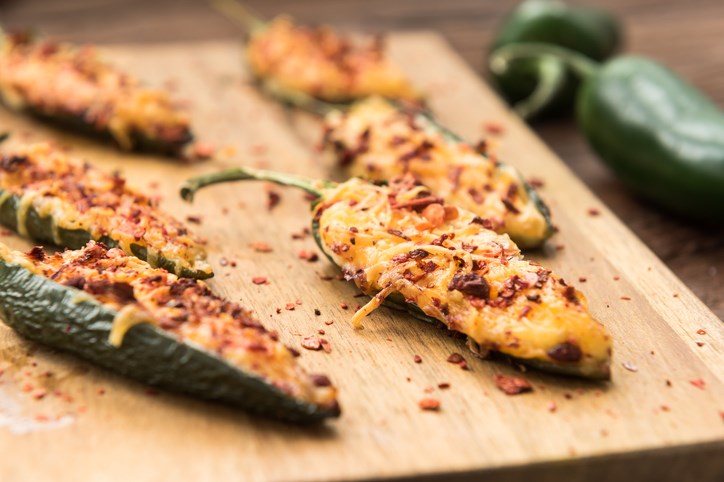
7. Jalapeno Popper
From KOA
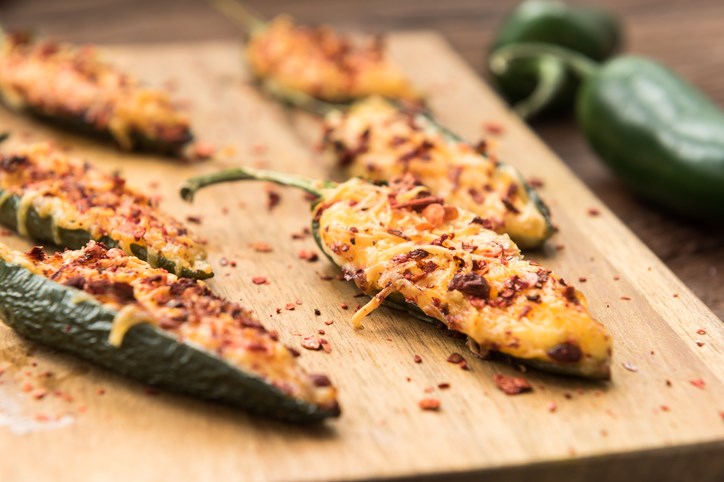
We haven’t met a jalapeno popper we didn’t love, and we are guessing that other people feel that way considering these things are on the menu at restaurants all across the country. But guess what? Now you can bring jalapeno poppers right to your campsite or kitchen and make them just how you’d like them, (and as many of them as you’d like too).
Here’s what you need:
- Jalapenos
- Cream cheese
- Bacon
Here’s how you make it:
- Clean out the jalapenos
- Stuff them with cream cheese
- Wrap the jalapenos in bacon
- Cook on the fire or grill
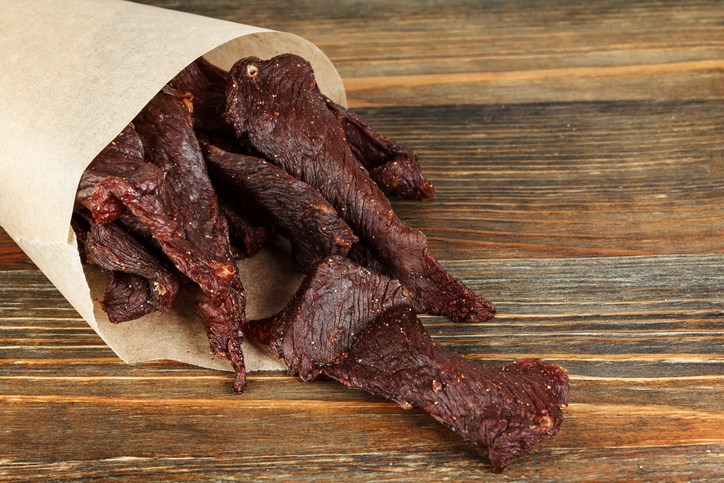
8. Beef Jerky
From Mrs. Happy Homemaker
Beef jerky just screams “road trip” and on your way to camping, you have a road trip. Regardless of whether that road trip is 10 minutes or 10 hours, beef jerky is an absolute must. This one takes a bit of work ahead of time, but trust us — it is well worth it. This is sure to become you new favorite snack for camping, and for everyday eating.
Here’s what you need:
- 3 lbs bottom round beef roast
- ¼ cup soy sauce
- ¼ cup Worcestershire sauce
- ¼ cup Italian dressing
- ¼ cup hot sauce
- ¼ cup brown sugar
- 2 T olive oil
- 2-3 T steak seasoning
- 2-3 T garlic powder
Here’s how you make it:
- Freeze the roast partially to make slicing easier
- Once partially frozen, cut the roast against the grain in thin, equal slices
- Combine the marinade ingredients in a bowl
- Place the beef in a large Ziploc bag and pour over the marinade
- Seal the container and refrigerate overnight or at least 8 hours
- Drain the marinade off the beef and place the beef in a dehydrator (If you don’t have a dehydrator, skip to steps 8 & 9)
- If you don’t have a dehydrator, use your oven
- Place your sliced beef on a wire rack on a baking sheet and cook at 165F for 1-3 hours or until the meat is cooked thoroughly

Leslie, a.k.a. Copy Girl, is a copywriter who gets butterflies from telling stories through words.
Her voice comes from a place filled with passion, dreams, and lots of sugar. “Cake over steak” is her go-to motto.
With over 10 years of experience in crafting words, and years of embarking on travels that have taken this Montana girl to some incredible places, Leslie love the adventures of both body and mind her writing takes her on.
Everywhere she goes, she takes this advice with her:
“Hold on to your divine blush, your innate rosy magic, or end up brown.” – Tom Robbins, Jitterbug Perfume
To see what Leslie’s up to in the writing world, visit her website here.
