Guide to Dewinterizing Your RV
Steps to dewinterize your RV
RV spring cleaning tips
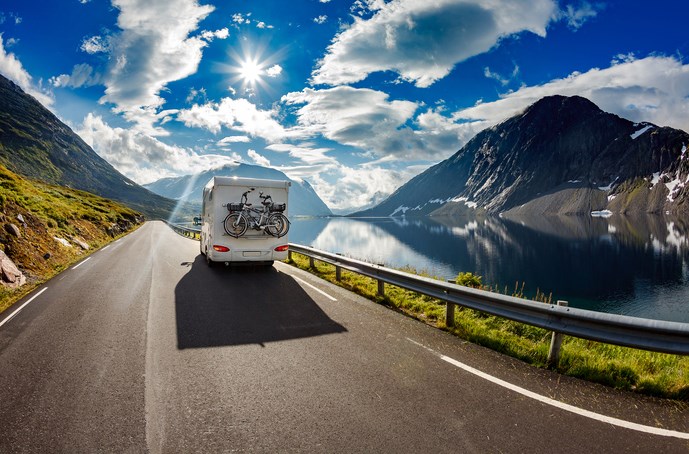
Start planning your next trip
The weather is getting warmer, the days are getting longer and the excitement of hitting the road in your RV is setting in again. Unless you are a full-time RV-er, this means bringing your rig out of storage and performing RV spring maintenance to get your camper ready for the season. Before you head out on your first camping trip of spring, use this RV dewinterizing guide to get your RV clean and ready for travel again.
How to Dewinterize Your RV
When it’s finally time to bring your RV out of storage, you will need to take several steps to reverse the RV winterizing process that you performed in the fall. Follow these steps for RV dewinterizing to get your RV in peak condition for the season:
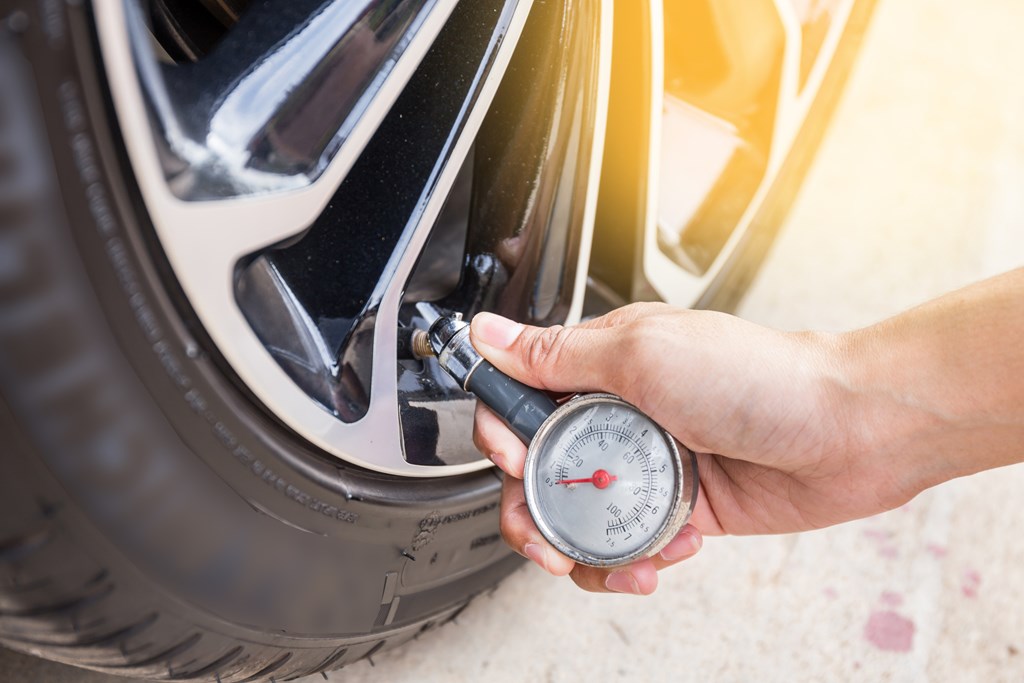
1. Check Your Tires
During the months in storage, your RV tires will lose about two to three psi of air pressure each month. If your RV is stored outside or somewhere cold, your tires may be even more deflated when you uncover your camper in the spring. Driving your RV with underinflated tires can cause poor handling, uneven wear, a blowout and may even lead to an accident. According to the National Highway Traffic Safety Administration, tire condition was a contributing factor in 655 vehicle crashes in 2017, and tire-related crashes led to 738 motor vehicle fatalities.
Using a tire pressure gauge, check the air pressure in all of your RV tires — including the spare. Reinflate the tires to match the manufacturer’s recommendation based on the load. If you are unsure of the correct tire pressure for your RV, check your owner’s manual.
When inspecting your RV tires, check for signs of wear, such as cracks in the sidewalls and worn down treads. The start of the season is a great time to purchase new RV tires — especially if you already have some long-distance adventures planned.
2. Inspect the Exterior
Before diving into more intensive RV spring maintenance, visually inspect the outside of your RV for any damages, leaks or cracks. Inspect the weatherstripping around windows and doors and replace any sealant that is cracked or peeling. Check all body, roof and slide-out seams and apply new seals as necessary.
If you stored your RV outdoors for the winter, check for any water damage and pay particular attention to the roof — heavy snow accumulation can lead to structural damage or cause seams to crack. When working on the roof of your RV, use extra caution to prevent a fall.
If you have a towable camper, inspect the hitch components for rust and damage. Replace any damaged parts now to avoid an accident or getting stuck out on the road with a broken hitch.
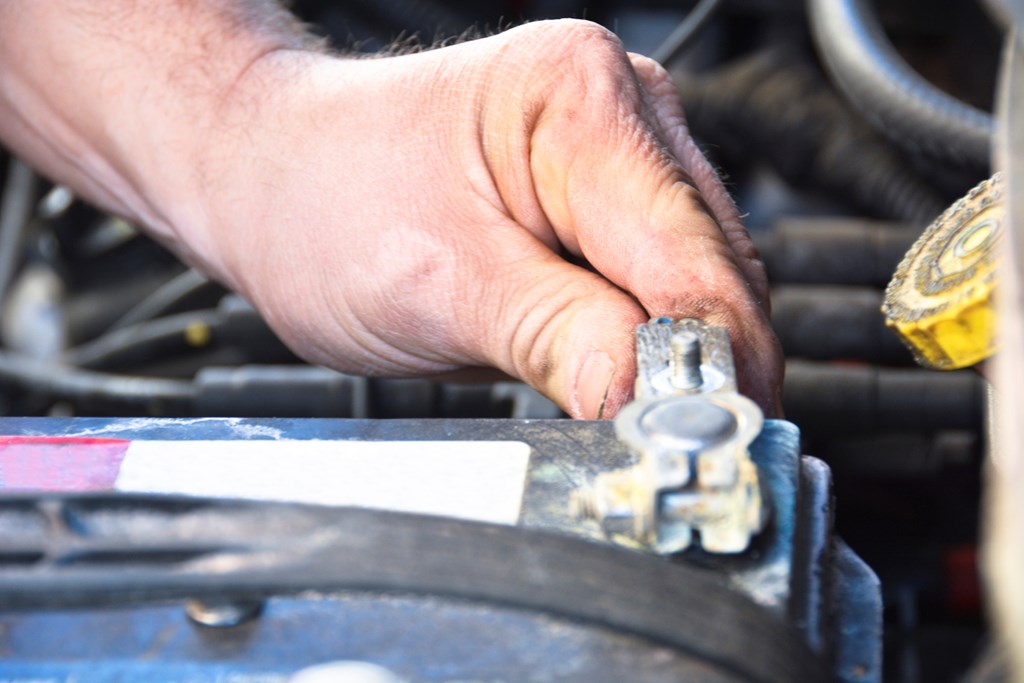
3. Charge and Reinstall Your Batteries
Just as your RV tires will lose pressure during storage, your RV batteries will also lose a percentage of their charge due to internal leakage. If they are not periodically checked and recharged during the off-season, your RV batteries lose a small percent of their charge each month that they are in storage. By keeping your batteries charged during storage, you can extend the lifespan of your RV batteries and will be ready to go when the season starts!
Before your first RV trip of the spring, check the charge on your batteries using a voltmeter. Make sure your RV is not connected to electricity, or you will get a false reading. A fully charged 12-volt RV battery will actually read about 12.7 volts. If your battery reads just 12 volts or below, it should be charged before you take your RV on the road.
To charge your RV batteries, attach the battery charger to the RV charger while the battery charger is turned off. Turn the battery charger on and allow the battery to charge completely. Depending on the battery size, your RV batteries may need to charge for a few hours or a few days.
After the battery is charged, check the water level in the battery and add distilled water to reach the correct level. If the water level is below the plates, water should be added before charging the battery, as the plates should always remain covered.
When reinstalling your RV battery, check that it is connected securely. If you are not confident in checking and installing your battery on your own, contact an RV maintenance service to perform this RV spring maintenance task for you.

4. Flush Your Water System
Dewinterizing your water system is one of the most crucial steps of RV spring preparation. When you are on the road, you rely on a clean source of water for cooking, drinking, washing dishes and showering. However, when you winterized your RV water system in the fall, you most likely added non-toxic RV antifreeze to the water system to prevent the pipes from freezing. This antifreeze must now be flushed out of the plumbing system so the water is clean and safe to drink.
If you added anti-freeze directly to the fresh water holding tank, the first step is to drain the tank entirely. Add potable water back into the fresh water holding tank and then follow these steps for how to flush antifreeze from your camper water system:
- Turn the water pump on.
- Open all water faucets, including sinks and indoor and outdoor showers.
- Allow water to run through the system for several minutes.
- While the pump is running, flush the toilet a few times.
- When the water comes out clear, close the faucets and turn off the pump.
- Take the water heater out of bypass mode.
- Replace all water filter cartridges that you removed for storage.
- Dump your gray and black water holding tanks at an official dump site.
If your water heater was not put into bypass mode for winter storage, you will also need to drain the RV antifreeze from the water heater tank and collect it for disposal. Do this before replacing the water filters.
After flushing your water system for several minutes, your water should taste clean and fresh, but if it still has a residual antifreeze taste, you can add baking soda to help remove this unpleasant flavor. Simply sprinkle baking soda directly into each drain or dissolve it in water and pour it down the drains. Flush the system again until the water tastes clean.
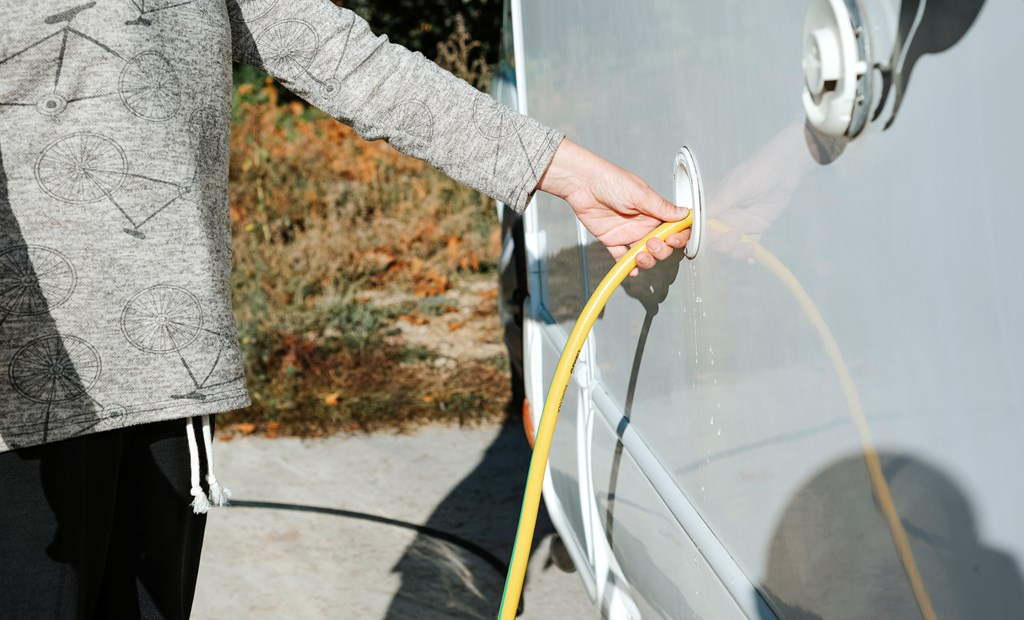
While de-winterizing your RV’s water system, instead of using your RV water pump to flush antifreeze from your camper’s water system, you can also use a garden hose or city water supply. Begin by attaching the hose to your water hookup instead of turning on the RV water pump, and then follow the same steps described above.
5. Sanitize Your Water System
The second essential step for dewinterizing your RV water system is to sanitize it. Even if you did not use non-toxic antifreeze to winterize your plumbing system, sanitizing your water system is still important for removing any bacteria or mold that could have grown during the months in storage. Follow these steps to sanitize your RV water system:
- Close all drains and install drain plugs.
- Measure one-quarter cup of household bleach for every 15 gallons your fresh water tank holds.
- Pour the bleach into a one-gallon container and fill it up with water.
- Add the bleach and water mixture into the fresh water tank fill.
- Fill the fresh water tank entirely with potable water.
- Turn on the water pump and open all faucets.
- Run the water until you can smell the bleach and then close the faucets.
- Let the solution sit for up to twelve hours in the water tank and water lines.
- Drain all of the water from the system.
- Refill the fresh water tank with potable water.
- Flush the system by turning on the water pump and opening all faucets.
- Allow the water to run until it no longer smells like bleach.
When sanitizing your RV water system, it is important to allow the bleach to sit for long enough to effectively eliminate harmful bacteria. However, leaving bleach in your water lines for too long can cause synthetic seals to deteriorate more quickly. To effectively sanitize your water system without damaging plumbing components, let the bleach solution sit for at least a few hours but no longer than 12 hours.
6. Check for Leaky Pipes
While you are preparing your RV water system for the start of the season, check your plumbing system for any leaks. With water in the fresh water tank, turn on the electric pump and allow it to pressurize the water system. When the system reaches full pressure, the pump will shut off. Listen for several minutes to hear if the pump turns back on. If the pump cycles back on again or does not shut off at all, there is a leak somewhere in your plumbing system.
Locate the leak by checking the pipe system and looking for leaks under sinks. Check the toilet for leakage around the edge. Leaks inside your RV may also cause water damage if not addressed quickly. Repair any leaks you identify or take your camper to an RV repair service if you are not comfortable fixing the leak on your own.
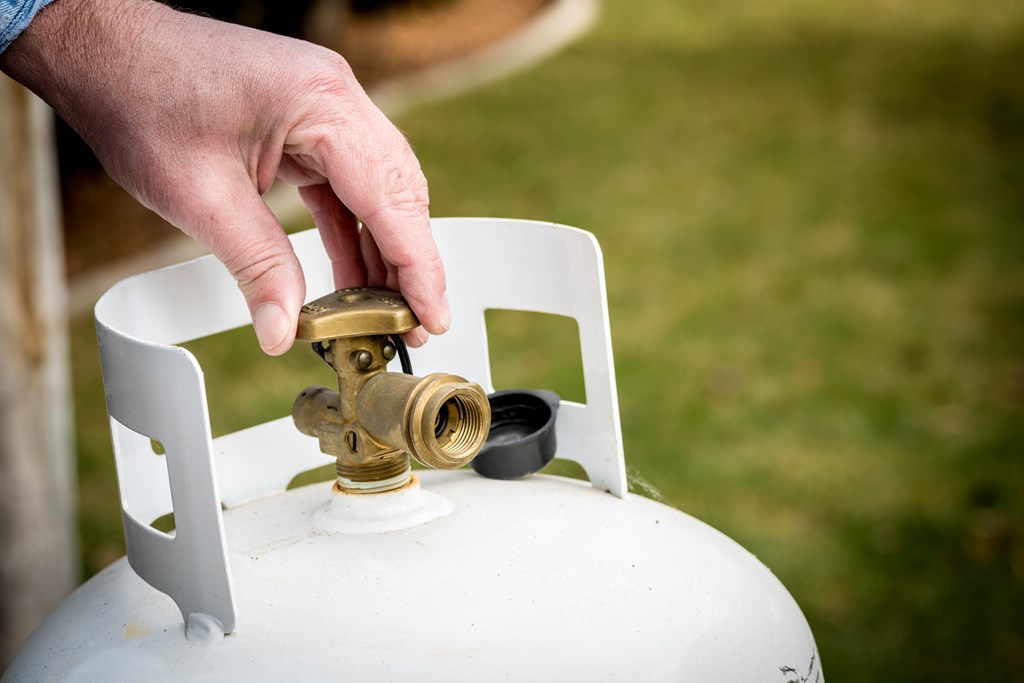
7. Replace Propane Tanks
If your RV uses propane, reinstall your propane tanks on their mounts and connect the hose. Make sure the hose is fitted tightly by turning on the propane valve a little bit to open the gas line. Apply soapy water to each of the hose connectors using a sponge or small spray bottle. Watch to see if any bubbles form, indicating that there may be a propane leak. Tighten the fitting and repeat the process to make sure it is tightly connected.
If your RV has refillable propane tanks, take them to a propane station to be filled. Some states require propane tanks to be recertified periodically. If your state requires propane tank recertification, make sure your tanks have not expired and ask when your tanks will need to be recertified.
8. Check Propane Appliances
After your propane tanks are reinstalled, check that all of your LP gas-fired appliances are working properly by opening the gas line and testing each appliance. When testing the hot water heater, make sure it is full of water first.
If any of your gas-fired appliances are not working, schedule an inspection with a certified RV maintenance service. Propane leaks or ignition issues can be dangerous and are best handled by professionals.
9. Test 120-Volt Appliances
If all of your propane appliances are operating properly, plug in your unit and test the 120-volt appliances. Make sure you are using a sufficient electricity source of 30 or 50 amps, or appliances like air conditioners and microwaves may not run properly.
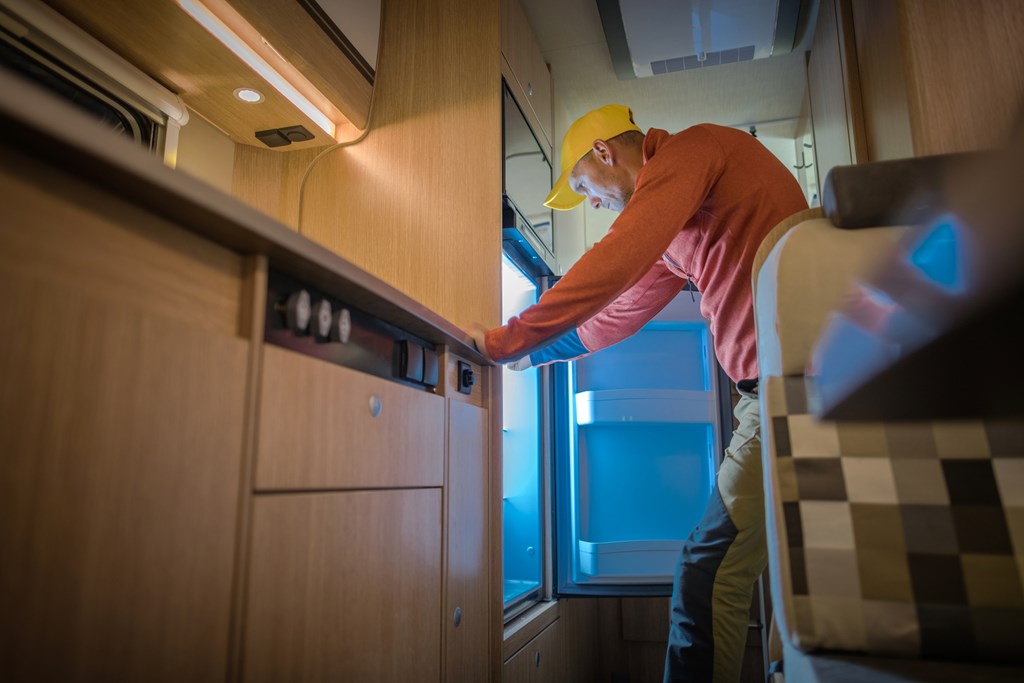
To test your refrigerator in electric mode, first, turn it off and then open the doors to allow it to return to room temperature. Plug it back in once your RV is connected to an electrical hook-up.
10. Check the Engine
Inspect the RV engine by checking all engine fluid levels and making sure all lights and controls are operational. Check the fluid levels of the power steering, transmission, engine oil, brake fluid, engine coolant and windshield washer fluid. If any levels are low, top them off before your first camping adventure or have your RV serviced. If you are concerned that there is a leak in any part of the engine, take your RV to a mechanic.
After checking the engine fluid levels, hop in the driver’s seat and start the engine. Check the readings on all gauges and verify that all dash lights, headlights, taillights and windshield wipers are working. If any service lights come on, have your RV inspected by a certified mechanic.
11. Test Your RV Generator
If your RV has an onboard generator, check the oil level. If oil levels are low, have your generator serviced by a professional.
Before testing your generator, check the exhaust system for any damage. Operating a generator with a damaged exhaust system can harm the generator and lead to serious consequences. After inspecting the exhaust, turn the generator on to test it. If you exercised your RV generator during storage, it should start up easily. If the generator was not operated at all during storage, run it for a few hours with a half-rated load. Refer to the owner’s manual for load ratings.
If your generator surges or will not start, have it inspected and repaired.
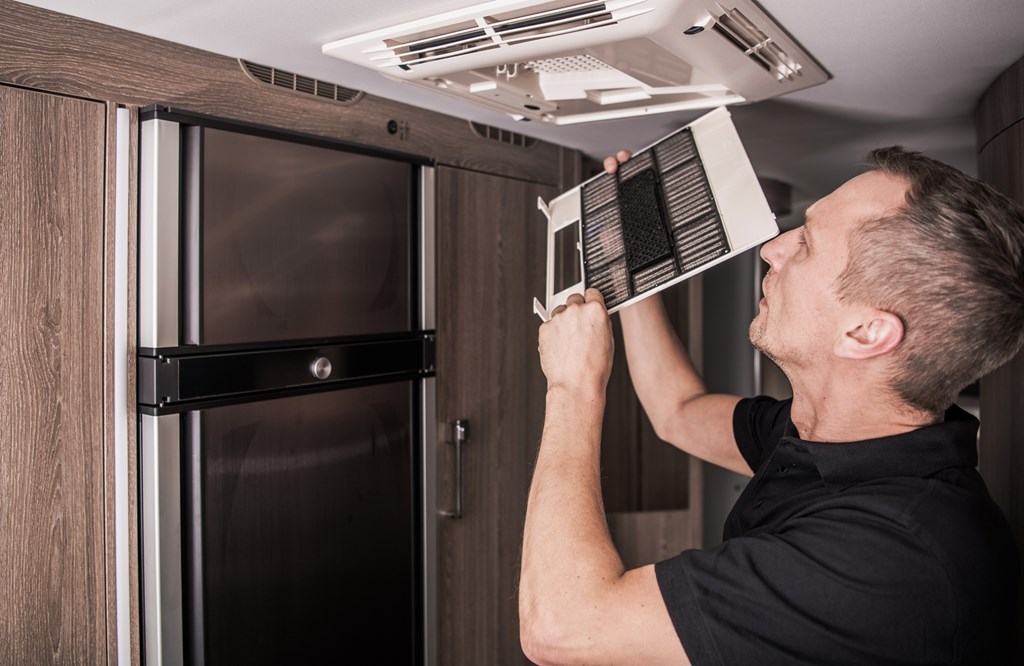
12. Change Filters
During RV spring maintenance, change out all of your air and water filters. Air filters can collect a lot of dust and debris during a busy camping season, so start the season fresh with clean filters. Changing filters in your air conditioner and water systems can also improve the efficiency of your systems and save energy. When changing air and water filters, make sure to purchase the correct size for your air conditioner and water system. Ensure the filters fit snugly to effectively filter out dirt and bacteria.
13. Check Windows and Air Vents
As part of your RV spring maintenance, open all of your windows and air vents to make sure they are in working order. Air vents ensure proper air flow through your camper to prevent excess humidity and keep you cool all summer long. Properly functioning air vents become even more essential when you turn your RV heat back on in the fall, as they protect against toxic gas build-up inside your RV. Opening all of your windows will also refresh your RV with clean spring air after you take it out of storage.
14. Check Safety Devices
Before heading out on the road, make sure all of the safety devices in your RV are operating properly. This includes your smoke alarm, fire extinguisher, carbon monoxide detector and LP detector. Install new batteries in all battery-powered safety devices. Test your carbon monoxide detector and smoke alarm. Make sure you know the symptoms of carbon monoxide poisoning and how to prevent a carbon monoxide leak in your RV.
Look at the expiration date on your fire extinguisher and purchase a new one if yours is outdated. If your RV has a dry powder fire extinguisher, release any powder that may have settled during storage by shaking it and tapping it on the bottom. Make sure you know how to properly operate your fire extinguisher and know what each safety alarm in your RV sounds like. Planning for safety in advance can help ensure a smooth and carefree RV camping season.
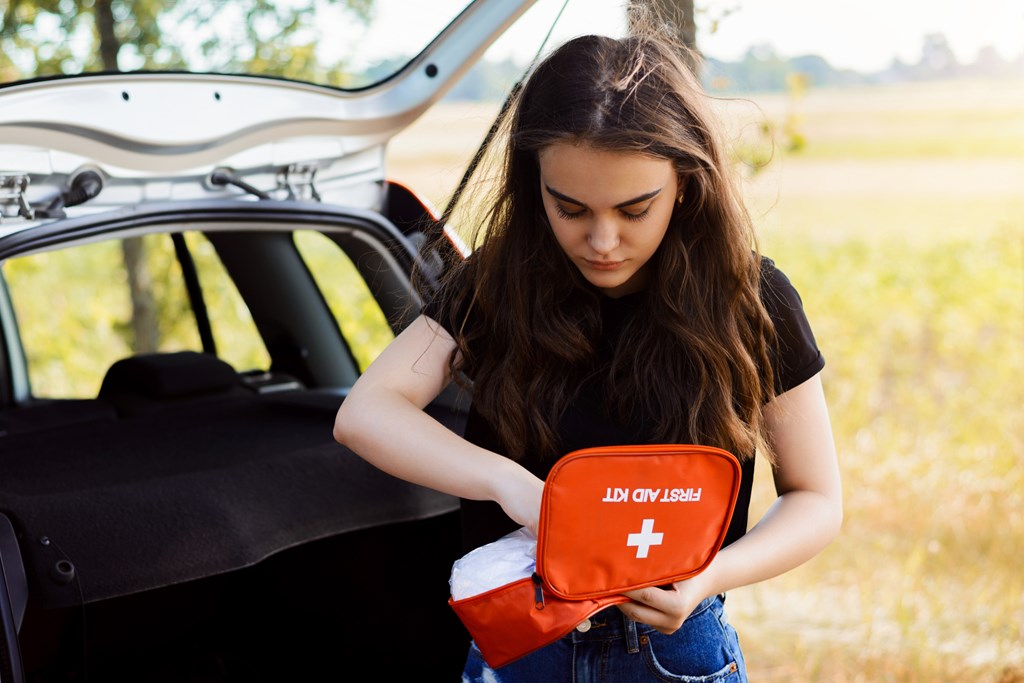
15. Restock First Aid and Emergency Supplies
Another crucial step for RV safety this camping season is to restock your RV first aid and emergency supplies as part of your RV spring preparation. Check the expiration dates on any medicines and restock any first aid supplies that are low. Get rid of any dry food that has expired and make sure your RV has plenty of bottled water in case of an emergency. Your RV emergency kit should also include tools and other supplies for emergency RV repairs, such as pliers, a hammer, screwdrivers, extra oil and coolant, hoses, batteries and leveling blocks.
16. Update Your Registration and Insurance
After dewinterizing your RV battery, water system, propane and engine, the final step for getting your RV ready for travel is making sure your papers are in order. Check that your RV registration is up-to-date, as well as your RV insurance and emissions sticker. If you have a towable RV, you may not be required to keep it insured, but having insurance can be a smart investment to protect your camper in case of an accident.
Store your RV documentation in an accessible place in your RV. Should you ever be pulled over or have an accident, you will be happy to have all of the necessary paperwork on hand.
6 RV Spring Cleaning Tips
In addition to your essential RV dewinterizing tasks, the start of the camping season is the perfect time for some RV spring cleaning. Here are a few RV cleaning tips to get your camper clean and sparkling before you head out for your first adventure of the season:
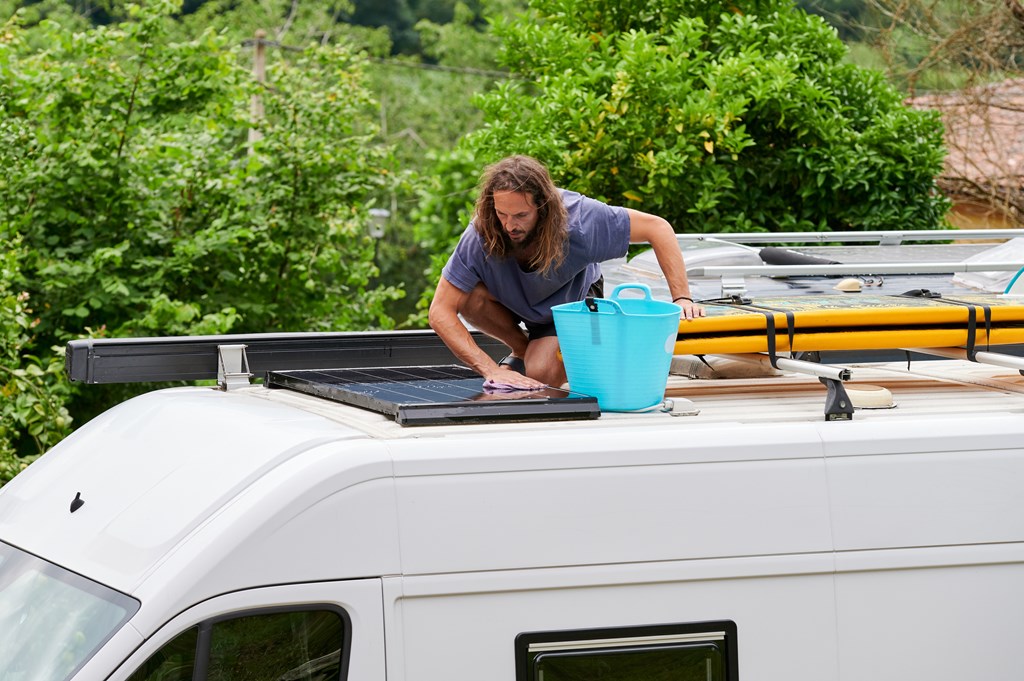
- Wash the exterior: Hose down and wash the exterior of your RV to make it shine for the start of the season. When washing your RV, always start at the top and work your way down using a cleaner that will not harm your RV paneling.
- Check for critters: Check your RV for any bugs, spiders or mice that may have found their way into your camper during the winter. Look in all the nooks and crannies, including your water heater, refrigerator drawers and cabinets.
- Clean fans and air conditioners: To keep fresh air flowing all summer long, clean your fan blades and screens with warm soapy water. For a thorough clean, take the fan apart to wash each component separately and clean the fan housing using an all-purpose cleaning spray and cloth.
- Wash windows and screens: Remove your RV’s window screens and clean them gently using soapy water. Allow the screens to air dry or wipe them with a clean towel. Polish the windows with glass cleaner and then replace the screens.
- Change linens and towels: Replace any linens that you removed for storage and change all bedding, pillows, blankets, towels and washcloths.
- Vacuum: Vacuum your RV floors and inside the cabinets to remove any dust that settled during the winter.
By following these RV spring cleaning tips, your RV will be ready for travel in no time!
Plan Your Next RV Adventure at a KOA Campground
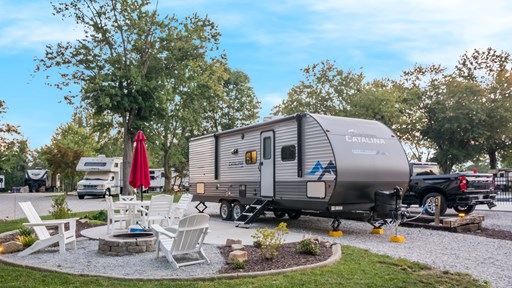
Now that your RV is clean and ready for the season, its time to hit the road again! Whether you are heading back to a favorite destination or want to venture somewhere new for your first RV trip of the season, you can find a KOA Campground convenient to your destination. With more than 500 locations across the U.S. and Canada, you can make a KOA Campground your home for an extended stay or simply stop by on your way to the next adventure.
KOA RV Sites offer comfortable amenities including full 30- or 50-amp hookups, laundry facilities and full sewer hookups. When you stay at a KOA Campground, you can choose a Back-In or Pull-Thru RV Site and many campgrounds also offer RV Sites with a KOA PatioTM. KOA has something for everyone, no matter your preferred camping style.
As RVers across the country are getting their camper ready for the first trip of the season, make your reservation early so you can score your perfect RV site at your favorite KOA Campground before it fills up. If you are ready to hit the road for your next RV adventure, make your reservation at a KOA Campground today.
About the Author: Kampgrounds of America
Kampgrounds of America is the largest system of open-to-the-public campgrounds in the world, with over 500 locations across the United States and Canada. Founded in Billings, MT in 1962, KOA’s family of campground brands – KOA Journey, KOA Holiday and KOA Resort – today serve more than a million camping families each year. KOA is dedicated to “connecting people to the outdoors and each other” by providing people with a variety of camping experiences and the information they need to make the most of their camping trip. Read more of their camping and travel resources by visiting KOA.com/blog.